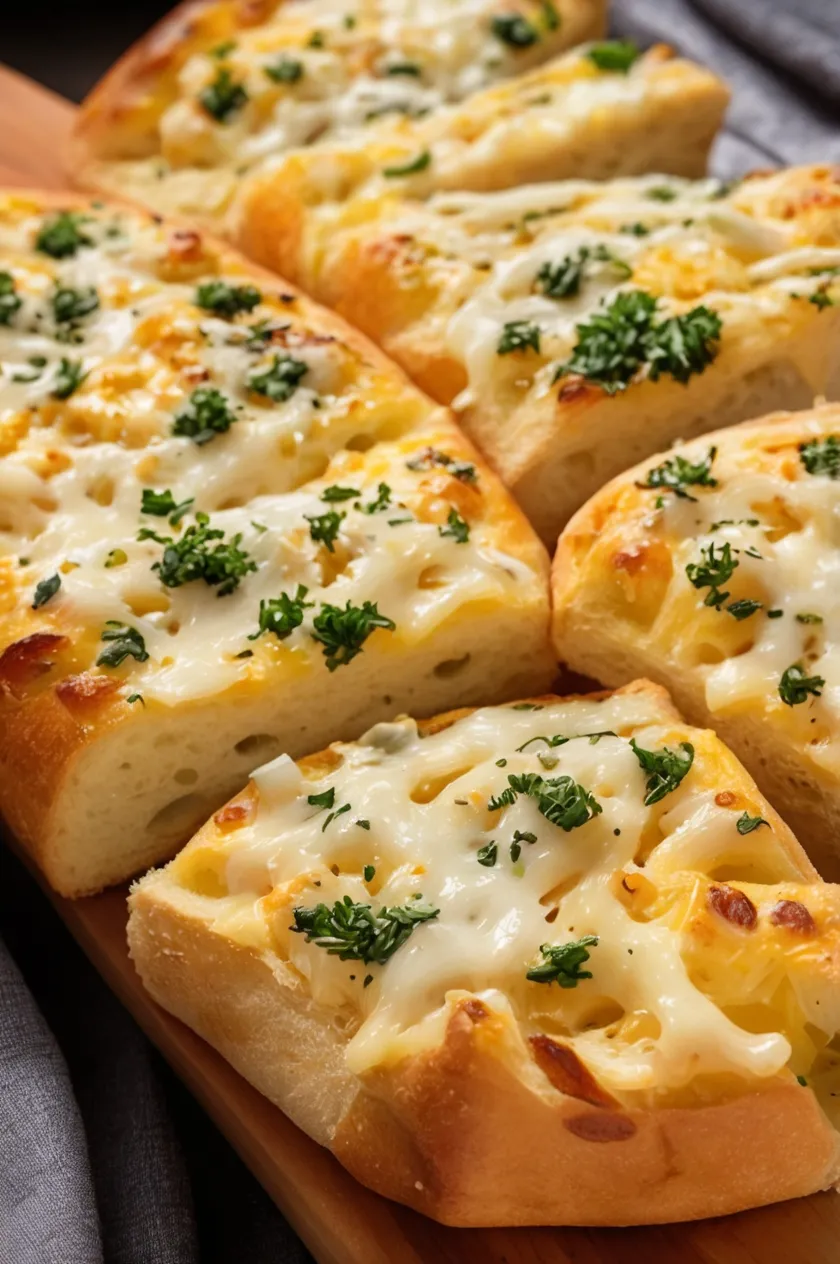
Craving a warm, cheesy, and garlicky delight? Indulge in the ultimate Cheesy Garlic Bread, a mouthwatering side that pairs perfectly with pasta, soups, or as a standalone snack.
This recipe features crispy French or Italian bread slathered with a rich garlic butter mixture and topped with gooey Monterey Jack and Parmesan cheese. With a golden, bubbly crust and a soft, buttery center, this homemade garlic bread is a must-try!
Ingredients List
Creating Cheesy Garlic Bread requires a few simple yet essential ingredients to achieve the perfect balance of flavor and texture.
Bread & Butter Base
- 1 loaf French or Italian bread, cut in half
- ½ cup unsalted butter, softened
Flavor Enhancers
- 4 cloves garlic, minced
- 2 tbsp fresh parsley, chopped
Cheesy Topping
- 1 cup Monterey Jack cheese, shredded
- 1 cup Parmesan cheese, grated
Required Kitchen Tools
To make the process of preparing Cheesy Garlic Bread effortless, having the right kitchen tools on hand is essential.
- Baking Sheet – A sturdy baking sheet lined with parchment paper ensures even baking and prevents sticking.
- Mixing Bowl – Ideal for mixing the garlic butter spread to evenly coat the bread.
- Spatula or Butter Knife – Helps in spreading the garlic butter mixture smoothly on the bread.
- Grater – If using block cheese, a grater is useful for shredding fresh Monterey Jack and Parmesan.
- Oven with Broil Setting – For that crispy, golden cheese topping that makes this garlic bread irresistible.
Preparing the Garlic Butter Spread
The secret to a flavorful Cheesy Garlic Bread lies in the rich, aromatic garlic butter mixture. Follow these steps to create the perfect spread:
Mixing the Ingredients
- In a small mixing bowl, combine softened butter, minced garlic, and chopped parsley.
- Stir well until the mixture is smooth and evenly blended.
- Let the garlic butter sit for a few minutes to allow the flavors to meld together.
Spreading the Garlic Butter
- Place the halved French or Italian bread on a lined baking sheet, cut side up.
- Using a spatula or butter knife, generously spread the garlic butter mixture across the surface of each bread half.
- Ensure even coverage so every bite is packed with flavor.
Adding the Cheese and Baking
Now that the bread is coated in flavorful garlic butter, it’s time to add the star ingredient—cheese—and bake it to perfection!
Topping with Cheese
- Evenly sprinkle shredded Monterey Jack cheese over both halves of the bread.
- Follow with a generous layer of grated Parmesan cheese for an extra savory kick.
- Lightly press the cheese into the bread to ensure it adheres while baking.
Baking Instructions
- Preheat your oven to 350°F (175°C).
- Place the baking sheet with the prepared bread into the oven.
- Bake for 10 minutes, allowing the cheese to melt and the flavors to infuse.
Broiling for a Golden Finish
- Switch your oven to the broil setting.
- Broil the bread for 1-2 minutes or until the cheese turns golden brown and bubbly.
- Keep a close eye to prevent burning—broiling works fast!
Serving and Enjoying
Your Cheesy Garlic Bread is now golden, cheesy, and irresistibly fragrant—perfect for serving at any meal or as a savory snack.
Cutting and Serving
- Once baked and broiled to perfection, remove the bread from the oven and let it cool for a couple of minutes.
- Slice the bread into thick serving-sized pieces.
- Serve immediately while the bread is warm, with extra marinara sauce or a drizzle of olive oil on the side if desired.
Perfect Pairings
This Cheesy Garlic Bread is a versatile side that pairs wonderfully with a variety of dishes:
- Pasta – Serve alongside your favorite pasta dish for a comforting Italian meal.
- Salads – The richness of the bread contrasts nicely with fresh, tangy salads.
- Soups – Perfect for dipping into creamy soups like tomato or a hearty vegetable blend.
Storage Instructions
If you happen to have any leftovers, here’s how to store them properly:
How to Keep Cheesy Garlic Bread Fresh
- At Room Temperature – Store leftover garlic bread in an airtight container for up to 2 days.
- Reheating – To keep the bread crisp, reheat in the oven at 350°F (175°C) for about 5 minutes. Avoid microwaving, as it can make the bread soggy.
Freezing Cheesy Garlic Bread
- If you want to store it for a longer period, freeze the unbaked garlic bread. Simply wrap the bread in plastic wrap and foil, then place it in a freezer bag. It can be stored for up to 1 month. To bake from frozen, add an additional 5-10 minutes to the baking time.
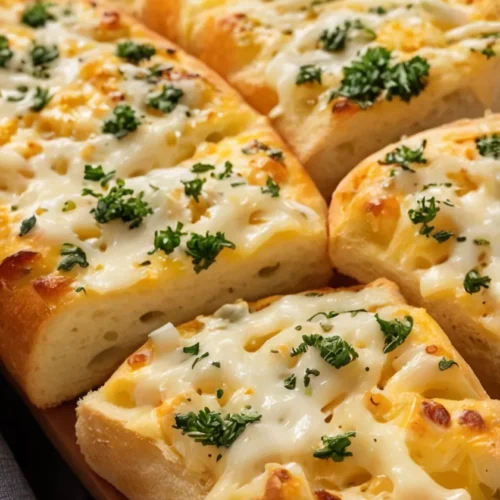
Cheesy Garlic Bread
Ingredients
Bread & Butter Base
- 1 loaf French or Italian bread, cut in half
- ½ cup unsalted butter, softened
Flavor Enhancers
- 4 cloves garlic, minced
- 2 tbsp fresh parsley, chopped
Cheesy Topping
- 1 cup Monterey Jack cheese, shredded
- 1 cup Parmesan cheese, grated
Instructions
- Preheat the oven to 350°F (175°C). Line a baking sheet with parchment paper.
- In a small mixing bowl, combine softened butter, minced garlic, and chopped parsley. Stir until smooth and well combined.
- Spread the garlic butter mixture evenly over the cut sides of the French or Italian bread halves.
- Top the bread with shredded Monterey Jack cheese and grated Parmesan cheese. Press the cheese lightly into the bread.
- Bake the bread for 10 minutes or until the cheese has melted and the bread is lightly toasted.
- Switch the oven to broil and cook for an additional 1-2 minutes, keeping a close eye on it to avoid burning. The cheese should turn golden brown and bubbly.
- Remove the bread from the oven and let it cool for a few minutes.
- Slice the bread into serving-sized pieces and serve warm.
Conclusion
Making Cheesy Garlic Bread at home is a simple yet rewarding experience. With just a few key ingredients, you can create a perfectly crispy, cheesy, and garlicky bread that’s sure to impress family and friends.
Whether you’re serving it alongside pasta, soups, or enjoying it as a snack on its own, this flavorful bread is a guaranteed crowd-pleaser. By following these easy steps and tips, you can enjoy restaurant-quality garlic bread right in the comfort of your own kitchen.
Don’t forget to experiment with different cheese combinations or even add a sprinkle of chili flakes for an extra kick!
Now that you have all the tools and instructions, it’s time to dive in and enjoy a warm, gooey slice of Cheesy Garlic Bread. Happy baking!