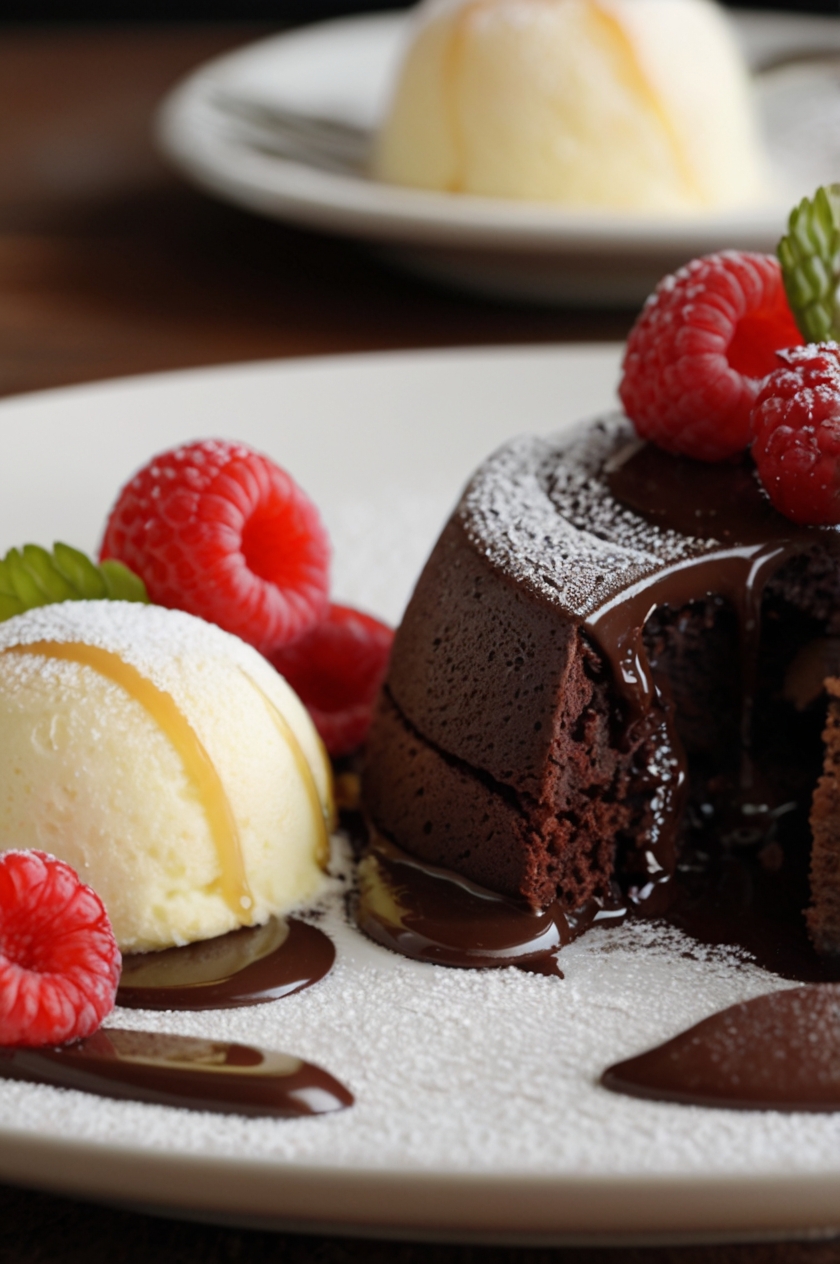
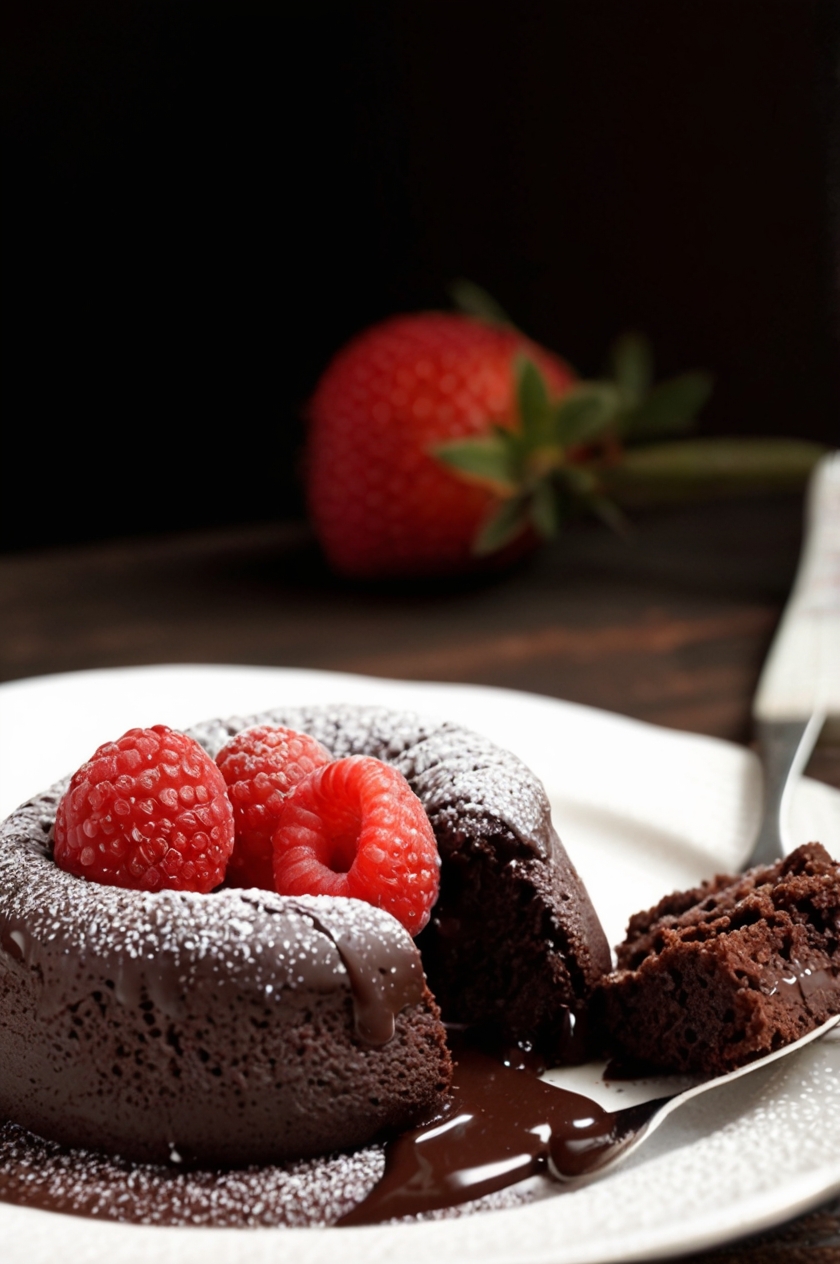
Craving a rich and decadent dessert? Indulge in the irresistible experience of Chocolate Lava Cake, a dessert that’s sure to impress.
With a molten chocolate center that flows like lava, this cake combines the best of both worlds: a rich chocolate exterior and a gooey, warm center.

Perfect for special occasions or a cozy night in, this easy-to-follow recipe will guide you through every step, ensuring that you create a dessert worthy of any gourmet restaurant right in your own kitchen.
Ingredients List
Cake Ingredients
- ½ cup unsalted butter (113g)
- 6 ounces bittersweet chocolate, chopped (168g)
- 2 large eggs
- 2 large egg yolks
- ¼ cup granulated sugar (50g)
- ⅛ teaspoon salt
- 2 tablespoons all-purpose flour
Required Kitchen Tools
When making Chocolate Lava Cake, having the right tools on hand is essential for success. Here’s what you’ll need:
- Ramekins: Individual ramekins (4-6 oz) are perfect for baking the cakes and serving them directly.
- Double Boiler or Microwave-Safe Bowl: For melting the chocolate and butter, ensuring a smooth mixture.
- Whisk: A simple whisk will help you combine the eggs and sugar efficiently.
- Baking Sheet: A baking sheet will make it easy to transfer the ramekins in and out of the oven safely.
With these tools ready, you’re all set to create a delicious Chocolate Lava Cake that will delight your taste buds.
Cake Preparation
Creating the perfect Chocolate Lava Cake involves a few key steps to ensure that the cakes are fluffy on the outside and gooey on the inside. Let’s dive into the preparation process!
Melting the Chocolate and Butter
Start by melting the butter and chopped bittersweet chocolate together. You can do this using a double boiler: fill the bottom pot with water and bring it to a gentle simmer. Place the chocolate and butter in the top pot, stirring occasionally until completely melted and smooth. If you prefer, you can also melt them in the microwave in short bursts (15-30 seconds), stirring in between until fully melted.
Mixing the Batter
Once your chocolate mixture is ready, remove it from heat and let it cool slightly. In a separate bowl, whisk together the eggs, egg yolks, granulated sugar, and salt until well combined. Gradually fold the cooled chocolate mixture into the egg mixture until smooth. Be gentle to preserve the air you’ve incorporated.
Adding Flour
Finally, sift in the all-purpose flour and gently fold it into the batter until just combined. Avoid overmixing, as this can lead to a denser cake. Your batter should be glossy and thick, ready to be poured into the ramekins.
Baking the Cakes
Now that your batter is prepared, it’s time to bake the Chocolate Lava Cakes. This step is crucial for achieving that delicious molten center.
Preparing the Ramekins
Before you pour the batter, preheat your oven to 425°F (220°C). While the oven is heating, prepare your ramekins by greasing them with butter and dusting with cocoa powder. This will help the cakes release easily after baking.
Filling the Ramekins
Divide the batter evenly among the prepared ramekins, filling each about ¾ full. It’s important not to overfill, as the cakes will rise during baking. Once filled, place the ramekins on a baking sheet for easier handling.

Baking Time
Bake the cakes in the preheated oven for about 12-14 minutes. The edges should look set, but the center will still be soft. Remember, the key to a perfect lava cake is to underbake it slightly, so keep an eye on them!
Cooling Briefly
After baking, let the cakes cool in the ramekins for about 1 minute. This brief cooling period allows them to set just enough while still retaining their gooey center.
Serving the Chocolate Lava Cake
Now comes the best part—serving your delectable Chocolate Lava Cakes! With a few simple steps, you can present them beautifully and enjoy that glorious molten center.
Inverting the Cakes
To serve, gently run a knife around the edges of each ramekin to loosen the cake. Carefully invert each ramekin onto a plate, giving it a little shake to release the cake. If done correctly, the cake should slide out easily, maintaining its shape.
Adding Finishing Touches
For an extra touch of elegance, dust the top of the lava cake with powdered sugar or cocoa powder. You can also serve it with a scoop of vanilla ice cream or a dollop of whipped cream, which contrasts beautifully with the warm chocolate.
Enjoying the Molten Center
When you cut into the cake, prepare for the molten chocolate to flow out—this is the moment you’ve been waiting for! The combination of rich chocolate cake and the warm, gooey center is absolutely heavenly.
Storage Instructions
How to Keep Chocolate Lava Cakes Fresh
Chocolate Lava Cakes are best enjoyed fresh, but if you have leftovers, you can cover them with plastic wrap and store them in the refrigerator for up to 2 days. Reheat them gently in the microwave for about 10-15 seconds before serving to revive that warm center.
Freezing for Later
If you want to prepare these cakes in advance, you can freeze the batter in the ramekins. Just cover them tightly with plastic wrap and foil. When you’re ready to bake, no need to thaw—just pop them directly into the preheated oven and bake for an extra minute or two.
Conclusion
Mastering the Chocolate Lava Cake recipe opens up a world of delightful dessert possibilities. With its impressive presentation and indulgent flavors, this cake is sure to become a favorite in your home. Whether for a special occasion or a simple treat, the joy of creating and savoring this molten chocolate masterpiece is truly unmatched. So gather your ingredients, follow these steps, and get ready to impress yourself and your guests with a dessert that’s as delicious as it is fun to make!
