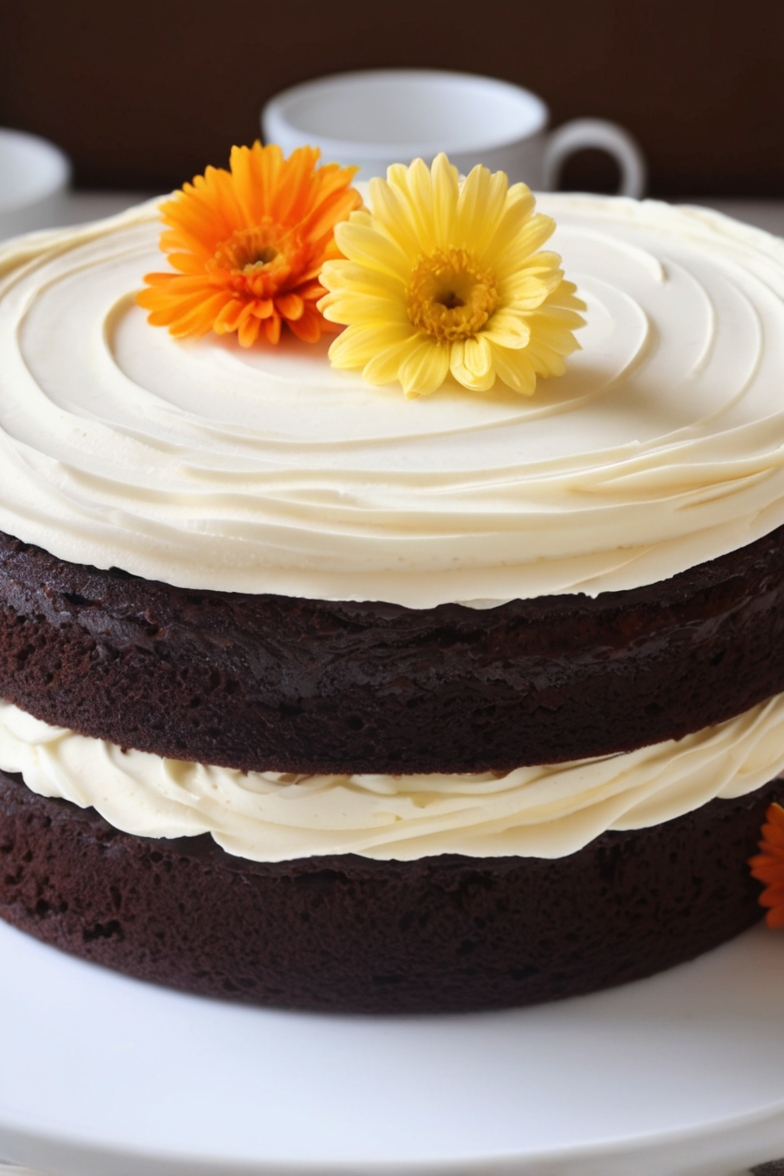
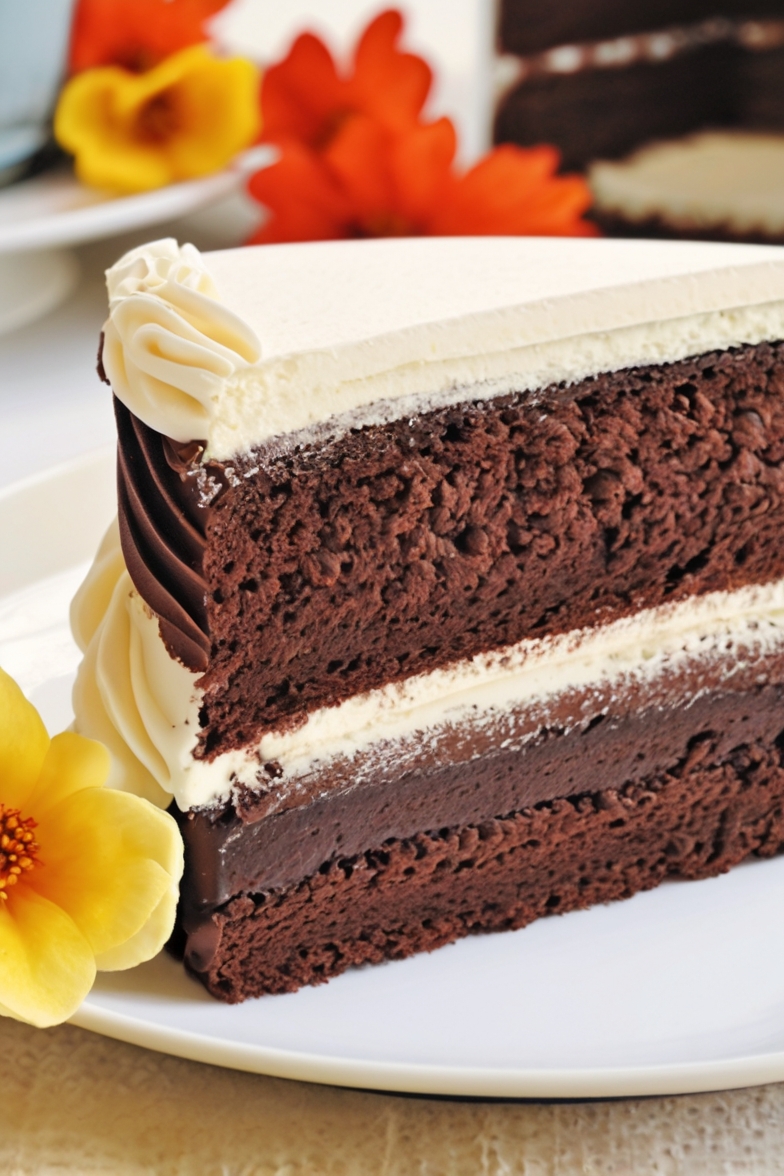
Craving something rich, indulgent, and full of flavor? Let me introduce you to the Chocolate Velvet Cake, a dessert that promises to elevate any occasion.
This cake is incredibly moist, decadent, and packed with a deep chocolate flavor that’s perfectly balanced with a hint of espresso.

Its soft texture and luxurious crumb are the result of combining classic ingredients with a few secret tricks. If you’re looking to bake something that will impress your guests and satisfy your chocolate cravings, this Chocolate Velvet Cake is the ultimate choice.
Ingredients List
Cake Ingredients
- 1/2 cup (113 g) butter, softened
- 1 1/2 cups (297 g) sugar
- 2 large (100 g) eggs, room temperature
- 2 1/2 cups (300 g) all-purpose flour
- 3 tablespoons (15.75 g) unsweetened cocoa powder
- 1 teaspoon (2.6 g) kosher salt
- 1/2 teaspoon (1.16 g) espresso powder
- 1 cup (227 g) buttermilk, room temperature
- 1 teaspoon (4.7 g) vanilla extract
- 1 teaspoon (6 g) baking soda
- 1 tablespoon (14.9 g) distilled white vinegar
Required Kitchen Tools
To get the perfect Chocolate Velvet Cake, you’ll need a few key kitchen tools. Here’s a list of essentials to help you through the baking process:
- Hand or Stand Mixer: A stand or hand mixer is perfect for creaming the butter and sugar together and mixing the wet and dry ingredients.
- Two 9-inch Round Cake Pans: For even baking, make sure to grease and line your cake pans with parchment paper.
- Mixing Bowls: You’ll need one large bowl for your dry ingredients and another for your wet ingredients.
- Measuring Cups and Spoons: Precision is important when baking, so make sure to have your measuring tools ready for accurate measurements.
- Cooling Rack: Once your cake layers are baked, a cooling rack will help them cool evenly and maintain their soft texture.
Having these tools ready will ensure that your baking experience goes smoothly and the results are just as delicious as you’d expect.
Cake Preparation
Now that you’ve got all the ingredients and tools ready, it’s time to dive into preparing the cake itself. Don’t worry, it’s a straightforward process that will have you baking like a pro in no time. The key to a rich and moist chocolate cake is in how you mix the ingredients and handle the batter. Let’s walk through each step.
Creaming the Butter and Sugar
Start by creaming together the softened butter and sugar in a large mixing bowl. Use your hand or stand mixer to beat them together on medium speed until the mixture becomes light and fluffy. This step is essential for incorporating air into the batter, which contributes to the cake’s light and tender texture.
Adding the Eggs
Once the butter and sugar are creamed, add the eggs, one at a time, mixing well after each addition. Make sure to scrape down the sides of the bowl as needed to ensure everything is fully combined. Room-temperature eggs blend more easily, helping to create a smooth batter.
Mixing the Dry Ingredients
In a separate bowl, whisk together the all-purpose flour, cocoa powder, salt, espresso powder, and baking soda. The espresso powder is optional but enhances the chocolate flavor, so I highly recommend it if you’re a chocolate lover! Sifting these ingredients will ensure there are no lumps, especially with the cocoa powder, which can sometimes be a little clumpy.
Alternating with Buttermilk
Now, it’s time to incorporate the dry ingredients into the wet mixture. Gradually add the dry ingredients to the creamed butter and sugar mixture, alternating with the buttermilk. Start and finish with the dry ingredients. Mix each addition until just combined—be careful not to over-mix, as this can result in a dense cake.
Adding Vanilla and Vinegar
Once the flour and buttermilk are combined, stir in the vanilla extract. The vinegar is next—it might sound unusual, but it reacts with the baking soda to help the cake rise and become extra fluffy. Don’t worry, you won’t taste the vinegar at all!
At this point, your batter should be thick and smooth. It’s time to move on to the next step!
Baking the Cake Layers
Now that the batter is prepared, it’s time to get it into the oven and bake your chocolate velvet cake layers. Proper baking is key to achieving that tender, velvety texture that makes this cake so special. Here’s how to do it:
Preparing the Pans
Before pouring the batter into the cake pans, make sure to properly prepare them. Grease two 9-inch round cake pans with butter or non-stick spray. Then, line the bottom of each pan with parchment paper to prevent the cake from sticking. Greasing the sides will also help the cakes rise evenly without sticking to the pan.
Pouring the Batter
Once the pans are prepared, divide the batter evenly between them. Use a spatula to smooth out the tops so that the batter is level in each pan. This will ensure both cakes bake evenly. Be sure not to fill the pans more than halfway, as the cakes will rise as they bake.
Baking the Cake

Preheat your oven to 350°F (175°C). Once the oven is preheated, place the pans on the middle rack and bake for 30-35 minutes. To test for doneness, insert a toothpick or cake tester into the center of the cakes. If it comes out clean (with just a few crumbs clinging to it), your cakes are ready. Avoid over-baking, as this can lead to a dry cake.
Cooling the Cakes
Once baked, allow the cakes to cool in the pans for about 10 minutes. Then, carefully remove them from the pans and transfer them to a wire cooling rack to cool completely. Letting the cakes cool completely is important, especially if you’re frosting them right away, as warm cakes can cause the frosting to melt.
Frosting and Assembling the Cake
The final step to creating a perfect Chocolate Velvet Cake is assembling and frosting the layers. A rich, smooth frosting is essential to complement the moist cake and bring everything together. Let’s go through the process!
Choosing the Frosting
For this cake, a classic cream cheese frosting or a silky chocolate buttercream works beautifully. If you prefer something lighter, whipped cream or even a ganache can provide a decadent finish. Here’s a quick guide to making the frosting:
For Cream Cheese Frosting:
- 8 oz (227 g) cream cheese, softened
- 1/2 cup (113 g) butter, softened
- 4 cups (500 g) powdered sugar
- 1 teaspoon vanilla extract
For Chocolate Buttercream:
- 1 cup (226 g) unsalted butter, softened
- 1/2 cup (50 g) unsweetened cocoa powder
- 3-4 cups (375-500 g) powdered sugar
- 1 teaspoon vanilla extract
- 2-4 tablespoons heavy cream (adjust for desired consistency)
Frosting the Cake
Once your cakes have cooled, place the first cake layer on a cake stand or serving plate. Spread a generous amount of frosting over the top, smoothing it out to the edges. Place the second cake layer on top, pressing down gently to ensure it sticks. Then, use the frosting to cover the entire cake, smoothing the sides and top to your desired level of perfection.
Decorating the Cake
This is where you can get creative! For a simple and elegant touch, dust the top with cocoa powder or powdered sugar. You can also add chocolate shavings, sprinkles, or fresh berries for extra flair. For a more extravagant decoration, pipe rosettes around the edges using a star-shaped piping tip, or drizzle some chocolate ganache over the top.
Serving the Cake
Once decorated, slice and serve this delectable chocolate velvet cake to your friends, family, or guests. It pairs wonderfully with a cup of coffee or milk. Each bite is moist, rich, and packed with deep chocolate flavor, sure to leave everyone asking for seconds.
Storage Instructions
How to Keep Chocolate Velvet Cake Fresh
To keep your cake fresh, store it in an airtight container at room temperature for up to 3 days. If the room is particularly warm, refrigerate the cake to maintain its freshness, especially if you’ve used a cream cheese or buttercream frosting. Bring the cake to room temperature before serving for the best flavor and texture.
Freezing Chocolate Velvet Cake
If you want to keep the cake for longer, you can freeze the layers. Wrap the cooled, unfrosted cake layers tightly in plastic wrap, then place them in a freezer-safe bag or container. You can freeze the cake for up to 2 months. When you’re ready to enjoy, thaw the layers at room temperature, then frost and assemble the cake.
Conclusion
The Chocolate Velvet Cake is a show-stopping dessert that combines rich chocolate flavor with a melt-in-your-mouth texture. Whether you’re baking it for a special celebration or simply to indulge in something delicious, this cake is sure to be a hit. By following the steps for preparation, baking, and frosting, you’ll create a dessert that’s both beautiful and mouthwatering. Don’t forget to experiment with your favorite frostings and decorations to make it uniquely your own! Happy baking!
