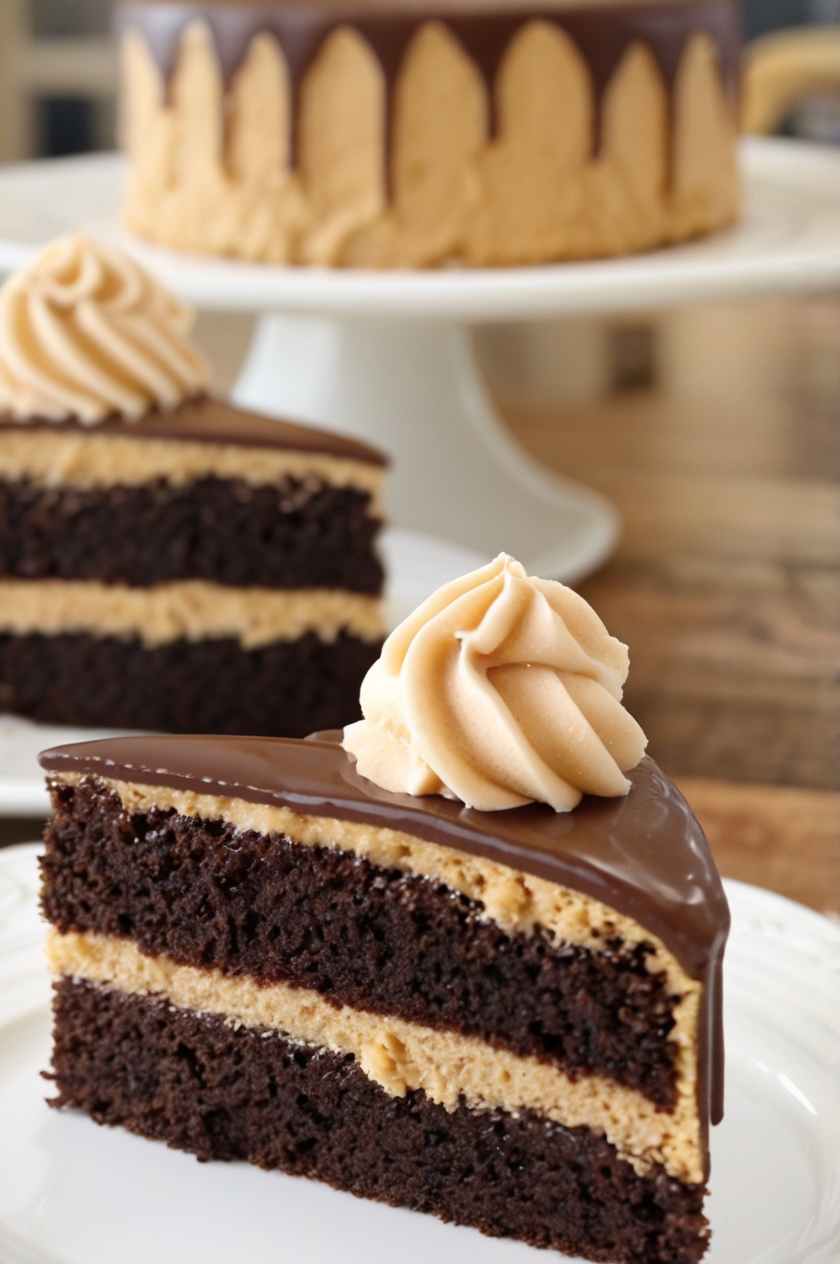
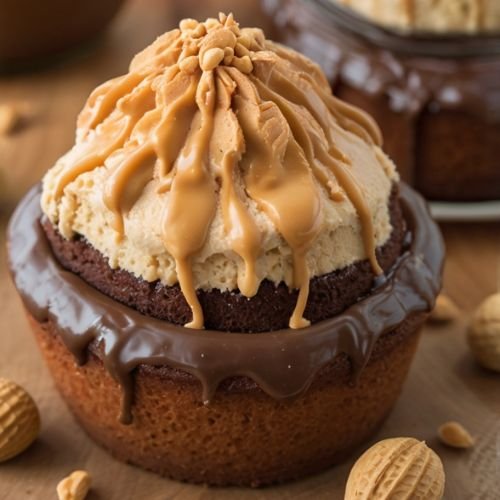
If you’re a fan of rich, moist cakes with a creamy, indulgent flavor, then this Peanut Butter Tres Leches Cake is the perfect treat for you!

Combining the light and airy texture of a traditional tres leches cake with the smooth, nutty taste of peanut butter, this recipe offers a deliciously unique spin on a beloved classic.
Whether you’re celebrating a special occasion or simply craving a sweet dessert, this cake is sure to impress with its irresistible combination of flavors.
Why You’ll Love This Peanut Butter Tres Leches Cake
This cake is everything you love about a tres leches cake—super moist, melt-in-your-mouth texture—but with an exciting peanut butter twist! The addition of peanut butter makes the cake rich, flavorful, and slightly nutty, while the three-milk mixture (sweetened condensed milk, evaporated milk, and whole milk) soaks the cake, making it incredibly moist and decadent. Topped with a fluffy peanut butter cream frosting, every bite is a perfect balance of sweetness and savory goodness.
Ingredients for Peanut Butter Tres Leches Cake
For the Cake
- 1 cup (125g) all-purpose flour – This will form the base of our cake.
- 2 teaspoons baking powder – Ensures the cake rises perfectly, giving it a light texture.
- ¼ teaspoon salt – To balance the sweetness.
- ⅓ cup + 1 tablespoon (100g) natural peanut butter – The star ingredient that infuses the cake with rich, nutty flavor.
- ¾ cup (150g) sugar – For sweetness and structure.
- 4 eggs, separated – The egg whites add fluffiness, while the yolks provide richness.
- 1 teaspoon vanilla extract – A dash of vanilla enhances the overall flavor.
- ⅓ cup (80ml) milk – To add moisture and soften the cake.
For the Milk Mixture
- 7 oz (200g) sweetened condensed milk – This thick, sweet milk creates the signature richness in a tres leches cake.
- ¾ cup (180ml) evaporated milk – Adds creaminess to the soaking liquid.
- ⅓ cup (80ml) whole milk – For a perfect balance of creaminess and smooth texture.
For the Frosting
- 1¼ cups (300ml) heavy whipping cream – To create a light and fluffy whipped topping.
- 4 tablespoons icing sugar – Sweetens the frosting to perfection.
- 2-3 tablespoons peanut butter – For a creamy, peanut butter-flavored frosting that complements the cake.
- 1 teaspoon vanilla extract – Adds a rich flavor to the frosting.
Required Kitchen Tools
Before we get started, here are the essential tools you’ll need to make this Peanut Butter Tres Leches Cake:
- Hand or Stand Mixer: To easily beat the egg whites and create a fluffy batter.
- Mixing Bowls: For separating and mixing the wet and dry ingredients.
- 9×13-inch Baking Pan: The perfect size for a moist, square-shaped cake.
- Electric or Manual Whisk: For whipping the cream and creating the light, airy frosting.
- Piping Bag (optional): If you want to decorate the frosting with precision or add a decorative swirl.
- Cooling Rack: To allow the cake to cool evenly and prevent sogginess before soaking it with the milk mixture.
How to Make Peanut Butter Tres Leches Cake: A Step-by-Step Guide
Now that we have our ingredients and tools ready, it’s time to start creating this delicious Peanut Butter Tres Leches Cake. Follow these steps carefully to ensure that your cake comes out soft, moist, and packed with peanut butter flavor.
Step 1: Prepare the Cake Batter
- Preheat your oven to 350°F (175°C) and grease a 9×13-inch baking pan with butter or cooking spray. You can also line the pan with parchment paper for easier removal later.
- Mix the dry ingredients: In a medium bowl, whisk together the flour, baking powder, and salt. Set aside.
- Cream the peanut butter and sugar: In a separate large bowl, beat together the peanut butter and sugar until light and fluffy. You can use a hand or stand mixer for this step, which helps create air pockets for a light, spongy cake.
- Add the egg yolks and vanilla: To the peanut butter-sugar mixture, add the egg yolks and vanilla extract. Mix until everything is well combined.
- Incorporate the dry ingredients and milk: Gradually add the dry ingredients to the wet mixture, alternating with the milk. Start and end with the flour mixture. Mix until just combined – be careful not to overmix, as this can result in a dense cake.
Step 2: Whisk the Egg Whites
In a clean bowl, beat the egg whites until stiff peaks form. This will help give the cake its airy, fluffy texture. Gently fold the beaten egg whites into the peanut butter batter using a spatula. Be careful not to deflate the air bubbles in the egg whites—this step is crucial for ensuring your cake rises beautifully.
Step 3: Bake the Cake
Pour the prepared batter into the greased 9×13-inch pan. Smooth out the top with a spatula for an even layer. Bake in the preheated oven for 25-30 minutes, or until a toothpick inserted into the center of the cake comes out clean.
Once baked, allow the cake to cool in the pan for 10 minutes. Then, remove it from the pan and place it on a wire rack to cool completely before soaking with the tres leches mixture.
Step 4: Prepare the Milk Mixture
While the cake is cooling, you can prepare the milk soak:
- In a medium bowl, whisk together the sweetened condensed milk, evaporated milk, and whole milk until smooth.
- Once the cake has cooled completely, use a fork to poke small holes all over the surface of the cake. This will help the milk mixture soak into the cake, making it ultra-moist.
- Slowly pour the milk mixture over the cake, allowing it to soak in gradually. Be patient – you want the cake to absorb the liquid without becoming too soggy. You may not need all the milk, but make sure the cake is evenly soaked.
How to Make Peanut Butter Frosting and Finish the Cake

With the cake now soaking in the rich tres leches mixture, it’s time to prepare the delicious peanut butter frosting that will crown this cake. This frosting is smooth, light, and just the right amount of sweet with a lovely peanut butter flavor. Follow these steps to finish off your Peanut Butter Tres Leches Cake perfectly.
Step 5: Make the Peanut Butter Frosting
- Whip the cream: In a large mixing bowl, pour in the heavy whipping cream and add the icing sugar. Using an electric mixer, beat the mixture on medium-high speed until soft peaks form. This will give you the perfect whipped cream texture for the frosting.
- Add the peanut butter and vanilla: Once the cream is whipped, gently fold in the peanut butter and vanilla extract. Continue to mix until smooth and creamy. If you’d like a stronger peanut butter flavor, feel free to add a little more peanut butter to taste.
- Frost the cake: Once the cake has fully absorbed the milk mixture and has cooled, spread the peanut butter frosting over the top. Use a spatula to smooth the frosting evenly across the surface. If you like, you can create some decorative swirls or patterns with the back of a spoon for a more polished look.
Step 6: Let the Cake Set
After frosting the cake, it’s best to let it sit for at least an hour in the fridge. This helps the flavors meld together, and the frosting will firm up slightly. If you want a firmer frosting, you can chill the cake for several hours or even overnight.
Step 7: Serve and Enjoy
Once the cake is set, slice it up and serve! You’ll notice how incredibly moist and tender the cake is, with each bite delivering the perfect balance of peanut butter and tres leches goodness. For an extra touch, you can garnish the cake with crushed peanuts or a drizzle of melted peanut butter for added flavor and texture.
Serving Suggestions: This Peanut Butter Tres Leches Cake is perfect for any occasion—whether you’re hosting a birthday party, a family gathering, or just enjoying a sweet treat with your coffee. The cake is best served chilled and can be paired with a hot cup of coffee or a cold glass of milk for the ultimate indulgence.
Storing and Storing Peanut Butter Tres Leches Cake
This Peanut Butter Tres Leches Cake is so delicious, you’ll want to make sure it stays fresh for as long as possible. With a few simple storage tips, you can keep this cake tasting fresh and moist for days to come.
How to Store Peanut Butter Tres Leches Cake
- Refrigerate the Cake: After making your Peanut Butter Tres Leches Cake, cover it tightly with plastic wrap or aluminum foil to prevent it from drying out. Place the cake in the refrigerator, where it will keep for up to 4-5 days. The cool temperature helps maintain the moistness and allows the flavors to develop even further.
- Avoid Storing at Room Temperature: Due to the milk-based soak and the peanut butter frosting, it’s important to store the cake in the fridge. This will help preserve the texture and prevent any spoilage.
Freezing Peanut Butter Tres Leches Cake
If you want to store the cake for a longer period, freezing it is a great option:
- Wrap the Cake: Once the cake has cooled completely and has been frosted, wrap it tightly in plastic wrap, then cover it with aluminum foil. This double wrapping will help protect the cake from freezer burn.
- Freeze the Cake: You can freeze the entire cake or individual slices for easy portions. Place the wrapped cake in the freezer for up to 2-3 months.
- Thaw Before Serving: When you’re ready to enjoy the cake again, remove it from the freezer and let it thaw in the refrigerator for several hours or overnight. You can also let it sit at room temperature for about 30 minutes before serving if you prefer it slightly warmer.
Conclusion: A Perfectly Indulgent Cake
Making this Peanut Butter Tres Leches Cake is an absolute treat for peanut butter lovers and cake enthusiasts alike. With its rich, moist texture and fluffy, creamy peanut butter frosting, this cake is guaranteed to be a showstopper at any gathering. The combination of the classic tres leches soaked cake with the added depth of peanut butter creates a flavor profile that’s both comforting and exciting.
