Craving something sweet and comforting? Dive into the delicious world of Pear Crisp—a warm, cinnamon-spiced dessert featuring juicy pears topped with a golden, buttery crumble.
This rustic dessert is perfect for any season, but especially satisfying in the cooler months when you want to cozy up with a comforting treat.
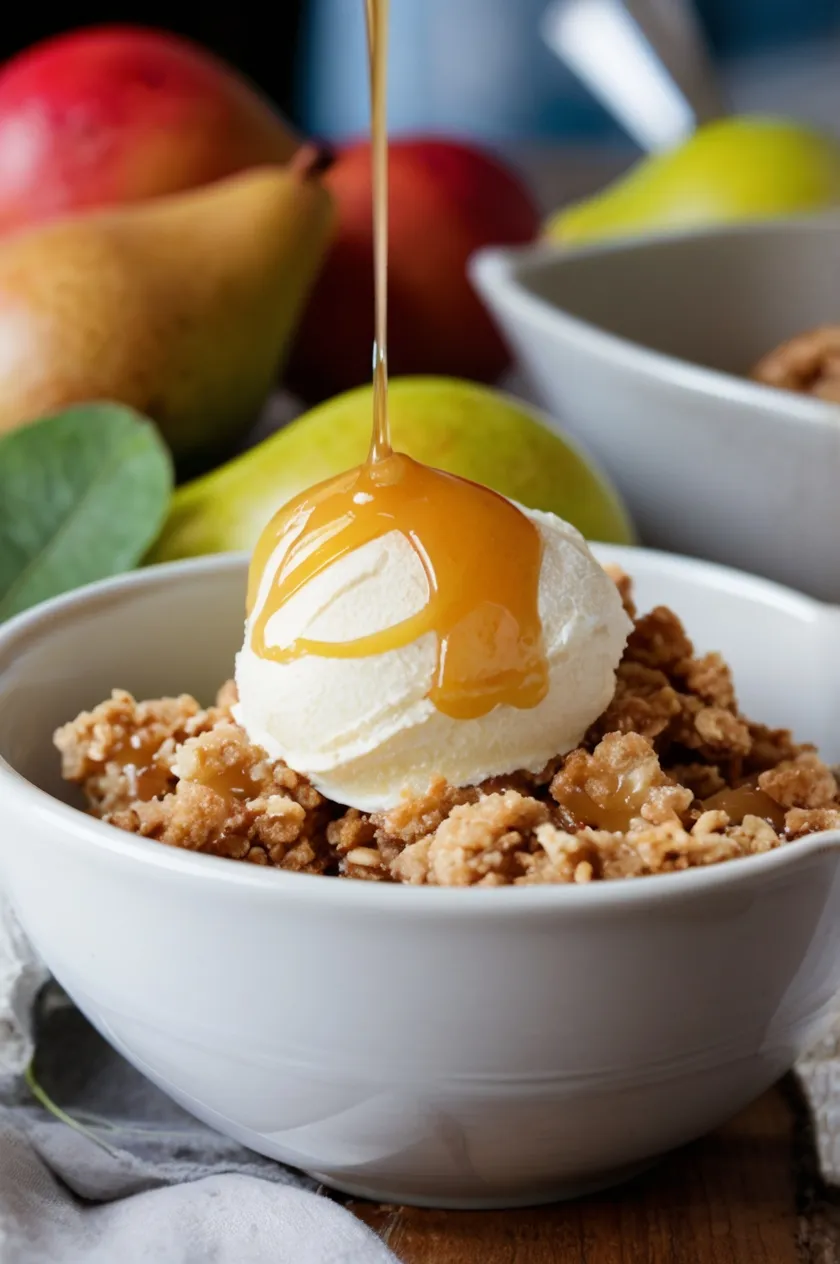
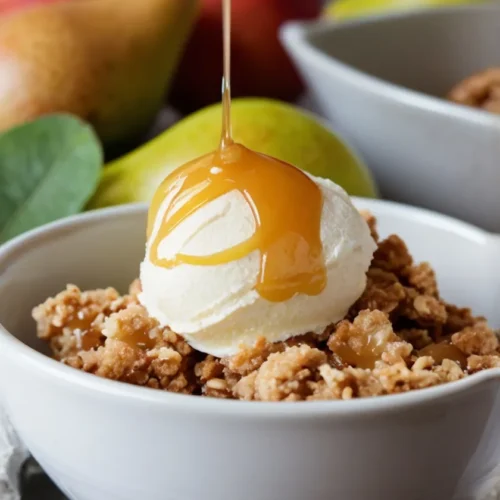
Whether you serve it with a scoop of vanilla ice cream or drizzle it with caramel sauce, Pear Crisp is a timeless favorite that will never disappoint.
Ingredients List
Creating the perfect Pear Crisp requires a few key ingredients that come together to deliver a balanced combination of flavors and textures. Let’s break down what you’ll need to make this delicious dessert.
Filling Ingredients
- 6 cups peeled and sliced pears (about 6-7 medium pears) (or use a combination of apples and pears)
- 1 teaspoon vanilla extract
- 1 ½ teaspoons cinnamon
- ¼ teaspoon nutmeg
- ¼ teaspoon salt
Topping Ingredients
- 1 stick (½ cup) salted butter, softened at room temperature
- ½ cup all-purpose flour
- ½ cup rolled oats
- ½ cup granulated sugar
- ½ cup brown sugar
- ⅓ cup finely-chopped pecans
- ¼ teaspoon salt
Optional, for serving:
- Vanilla ice cream
- Caramel sauce
Required Kitchen Tools
When preparing Pear Crisp, the right kitchen tools will make your experience even more enjoyable. Here are the essential tools you’ll need to get the best results:
- 8-inch square baking dish: Perfectly sized for this recipe to ensure your pear crisp bakes evenly.
- Mixing bowls: A large bowl for the pears and a smaller bowl for preparing the topping.
- Fork or pastry cutter: Use a fork or pastry cutter to mix together the crumble topping ingredients efficiently.
- Measuring spoons and cups: Accurate measurements are key to making the perfect topping and filling.
- Oven mitts and cooling rack: For removing the hot dish from the oven and letting it cool properly before serving.
With these tools in hand, you’re all set for a successful Pear Crisp-making adventure!
Pear Crisp Preparation
The preparation process for Pear Crisp is simple, allowing the natural flavors of the pears to shine through while creating a golden, crispy topping. Follow these steps to assemble and bake your pear crisp to perfection.
Preparing the Filling
- Preheat the Oven: Start by preheating your oven to 350°F (175°C). Grease an 8-inch square baking dish with butter or cooking spray to prevent sticking.
- Prepare the Pears: Peel, core, and slice the pears into thin wedges. Place the sliced pears in a large mixing bowl. Add the vanilla extract, cinnamon, nutmeg, and ¼ teaspoon of salt. Toss the pears gently to coat them evenly with the spices. This mixture will form the fragrant, flavorful base of your crisp.
- Transfer to Baking Dish: Once the pears are coated with the spices, transfer them to your greased baking dish. Spread the pear slices out in an even layer, making sure the filling is evenly distributed. This ensures that every bite is packed with delicious, spiced pears.
Preparing the Topping
- Mix the Topping Ingredients: In a separate bowl, add the softened butter, all-purpose flour, rolled oats, granulated sugar, brown sugar, chopped pecans, and salt. Use a fork or your fingers to mix the ingredients together. You’ll want to create a crumbly texture, similar to a streusel topping. The mixture should be lumpy and clumpy, but fully combined.
- Assemble the Crisp: Once your topping mixture is ready, evenly spread it over the pear filling in the baking dish. This topping will bake into a crisp, golden layer, giving you that irresistible contrast between soft pears and crunchy streusel.
Baking the Pear Crisp
Now that your Pear Crisp is assembled, it’s time to bake it to golden perfection. The baking process is crucial for achieving that crisp, buttery topping while ensuring the pears are soft and tender. Here’s how to bake it:
Baking Instructions
- Bake the Pear Crisp: Place the prepared baking dish in your preheated oven and bake for 45 minutes. During this time, the topping will turn a beautiful golden brown, and the pears will soften and release their natural juices. The aroma of cinnamon and baked fruit will fill your kitchen!
- Check for Doneness: After 45 minutes, check the pear crisp to ensure that the topping is golden brown and crispy. You can gently poke the pears with a fork to make sure they are tender and soft.
- Cool Before Serving: Once the pear crisp is perfectly baked, remove it from the oven and allow it to cool for 5-10 minutes. This step is important to allow the juices to settle and the crisp to firm up a bit before serving.
Serving and Decoration
Serving your Pear Crisp is where you can really get creative and elevate the dessert to a whole new level. A few thoughtful touches can turn this simple treat into an irresistible masterpiece.
Suggested Toppings and Coatings
When it comes to serving Pear Crisp, a scoop of vanilla ice cream or a drizzle of caramel sauce can take it from delicious to decadent. Here are some other popular topping ideas:
- Vanilla Ice Cream: A classic pairing with pear crisp, its creamy texture perfectly complements the warm, spiced fruit and crunchy topping.
- Caramel Sauce: Drizzle warm caramel sauce over the crisp for a sweet and rich addition that pairs beautifully with the pears.
- Whipped Cream: For a lighter option, freshly whipped cream can add a soft, fluffy texture that balances the crisp and warm pears.
- Chopped Nuts: If you like a little extra crunch, sprinkle some chopped pecans or walnuts on top for an added layer of flavor and texture.
How to Serve Pear Crisp
Once your Pear Crisp has cooled for a few minutes, serve it in individual bowls or dishes. For an extra indulgent touch, top each serving with a generous scoop of vanilla ice cream or a drizzle of caramel sauce. The contrast between the warm crisp and cold ice cream is absolutely divine!
Storage Instructions
If you have any leftovers, don’t worry! Pear Crisp can be easily stored for later enjoyment.
How to Keep Pear Crisp Fresh
To keep your pear crisp fresh for a few days, simply cover the baking dish with plastic wrap or aluminum foil and store it in the refrigerator. It will last for up to 3 days. When ready to serve, you can reheat individual portions in the microwave or in the oven at 350°F (175°C) for about 10 minutes, until warmed through.
Freezing Pear Crisp
If you want to store your pear crisp for longer, it freezes well. Let it cool completely, then wrap it tightly in plastic wrap or aluminum foil and place it in a freezer-safe container or bag. You can freeze it for up to 2 months. To enjoy it later, thaw it overnight in the refrigerator and reheat as desired.
Pear Crisp
Ingredients
Filling
- 6 cups peeled and sliced pears (about 6-7 medium pears) (or use a combination of apples and pears)
- 1 teaspoon vanilla extract
- 1 ½ teaspoons cinnamon
- ¼ teaspoon nutmeg
- ¼ teaspoon salt
Topping
- 1 stick (½ cup) salted butter, softened at room temperature
- ½ cup all-purpose flour
- ½ cup rolled oats
- ½ cup granulated sugar
- ½ cup brown sugar
- ⅓ cup finely-chopped pecans
- ¼ teaspoon salt
Instructions
- Preheat the oven to 350°F (175°C). Grease an 8-inch square baking dish with butter or cooking spray.
- Peel, core, and slice the pears into thin wedges. Place the sliced pears in a large mixing bowl. Add the vanilla extract, cinnamon, nutmeg, and ¼ teaspoon of salt. Toss the pears gently to coat them evenly with the spices.
- Transfer the pear mixture to the prepared baking dish. Spread the pear slices out in an even layer.
- In a separate bowl, combine the softened butter, all-purpose flour, rolled oats, granulated sugar, brown sugar, chopped pecans, and salt. Use a fork or your fingers to mix the ingredients together until you achieve a crumbly texture.
- Evenly spread the topping mixture over the pear filling in the baking dish.
Baking the Pear Crisp
- Place the baking dish in the preheated oven and bake for 45 minutes.
- After 45 minutes, check the pear crisp to ensure the topping is golden brown and crispy, and the pears are tender.
- Remove from the oven and allow it to cool for 5-10 minutes.
Conclusion
Pear Crisp is the ultimate comfort dessert, combining the natural sweetness of pears with a buttery, crispy topping that’s impossible to resist.
Whether you’re serving it for a family gathering, a cozy dinner, or just treating yourself, this recipe is sure to impress.
With its easy preparation and endless topping options, you can customize your pear crisp to suit any occasion. Follow these detailed instructions, and you’ll create a warm, satisfying dessert that everyone will love.