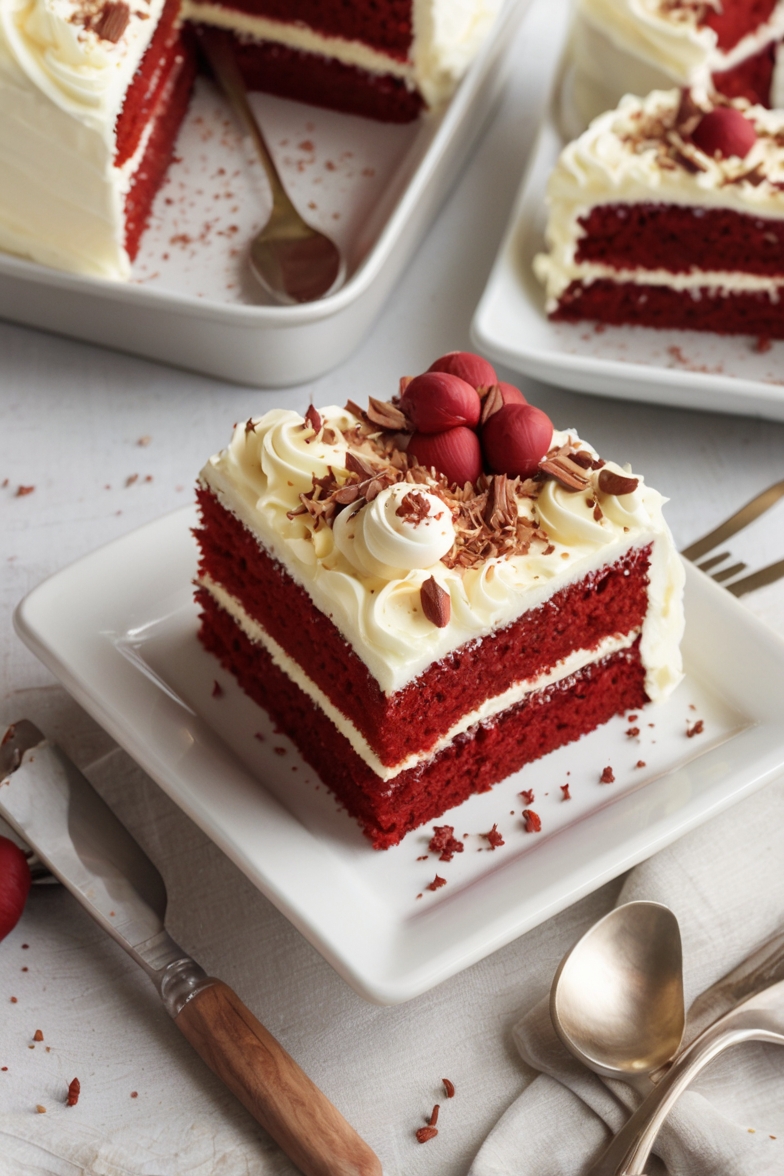
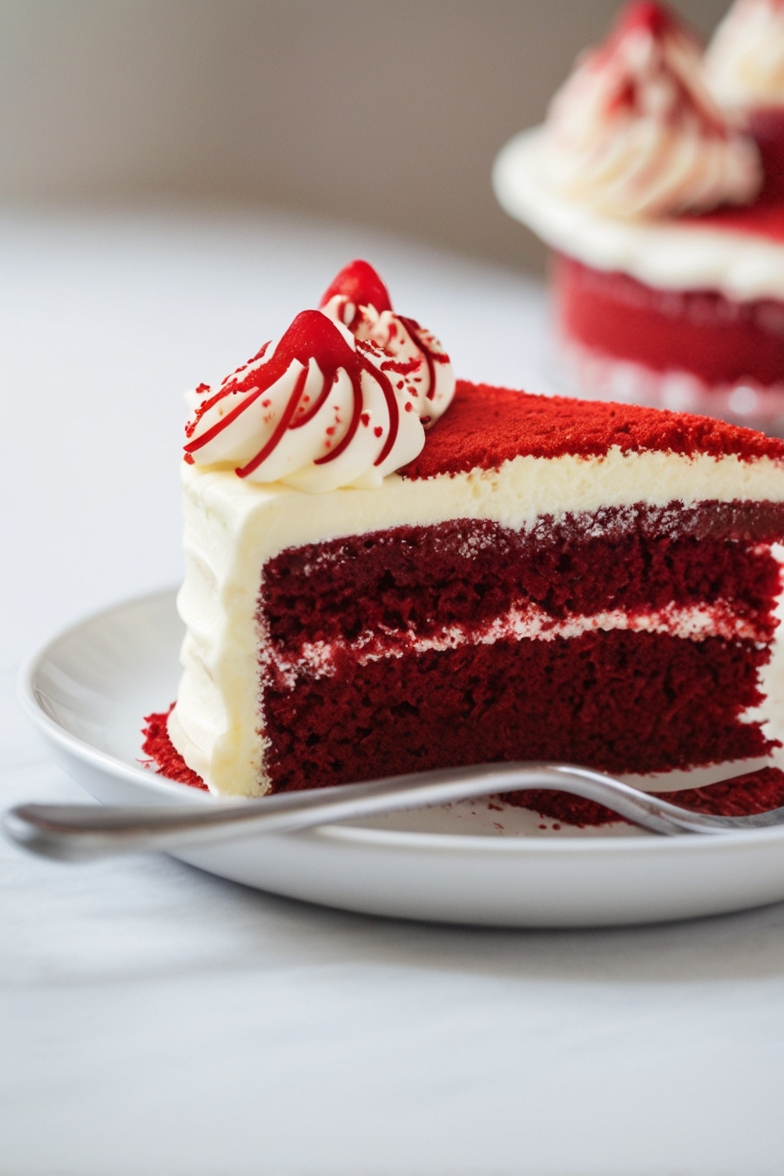
Craving a slice of the iconic Red Velvet Cake? Whether you’re hosting a special event or simply indulging in a treat, this classic cake is sure to impress with its rich flavor and striking red hue.

Perfectly balanced with a slight cocoa flavor and topped with a creamy, decadent frosting, red velvet cake has earned its place as a favorite for many. It’s not only a visual treat but also a delicious one. Let’s dive into how you can create this masterpiece in your kitchen.
Ingredients List
Cake Ingredients
- 1 ½ cups white sugar
- ½ cup shortening
- 2 eggs (room temperature)
- 4 tablespoons red food coloring
- 2 tablespoons cocoa powder
- 1 cup buttermilk (room temperature)
- 1 teaspoon salt
- 1 teaspoon vanilla extract
- 2 ½ cups sifted all-purpose flour
- 1 tablespoon distilled white vinegar
- 1 ½ teaspoons baking soda
Icing Ingredients
- 1 cup milk
- 5 tablespoons all-purpose flour
- 1 cup white sugar
- 1 cup butter (room temperature)
- 1 teaspoon vanilla extract
Required Kitchen Tools
To make your Red Velvet Cake baking process smooth and efficient, here are the essential kitchen tools you’ll need:
- Mixing Bowls: You’ll need at least two mixing bowls—one for the dry ingredients and one for the wet ingredients. It’s essential to have ample space for whisking and stirring.
- Electric Mixer or Whisk: An electric hand mixer or stand mixer will help you achieve the smooth, velvety texture for the batter. You can also use a whisk if you prefer mixing by hand.
- Measuring Cups and Spoons: Accurate measurements are key to ensuring the right balance of flavors. Make sure you have a set of measuring cups and spoons for the dry and wet ingredients.
- Baking Pans: Two 9-inch round cake pans are ideal for this recipe. Line them with parchment paper or grease them well to prevent sticking.
- Saucepan: A small saucepan will be required to make the icing, as you’ll need to cook the flour and milk mixture for the frosting.
- Cooling Rack: Allow your cakes to cool evenly on a cooling rack after baking. This step ensures they don’t become soggy at the bottom.
With these tools, you’re all set to create a perfect Red Velvet Cake with the signature texture and flavor!
Cake Preparation
Mixing the Cake Ingredients
- Prepare the Wet Ingredients:
In a large mixing bowl, combine the white sugar and shortening. Use an electric mixer to cream them together until the mixture is light and fluffy. Next, add the eggs, one at a time, beating well after each addition. Once the eggs are fully incorporated, stir in the red food coloring and vanilla extract. - Combining the Dry Ingredients:
In another bowl, sift together the all-purpose flour, cocoa powder, salt, and baking soda. The sifting process ensures that there are no lumps and gives the cake a light texture. - Adding the Wet and Dry Ingredients Together:
Now, alternately add the dry ingredients and buttermilk to the wet mixture. Start by adding a portion of the dry ingredients, followed by a portion of the buttermilk. Mix well after each addition. Repeat until all the flour mixture and buttermilk are incorporated. - Add the Vinegar:
The vinegar plays a crucial role in helping the baking soda react, giving your cake its signature light texture. Gently stir in the distilled white vinegar.
Baking the Cake
- Prepare the Cake Pans:
Preheat your oven to 350°F (175°C). Grease and flour your cake pans or line them with parchment paper to ensure the cakes come out easily. - Pour the Batter into the Pans:
Divide the cake batter evenly between the prepared pans, smoothing the tops with a spatula to ensure even baking. - Bake the Cakes:
Bake in the preheated oven for 30-35 minutes or until a toothpick inserted into the center of the cakes comes out clean. Keep an eye on them towards the end to avoid over-baking. - Cool the Cakes:
Once baked, remove the cakes from the oven and let them cool in the pans for 10 minutes. Afterward, transfer the cakes onto a cooling rack to cool completely before frosting.
Icing Preparation and Assembly
Making the Creamy Frosting
- Cook the Flour and Milk:
In a small saucepan, combine the milk and flour. Cook over medium heat, whisking constantly, until the mixture thickens into a smooth, pudding-like consistency. Once it reaches the right thickness, remove it from the heat and let it cool completely. You can speed up the cooling process by transferring it to a shallow bowl and placing it in the refrigerator. - Cream the Butter and Sugar:
While the flour and milk mixture cools, use an electric mixer to cream together the butter and sugar until light and fluffy. This usually takes about 3-4 minutes. - Combine the Mixtures:
Once the flour and milk mixture has cooled, slowly add it to the creamed butter and sugar mixture, beating until smooth and fully incorporated. Stir in the vanilla extract for an extra touch of flavor.
Assembling the Red Velvet Cake

- Layer the Cakes:
Place the first cake layer on your cake stand or plate. If there is any unevenness on the top, you can level it with a serrated knife to create a flat surface for frosting. - Frost the Cake:
Using a spatula, spread a generous layer of frosting on top of the first cake layer. Be sure to spread it evenly to the edges. Place the second cake layer on top and frost the top and sides of the cake. You can use an offset spatula for a smooth finish or create decorative swirls for a more rustic look. - Decorating the Cake:
For an extra touch, you can decorate the top of your cake with cake crumbs, red velvet sprinkles, or fresh berries. A light dusting of powdered sugar can also add a charming finish.
Serving Your Red Velvet Cake
Your Red Velvet Cake is now ready to serve! This cake is perfect for birthdays, anniversaries, or any special occasion. The richness of the cake paired with the smooth, buttery frosting makes it a crowd-pleaser every time.
Storage Instructions
How to Keep Red Velvet Cake Fresh
After you’ve enjoyed your delicious Red Velvet Cake, you can store leftovers in an airtight container at room temperature for up to 3 days. This will keep the cake moist and the frosting fresh.
Freezing Red Velvet Cake
If you want to store the cake for a longer period, you can freeze it. Slice the cake first, and then wrap each slice in plastic wrap and foil before placing it in a freezer-safe bag. The cake can be frozen for up to 3 months. To enjoy, simply thaw the slices at room temperature or give them a quick reheat in the microwave.
Conclusion
Mastering the Red Velvet Cake recipe is a rewarding experience, and the result is always a hit. With its tender crumb, subtle cocoa flavor, and rich cream cheese frosting, this cake is perfect for any celebration or simply when you’re craving something special. Whether you’re a first-time baker or an experienced pro, this recipe will guide you to creating a perfect Red Velvet Cake every time. So, gather your ingredients, follow these steps, and enjoy the magic of homemade Red Velvet Cake!
