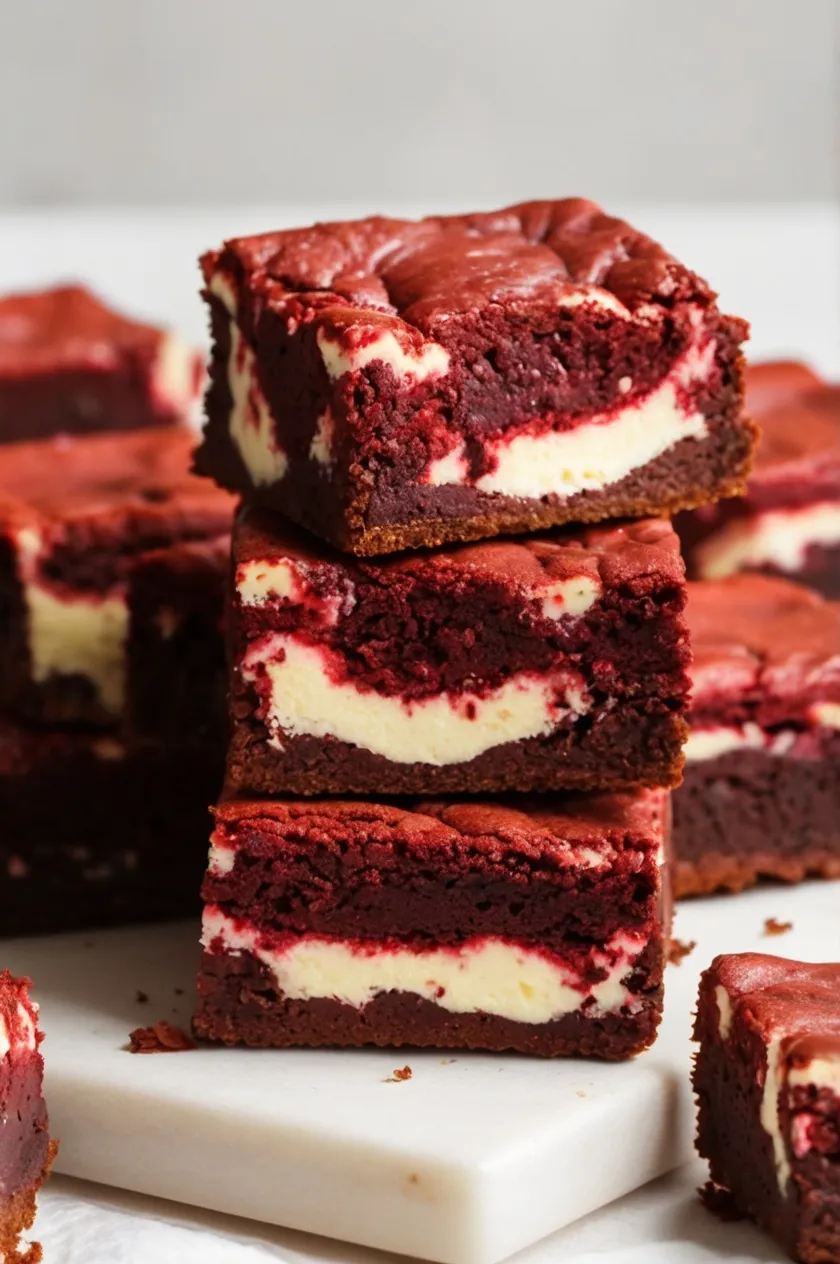
Craving a delightful twist on classic brownies? Indulge in the rich, velvety goodness of Red Velvet Cheesecake Brownies—a perfect blend of fudgy red velvet layers and creamy cheesecake swirls.
These decadent treats offer a balance of chocolatey richness and tangy cream cheese, making them a stunning addition to any dessert table. No matter if you’re baking for a special occasion or simply satisfying a sweet craving, this recipe will become a go-to favorite.
Ingredients List
Creating the perfect Red Velvet Cheesecake Brownies requires a precise combination of ingredients. Let’s break them down into two essential parts:
For the Red Velvet Brownies:
- ½ cup unsalted butter, melted
- 1 cup granulated sugar
- 2 large eggs
- 1 teaspoon vanilla extract
- 1 tablespoon red food coloring
- 1 tablespoon cocoa powder
- ¾ cup all-purpose flour
- ¼ teaspoon salt
For the Cheesecake Layer:
- 8 oz cream cheese, softened
- ¼ cup granulated sugar
- 1 large egg
- ½ teaspoon vanilla extract
Required Kitchen Tools
To ensure a smooth baking process, having the right kitchen tools is essential. Here are the must-have tools for making Red Velvet Cheesecake Brownies:
- Mixing Bowls – You’ll need separate bowls for the brownie batter and cheesecake mixture.
- Whisk & Spatula – A whisk helps blend ingredients smoothly, while a spatula ensures thorough mixing and even layering.
- Hand or Stand Mixer – To achieve a creamy cheesecake layer, a mixer is ideal for beating cream cheese until smooth.
- 8×8-inch Baking Pan – The perfect size for thick, fudgy brownies. Lining it with parchment paper makes removal easier.
- Toothpick or Cake Tester – Useful for checking doneness by testing the center of the brownies.
- Knife or Toothpick – Essential for creating the signature swirls in the cheesecake layer.
- Cooling Rack – Helps brownies cool evenly before slicing.
Preparing the Red Velvet Brownie Batter
Creating the perfect red velvet brownie base is key to achieving that rich, fudgy texture. Follow these steps to prepare the batter:
Mixing the Ingredients
- Preheat the oven to 350°F (175°C). Line an 8×8-inch baking pan with parchment paper, leaving an overhang for easy removal.
- In a large mixing bowl, whisk together the melted butter and granulated sugar until the mixture is smooth and glossy.
- Add the eggs, vanilla extract, and red food coloring, whisking until fully combined. The batter should have a vibrant red hue.
- Sift in the cocoa powder, flour, and salt. Gently fold the dry ingredients into the wet ingredients using a spatula. Be careful not to overmix, as this can affect the texture of the brownies.
Preparing the Cheesecake Layer
A creamy cheesecake layer adds a delicious contrast to the rich brownie base. Here’s how to make it:
- In a separate mixing bowl, beat the softened cream cheese and granulated sugar together until smooth and creamy.
- Add the egg and vanilla extract, beating until fully incorporated. The mixture should be silky and free of lumps.
Assembling the Brownies
Now that both the red velvet brownie batter and cheesecake filling are prepared, it’s time to assemble the layers for a beautifully marbled effect.
Layering the Batter
- Pour about 3/4 of the red velvet brownie batter into the prepared baking pan, spreading it evenly with a spatula.
- Carefully pour the cheesecake mixture over the brownie layer, smoothing it gently to the edges without disturbing the base.
- Drop spoonfuls of the remaining red velvet brownie batter on top of the cheesecake layer.
Creating the Swirl Effect
- Use a toothpick or a butter knife to swirl the red velvet batter through the cheesecake layer, creating a marbled pattern. Avoid over-swirling to maintain distinct layers.
Baking the Brownies
- Place the pan in the preheated oven (350°F/175°C) and bake for 30-35 minutes, or until the center is set. A toothpick inserted into the middle should come out mostly clean, with a few moist crumbs.
- Once baked, remove from the oven and let the brownies cool completely in the pan on a wire rack.
Cooling and Serving
Proper cooling ensures clean slices and enhances the flavor of the brownies. Follow these steps for the best results.
Chilling for Clean Cuts
- Once the brownies have cooled to room temperature, transfer them to the refrigerator for at least 30 minutes. Chilling makes slicing easier and gives the cheesecake layer a firmer texture.
- After chilling, use the parchment paper overhang to lift the brownies out of the pan.
- Place on a cutting board and use a sharp knife to slice into squares. For cleaner cuts, wipe the knife with a damp cloth between slices.
Serving Suggestions
- Enjoy as is or add a dollop of whipped cream for extra indulgence.
- Drizzle with chocolate sauce or melted white chocolate for a gourmet touch.
- Pair with a hot cup of coffee or a glass of milk for a delightful treat.
Storage Instructions
Keeping Brownies Fresh
- Store brownies in an airtight container in the refrigerator for up to 5 days.
- For the best texture, let them sit at room temperature for 10 minutes before serving.
Freezing for Later
- Wrap individual brownie squares in plastic wrap, then place them in a zip-top freezer bag.
- Store in the freezer for up to 2 months.
- Thaw in the refrigerator overnight or at room temperature for about 30 minutes before enjoying.
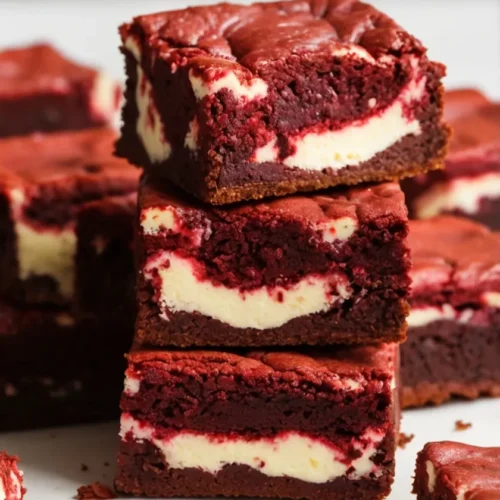
red velvet cheesecake brownies
Ingredients
For the Red Velvet Brownies
- ½ cup unsalted butter, melted
- 1 cup granulated sugar
- 2 large eggs
- 1 teaspoon vanilla extract
- 1 tablespoon red food coloring
- 1 tablespoon cocoa powder
- ¾ cup all-purpose flour
- ¼ teaspoon salt
For the Cheesecake Layer
- 8 oz cream cheese, softened
- ¼ cup granulated sugar
- 1 large egg
- ½ teaspoon vanilla extract
Instructions
Cooling and Serving
- Let the brownies cool completely in the pan on a wire rack.
- Transfer to the refrigerator and chill for at least 30 minutes before slicing.
- Use the parchment paper overhang to lift the brownies out of the pan.
- Place on a cutting board and slice into squares with a sharp knife, wiping the blade between cuts for cleaner edges.
Storage
- Store brownies in an airtight container in the refrigerator for up to 5 days.
- Before serving, let them sit at room temperature for 10 minutes.
- To freeze, wrap individual brownies in plastic wrap, then place them in a zip-top freezer bag.
- Freeze for up to 2 months and thaw in the refrigerator overnight or at room temperature for 30 minutes before serving.
Conclusion
These Red Velvet Cheesecake Brownies bring together the richness of red velvet, the creaminess of cheesecake, and the fudgy texture of brownies—a perfect combination for any dessert lover! If you’re making them for a special occasion or as an everyday treat, they’re sure to impress. Enjoy every bite!