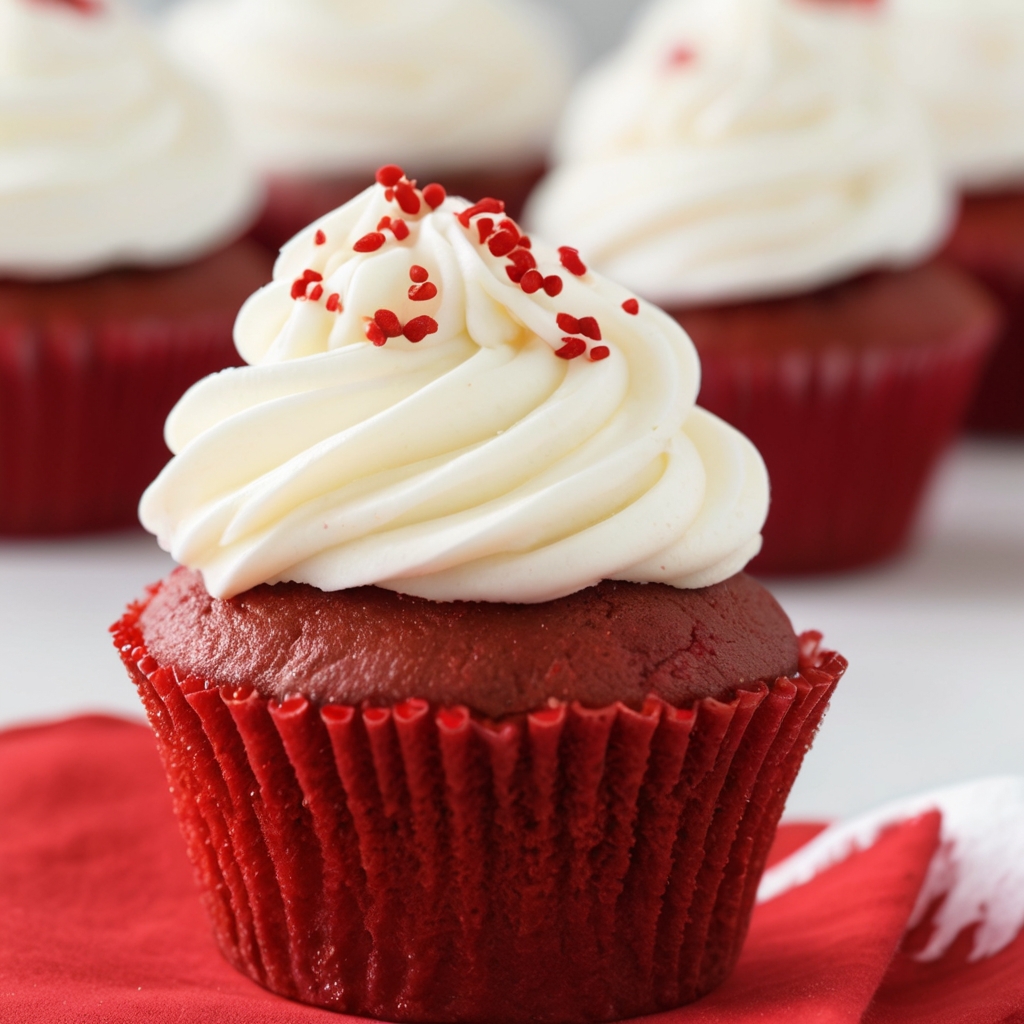
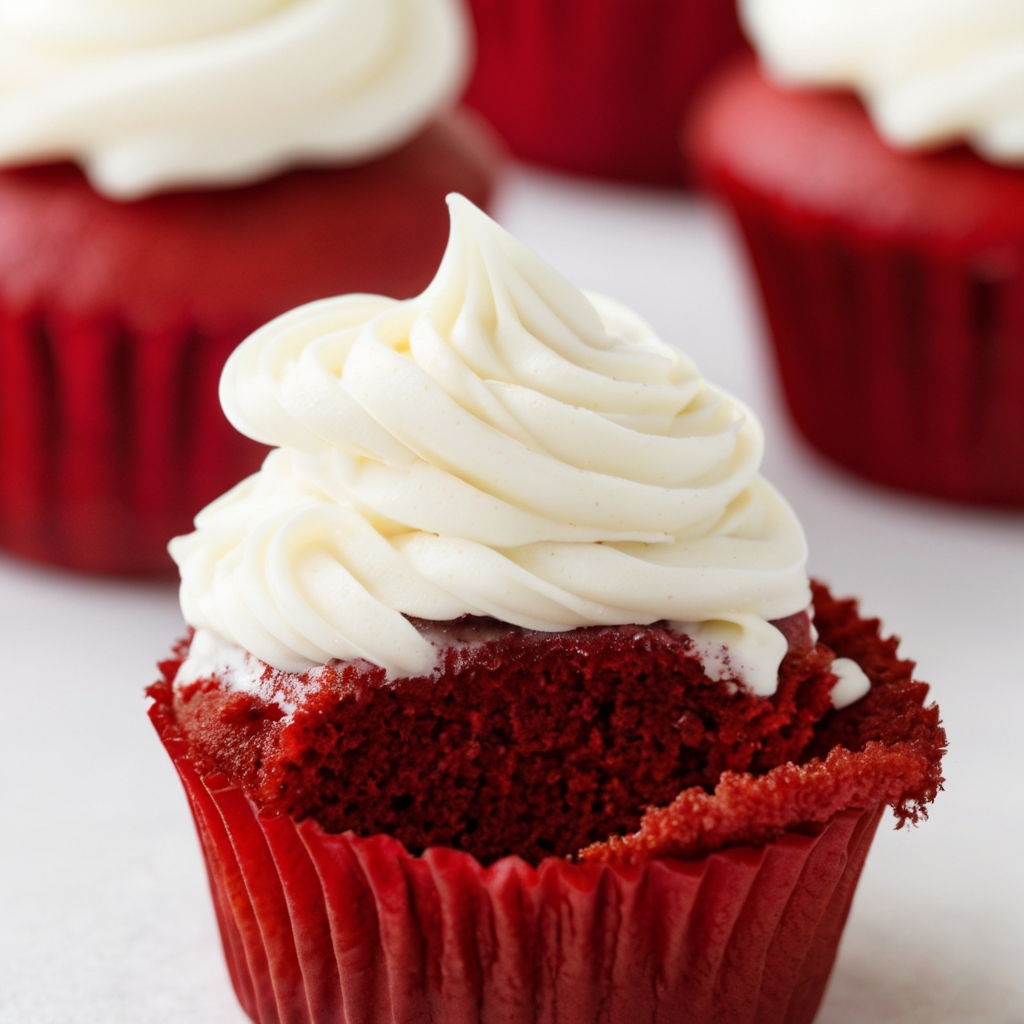
Craving a decadent dessert with a vibrant pop of color? Look no further than these Red Velvet Cupcakes from Scratch!

With their soft, moist crumb and the perfect hint of cocoa, these cupcakes are a celebration in every bite. Topped with cream cheese frosting, these cupcakes are the ultimate treat for birthdays, holidays, or just a sweet indulgence any day of the week.
Whether you’re a seasoned baker or a newbie in the kitchen, these cupcakes are simple to make and sure to impress.
Ingredients List
Cupcake Ingredients
- 1 ½ cups white sugar
- ½ cup butter (room temperature)
- 2 large eggs
- 1 cup buttermilk (room temperature)
- 1 fluid ounce red food coloring
- 1 teaspoon vanilla extract
- 1 ½ teaspoons baking soda
- 1 tablespoon distilled white vinegar
- 2 cups all-purpose flour
- ⅓ cup unsweetened cocoa powder
- 1 teaspoon salt
Before diving into the mixing and baking process, let me share a few tools that will make this recipe easier:
Required Kitchen Tools
- Electric Mixer (Hand or Stand Mixer): A hand or stand mixer is perfect for creating a smooth, well-combined batter quickly. It helps to blend the butter and sugar together to create a light and fluffy texture.
- Cupcake Pan: A standard 12-cup cupcake pan is essential to give your cupcakes the perfect shape. Don’t forget to line it with paper cupcake liners for easy cleanup.
- Measuring Cups and Spoons: For precise measurements, especially when adding ingredients like flour, cocoa powder, and red food coloring, these tools will ensure you get the perfect balance.
- Whisk: A whisk will be helpful to evenly mix the dry ingredients like flour, cocoa powder, and salt before incorporating them into the wet ingredients.
- Cooling Rack: After baking, it’s important to place your cupcakes on a cooling rack to ensure they cool down evenly without becoming soggy.
These tools will make the whole baking process smoother, ensuring you can whip up your red velvet cupcakes with ease.
Cupcake Preparation
Now that you have your ingredients and tools ready, it’s time to get baking! Follow these steps carefully to ensure your Red Velvet Cupcakes turn out perfectly:
Mixing the Wet Ingredients
Start by creaming together the butter and sugar in a large bowl. Use your electric mixer on medium speed until the mixture becomes light and fluffy, which usually takes about 3-4 minutes. Once the butter and sugar are well combined, add in the eggs, one at a time, beating well after each addition. Next, stir in the vanilla extract and buttermilk. The buttermilk is key for making these cupcakes super moist, so don’t skip it!
Adding the Red Food Coloring
This is where the iconic red color of the cupcakes comes in! Stir in the red food coloring until the batter reaches the vibrant shade you desire. You may need to adjust the amount of food coloring depending on the intensity of red you want. I usually add about 1 ounce (or roughly 2 tablespoons), but feel free to add more for a deeper red hue.
Mixing the Dry Ingredients
In a separate bowl, whisk together the flour, unsweetened cocoa powder, and salt. This will help ensure that the cocoa powder is evenly distributed throughout the flour, preventing any lumps in your batter. Once the dry ingredients are mixed, gradually add them to the wet ingredients, alternating with the baking soda and vinegar mixture. I recommend adding the dry ingredients in 2-3 portions, mixing gently between each addition to avoid overmixing. Overmixing can lead to dense cupcakes, so be sure to stop as soon as everything is incorporated.
Combining the Baking Soda and Vinegar
The baking soda and vinegar are essential for the cupcakes’ rise and soft texture. Once you’ve combined these two ingredients, they will create a reaction that helps your cupcakes rise as they bake, giving them that light, airy texture. You can add the baking soda directly to the dry ingredients, and the vinegar will be added to the wet ingredients before combining everything.
Baking the Cupcakes
Once your batter is ready, it’s time to bake these delicious Red Velvet Cupcakes. The right baking time and temperature are crucial to ensure your cupcakes come out perfectly every time.
Preparing the Cupcake Pan
Start by preheating your oven to 350°F (175°C). While the oven is heating up, line your cupcake pan with cupcake liners. This makes it easier to remove the cupcakes after baking and helps keep their shape intact. Using a scoop or spoon, fill each cupcake liner about 2/3 full with the batter. This ensures that the cupcakes have enough room to rise but won’t overflow during baking.
Baking Time
Place the pan in the preheated oven and bake for 18-22 minutes, or until a toothpick inserted into the center comes out clean or with just a few crumbs attached. Keep an eye on them towards the end of the baking time to avoid overbaking. The cupcakes should be firm to the touch but still soft and moist inside.
Cooling the Cupcakes
Once your cupcakes are done, remove them from the oven and place the pan on a wire rack to cool for about 5 minutes. Then, carefully transfer the cupcakes out of the pan and place them directly on the cooling rack to cool completely. It’s essential to let the cupcakes cool completely before frosting, as warm cupcakes can cause the frosting to melt.
Frosting and Decorating

No Red Velvet Cupcake is complete without a rich, creamy frosting to match! I recommend using cream cheese frosting, which pairs beautifully with the tangy buttermilk in the cupcakes. Here’s how to make it:
Making the Cream Cheese Frosting
To make the frosting, you’ll need:
- 8 oz cream cheese (softened)
- ½ cup butter (softened)
- 3-4 cups powdered sugar (depending on your desired sweetness)
- 1 teaspoon vanilla extract
- A pinch of salt
Start by beating the cream cheese and butter together in a large bowl until smooth and creamy. Once well combined, gradually add the powdered sugar, one cup at a time, mixing well after each addition. Add the vanilla extract and a pinch of salt to balance the sweetness. Continue mixing until the frosting is smooth and fluffy. If you want a thicker frosting, simply add more powdered sugar to reach the consistency you like.
Frosting the Cupcakes
Once your Red Velvet Cupcakes have cooled completely, it’s time to frost them! You can use a piping bag fitted with a star tip for a beautiful swirl, or simply spread the frosting on with a knife for a more rustic look. Be generous with the frosting—these cupcakes deserve a creamy, delicious topping!
Optional Toppings
For an extra touch of decoration, you can add:
- Crumbled cake or cupcake scraps (for a fun, textured topping)
- Red velvet cake crumbs for an elegant look
- Edible glitter or sprinkles for a festive feel
- Fresh berries like raspberries or strawberries for a fresh contrast
Serving and Enjoying
These Red Velvet Cupcakes are best enjoyed the same day they’re made, but they’ll keep well for a couple of days in an airtight container at room temperature. If you want to keep them longer, you can store them in the fridge due to the cream cheese frosting. Let them come to room temperature before serving to enjoy the full flavor and texture!
Conclusion
These Red Velvet Cupcakes from scratch are the perfect combination of moist, tender crumb and tangy cream cheese frosting. Whether you’re making them for a special occasion or just treating yourself to something sweet, these cupcakes are sure to impress. By following the step-by-step instructions, you can bake a batch that’s rich in flavor, color, and texture.
Don’t forget to get creative with toppings, fillings, and decorations—there are endless ways to customize your cupcakes. Happy baking!
