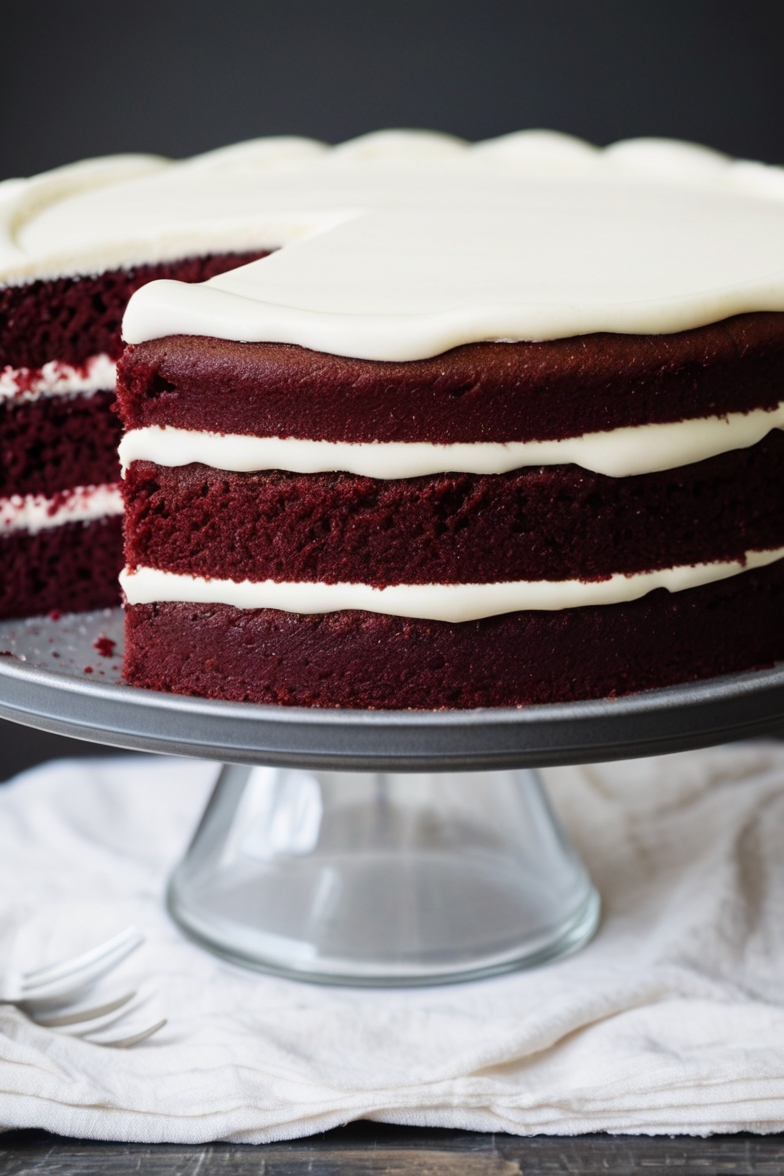
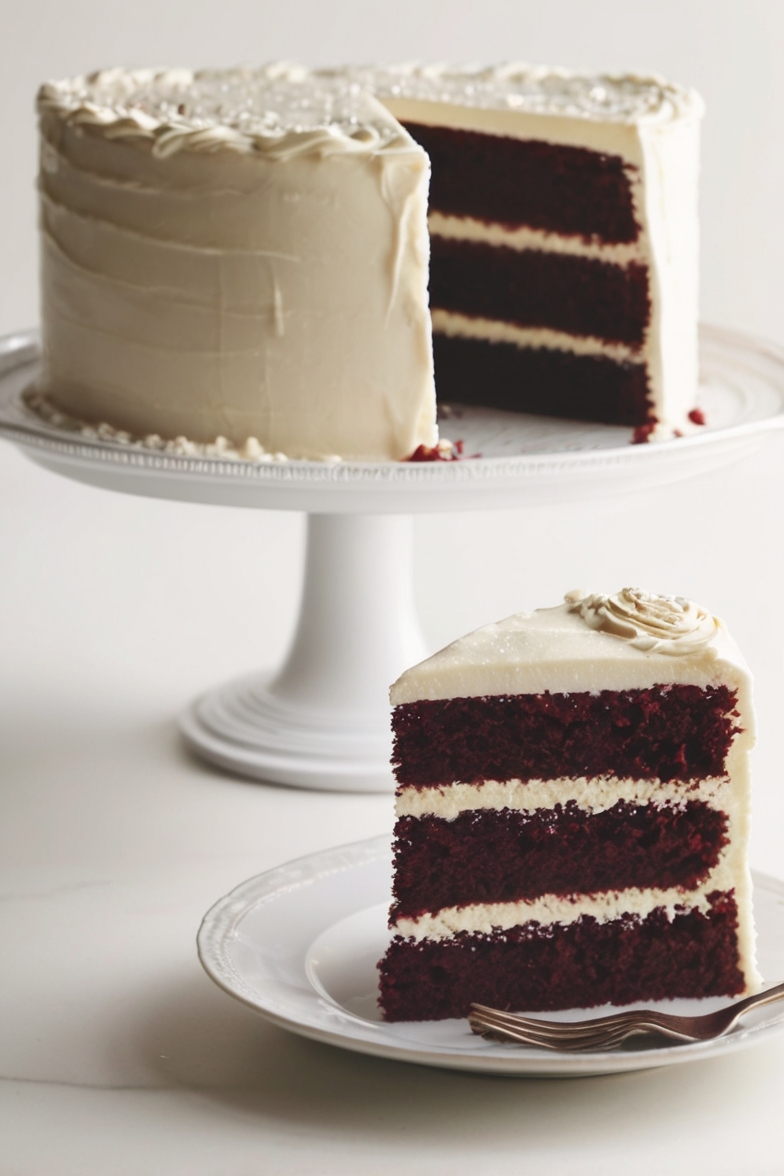
Craving a rich and decadent cake with a twist? Try this Red Wine Velvet Cake—a luxurious, velvety dessert that combines the deep flavors of red wine with the moist texture of a classic velvet cake.

Inspired by the timeless red velvet cake, this recipe adds a sophisticated edge with the addition of dry red wine, creating a flavor profile that’s both bold and indulgent. Whether you’re hosting a dinner party, celebrating a special occasion, or simply treating yourself, this cake will definitely steal the show.
Ingredients List
Cake Batter Ingredients
- 2 2/3 cups | 12 ounces all-purpose flour (I prefer Gold Medal)
- 3/4 cup | 2 1/4 ounces raw cocoa powder (Navitas Naturals works great)
- 3 1/2 sticks | 14 ounces unsalted butter (softened but cool—about 65°F)
- 2 cups gently packed | 16 ounces light brown sugar
- 2 1/4 teaspoons baking soda
- 1 teaspoon Diamond Crystal kosher salt (half as much if using iodized)
- 1/2 teaspoon ground cinnamon
- 2 tablespoons | 1 ounce vanilla extract
- 6 large eggs (brought to room temperature, about 70°F)
- 1 1/2 cups | 12 ounces dry red wine (I recommend a California Cabernet Sauvignon)
To Finish:
- One 3- or 4-ounce block or bar of white chocolate
- 2 tablespoons | 1/2 ounce cocoa nibs
Required Kitchen Tools
Having the right tools for making this Red Wine Velvet Cake can make all the difference in achieving that perfect texture and rich flavor. Here are the must-have tools you’ll need:
- Hand or Stand Mixer: A stand mixer or hand mixer will be your best friend when it comes to creaming the butter and sugar and mixing the wet ingredients into the dry.
- Measuring Cups and Spoons: Precise measurements are key, so make sure you have reliable measuring tools to get the quantities just right.
- Cake Pans: Two 9-inch round cake pans will work perfectly for this recipe. Be sure to grease and flour them to prevent sticking.
- Cooling Rack: After baking, place your cakes on a cooling rack to ensure they cool evenly without becoming soggy.
- Microwave-Safe Bowl: This will come in handy for melting the white chocolate to create a smooth, glossy finish on your cake.
Cake Batter Preparation
Making the cake batter for this Red Wine Velvet Cake is a simple but crucial step in creating the rich, moist texture that this cake is known for. Follow the detailed steps below for perfect results.
Mixing the Dry Ingredients
Start by sifting the dry ingredients together. In a large bowl, combine the all-purpose flour, raw cocoa powder, baking soda, salt, and ground cinnamon. Sifting these ingredients ensures that everything is well-mixed and there are no lumps in the flour or cocoa powder. Once sifted, set the dry ingredients aside.
Creaming the Butter and Sugar
In the bowl of a stand mixer, or using a hand mixer, beat the softened butter and light brown sugar on medium speed until the mixture is light and fluffy—about 3-5 minutes. This step is important because it helps to incorporate air into the batter, ensuring a light and tender cake. Scrape down the sides of the bowl as needed to make sure everything is evenly mixed.
Adding the Eggs and Vanilla Extract
With the mixer on low speed, add the eggs, one at a time, allowing each to fully incorporate before adding the next. After all the eggs are added, stir in the vanilla extract. Continue to mix on medium speed until everything is well combined. The batter should look smooth and glossy at this point.
Incorporating the Red Wine
Next, add the red wine to the mixture. Pour it in slowly, alternating with the dry ingredients, starting and ending with the dry ingredients. To do this, add a third of the dry ingredients, followed by half of the red wine, and repeat this process until all ingredients are fully incorporated. Mix on low speed to avoid overworking the batter. The red wine not only gives this cake its unique flavor but also adds moisture to the batter, making it incredibly soft and velvety.
Achieving the Perfect Consistency

Once everything is mixed together, the batter should have a smooth, slightly pourable consistency. If it’s too thick, you can add a bit more wine, one tablespoon at a time, until it reaches the right texture. Be careful not to add too much liquid, as this could affect the cake’s structure.
Baking the Cake
Now that your batter is perfectly mixed, it’s time to bake your Red Wine Velvet Cake. This step is all about ensuring the cakes rise evenly and have that signature velvet-like texture.
Preparing the Cake Pans
Preheat your oven to 350°F (175°C). While the oven is heating, grease two 9-inch round cake pans with butter or non-stick cooking spray. Then, lightly dust the pans with flour or line the bottoms with parchment paper circles to ensure that the cakes don’t stick once they’ve baked. This is an important step for easy cake removal!
Pouring the Batter into the Pans
Divide the batter evenly between the two prepared cake pans. You can use a kitchen scale to ensure the batter is distributed evenly, or simply eyeball it. Use a spatula to smooth the tops of the batter, making sure it’s level in each pan. This will help the cakes bake evenly.
Baking Time
Place the cake pans in the preheated oven on the middle rack. Bake for about 30-35 minutes, or until a toothpick or cake tester inserted into the center of the cakes comes out clean or with just a few moist crumbs. Oven times may vary, so keep an eye on your cakes after the 30-minute mark.
Once baked, remove the cakes from the oven and let them cool in the pans for about 10 minutes. Then, turn the cakes out onto a wire rack to cool completely. Cooling the cakes thoroughly before frosting is essential, as it prevents the frosting from melting.
Finishing Touches: Frosting and Decorating
Now that your Red Wine Velvet Cake has cooled, it’s time to give it that final touch of elegance and flavor with the finishing ingredients. The white chocolate and cocoa nibs will complement the deep, rich flavors of the cake, making it a showstopper.
Melting the White Chocolate
Begin by breaking up the white chocolate into smaller pieces and placing it in a microwave-safe bowl. Heat it in the microwave in 20-second intervals, stirring between each, until the chocolate is completely melted and smooth. Be sure not to overheat it, as white chocolate can burn easily. Once melted, set the chocolate aside to cool slightly.
Frosting the Cake
Once the white chocolate has cooled, it’s time to frost your cake. You can spread the white chocolate over the top and sides of the cake for a smooth, glossy finish. Use a spatula to spread the chocolate evenly across the surface, allowing it to gently drip over the edges for a beautiful effect.
Adding the Cocoa Nibs
For an added crunch and burst of chocolate flavor, sprinkle the cocoa nibs on top of the frosted cake. They’ll add a subtle bitterness that balances out the sweetness of the white chocolate, creating a sophisticated contrast in flavor. Feel free to sprinkle a few extra nibs around the base of the cake for decoration as well.
Serving and Enjoying
Once decorated, slice your Red Wine Velvet Cake and serve! The combination of the rich, velvety texture and the deep red wine flavor will impress every guest. Pair it with a glass of the same red wine used in the cake for an extra touch of indulgence.
Storage Instructions
How to Keep Your Red Wine Velvet Cake Fresh
Store your Red Wine Velvet Cake in an airtight container at room temperature for up to 3 days. To keep the cake as fresh as possible, make sure the frosting doesn’t get exposed to heat or moisture.
Freezing Red Wine Velvet Cake
If you want to keep this cake for a longer period, you can freeze it. After the cake has been fully frosted and decorated, wrap it tightly in plastic wrap and aluminum foil. Place it in the freezer, where it can stay for up to 1 month. To thaw, simply remove the cake from the freezer and let it come to room temperature before serving.
Conclusion
This Red Wine Velvet Cake is a show-stopping dessert that combines the timeless elegance of velvet cake with the bold sophistication of red wine. With its rich, velvety texture and stunning white chocolate finish, it’s the perfect treat for any special occasion or a luxurious indulgence for yourself. The added cocoa nibs not only enhance the flavor but also provide a delightful crunch that contrasts beautifully with the creamy frosting. Whether you’re serving it at a celebration or enjoying a slice with a cup of coffee, this cake is sure to leave a lasting impression.
So, gather your ingredients, follow these simple steps, and treat yourself to a slice of cake that’s as indulgent as it is unforgettable!
