
Brownies are a classic treat that never fails to satisfy our sweet cravings. But what if we told you that there’s a version that takes this beloved dessert to new heights?
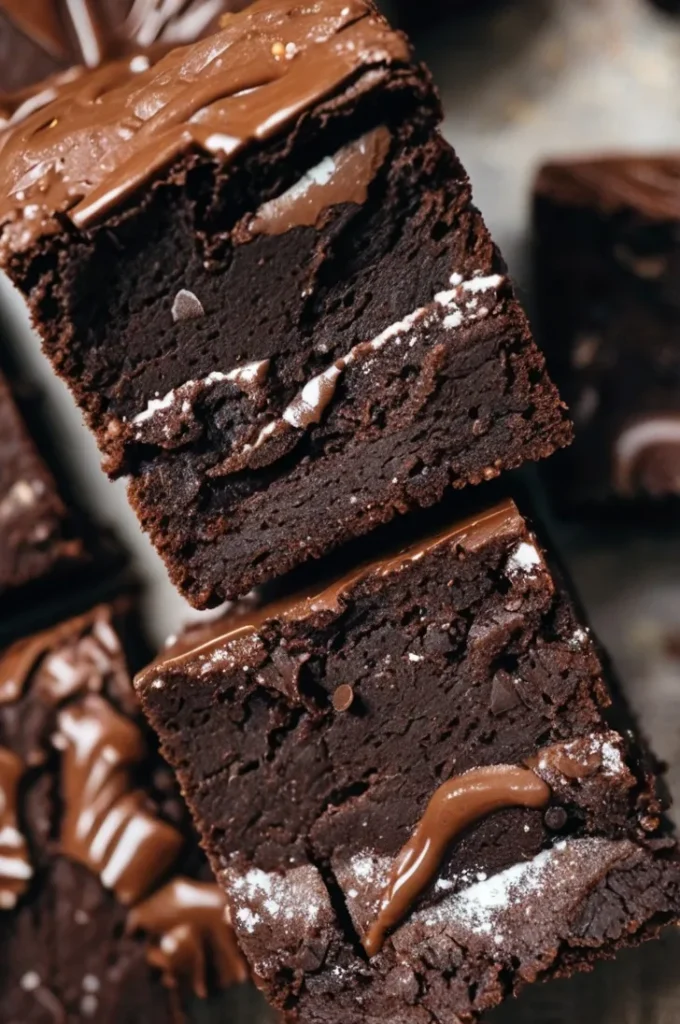
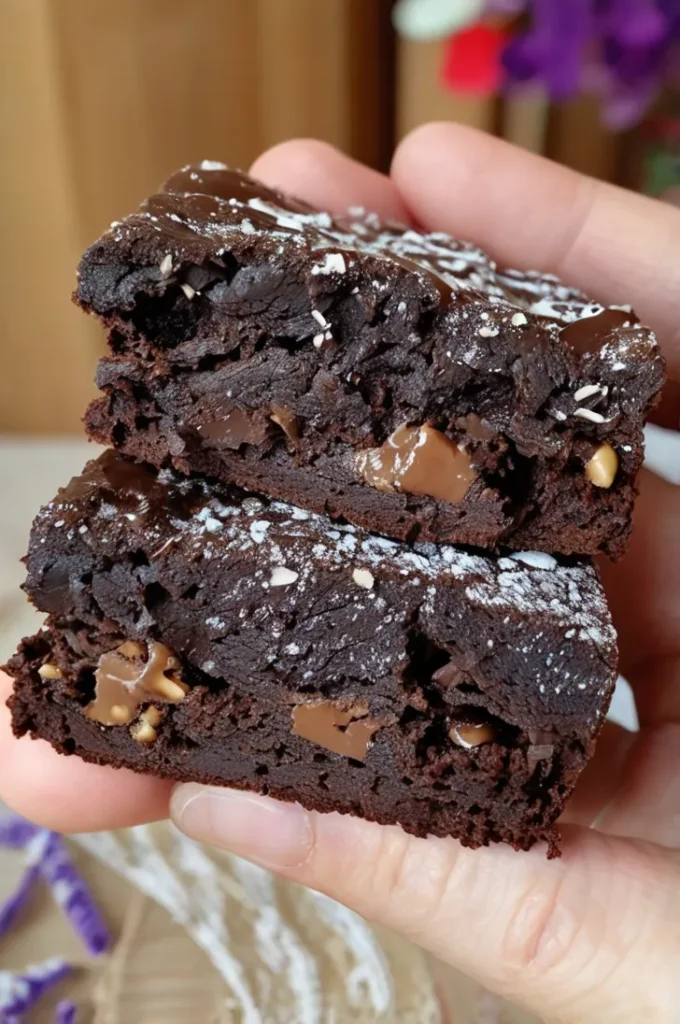
Introducing the Salted Dark Chocolate Brownies – a sophisticated twist on the traditional brownie that will leave you craving more with every bite.
Tools Needed
Here’s a list of essential tools to make these brownies:
- 8×8-inch square baking dish: The perfect size for thick, fudgy brownies.
- Parchment paper: For easy removal and cleanup.
- Saucepan: For browning the butter and melting the chocolate.
- Mixing bowls: One for wet ingredients and one for dry ingredients.
- Whisk: To combine the batter smoothly.
- Rubber spatula: For folding in the dry ingredients and chocolate chunks.
- Fine-mesh sieve: To sift the dry ingredients and remove lumps.
- Wire cooling rack: To cool the brownies evenly after baking.
- Sharp knife: For clean, even slices.
- Measuring cups and spoons: For accurate ingredient measurements.
Storage Tips
1. Room Temperature Storage
- Store the brownies in an airtight container at room temperature for up to 3 days.
- Place a piece of parchment paper between layers to prevent sticking.
2. Refrigerator Storage
- For longer storage, keep the brownies in the fridge for up to 1 week.
- Let them come to room temperature before serving for the best texture.
3. Freezing Brownies
- Wrap individual brownies or the entire batch in plastic wrap, then place them in a freezer-safe bag or container.
- Freeze for up to 3 months. Thaw at room temperature or warm them slightly in the microwave before serving.
4. Reviving Stale Brownies
- If your brownies dry out, warm them in the microwave for 10-15 seconds or place them in a preheated oven at 300°F (150°C) for 5 minutes.
Serving Suggestions
- Serve the brownies slightly warm with a scoop of vanilla ice cream for a decadent dessert.
- Pair with a drizzle of caramel sauce or a dusting of powdered sugar for extra flair.
- Enjoy with a cup of coffee, tea, or a glass of milk for the ultimate treat.
FAQs
1. Can I use regular cocoa powder instead of Dutch-process cocoa?
Yes, but the flavor and texture will be slightly different. Dutch-process cocoa has a smoother, richer taste, while natural cocoa powder is more acidic. If using natural cocoa, you may need to add a pinch of baking soda to balance the acidity.
2. Can I make these brownies gluten-free?
Absolutely! Substitute the whole wheat flour with a gluten-free flour blend or almond flour. Ensure all other ingredients (like chocolate) are certified gluten-free.
3. What if I don’t have espresso powder?
You can omit it, but the espresso powder enhances the chocolate flavor. As a substitute, use 1-2 tablespoons of strongly brewed coffee or instant coffee granules.
4. Can I use milk chocolate instead of dark chocolate?
Yes, but the brownies will be sweeter and less intense. For the best balance, stick with dark or bittersweet chocolate.
5. Why do I need to slam the pan after baking?
Slam the pan on a hard surface to deflate the brownies slightly, creating a dense, fudgy texture. It also helps settle any air pockets.
6. How do I know when the brownies are done baking?
The edges should be set, and the center should be slightly soft but not raw. A toothpick inserted into the center should come out with a few moist crumbs (not wet batter).
7. Can I freeze these brownies?
Yes! Wrap them tightly in plastic wrap or aluminum foil, then place them in an airtight container. They’ll keep for up to 3 months. Thaw at room temperature before serving.

Salted Dark Chocolate Brownies
Ingredients
- 3/4 cup (170g) unsalted butter
- 6 oz 60% bittersweet chocolate, chopped
- 1 1/2 tsp instant espresso
- 1/2 cup (100g) dark brown sugar, packed
- 1/2 cup (100g) granulated sugar
- 3 large eggs, room temperature
- 2 tsp vanilla extract
- 3/4 cup (92g) Bob's Red Mill Whole Wheat Flour
- 1/3 cup (25g) dutch-process cocoa powder
- 1/4 tsp salt
- 4–5 oz 70-80% dark chocolate, chopped
- Flaky sea salt, for sprinkling
Instructions
- Preheat oven to 350F and grease and line an 8×8 square baking dish with parchment paper. Allow the paper to hang over the sides for easy removal.
- In a large mixing bowl, add the 60% bittersweet chopped chocolate.
- Then brown the butter. Do so by adding the butter to a saucepan over medium heat. Melt down and heat the butter as it goes from loud and bubbly to quiet and foamy (about 8 minutes). Once it’s foaming, continue mixing until the butter turns a rich amber color and gives off a nutty aroma.
- Pour the hot brown butter over the chocolate (scraping in the brown bits at the bottom of the pot) and stir to combine and melt. Then whisk in the espresso powder, followed by the granulated and dark brown sugar.
- While that melts and cools, whisk together the whole wheat flour, cocoa powder, and salt in a separate bowl. Set aside.
- When the chocolate has cooled, add the eggs and vanilla and vigorously whisk for about 1 minute – the batter should thicken a bit.
- Sift in the dry ingredients (to remove any lumps in the cocoa powder) and use a rubber spatula to fold the batter together.
- Just before the dry ingredients are fully mixed in, add in about 1/2 of the chopped dark chocolate and continue to fold the batter together. Stop right when the chocolate is evenly distributed as you do not want to over mix.
- Pour the batter into the baking dish and spread it even. Top with the remaining chopped dark chocolate.
- Bake for 20-25 minutes, or until the chocolate is melted into puddles and the surface is crackled and glossy.
- Slam the pan against a hard surface a few times to help deflate the brownies. This will give you that rich and fudgy texture in the center. Place the pan on a wire cooling rack.
- Sprinkle with a few pinches of flaky sea salt and allow the brownies to cool completely. You can either patiently wait a few hours by leaving them at room temperature, or speed up the processes and chill them in the fridge.
- You know they’re ready to slice by how the brownies bend when you lift them out of the pan. If it easily bows in the center as you try to lift them out, they need to chill or cool for longer. If it bends just slightly but feels sturdy when lifted, they’re OK to slice.
- Use a large shape knife and make one-motion swift cuts, avoiding dragging the knife down the brownies. Wipe down the knife between each cut for perfect slices.