Craving a delightful bite-sized treat? Look no further than Simple Cake Pops! These fun and easy-to-make cake balls are coated in chocolate and served on a stick, making them the perfect sweet snack for any occasion.
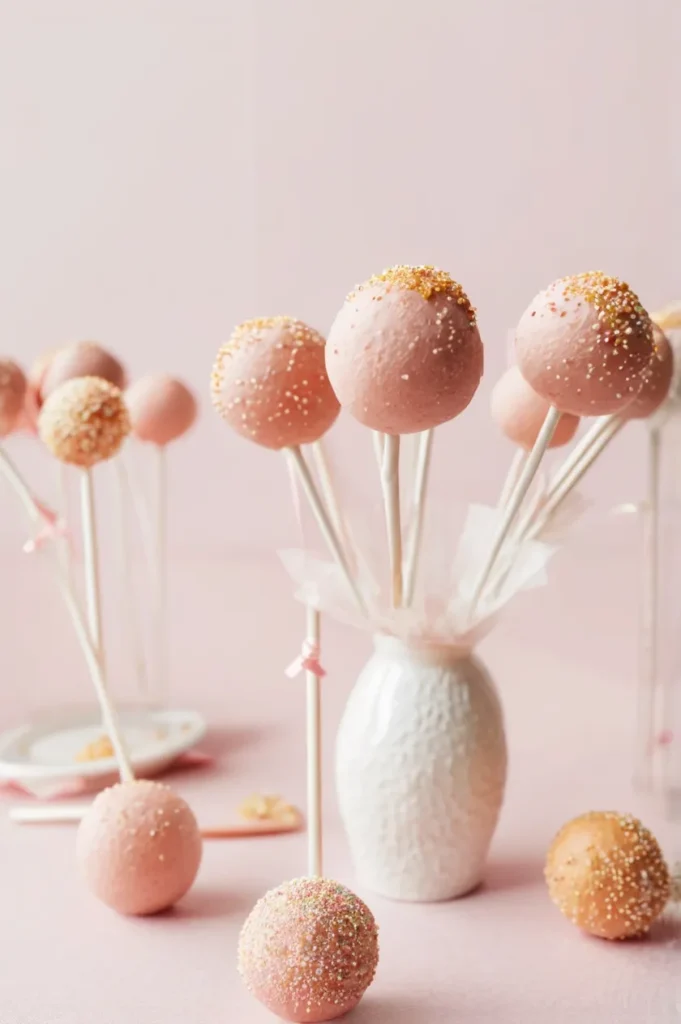
Whether you’re making them for a party, a gift, or just a fun kitchen project, cake pops bring joy in every bite. The best part? You can customize them with different flavors, coatings, and decorations to suit your taste!
Ingredients List
Creating these delicious cake pops requires a few essential ingredients to ensure the perfect texture and flavor. Let’s break them down:
Cake and Frosting Base
- 1 (15.25-ounce) package of cake mix (any flavor)
- 1 cup water
- 3 large eggs
- ½ cup vegetable oil
- 1 (16-ounce) container of prepared chocolate frosting
Coating and Decoration
- 18 lollipop sticks
- 1 (14-ounce) bag of chocolate candy melts
- 1 (.75-ounce) tube of decorating icing (optional)
- 1 tablespoon of multicolored candy sprinkles (optional)
Required Kitchen Tools
Having the right kitchen tools will make the process of creating perfect cake pops much easier. Here are the essentials:
- Mixing Bowls – To prepare the cake batter and combine it with frosting.
- Electric Mixer – Helps achieve a smooth cake batter consistency.
- Baking Dish (9×13-inch) – For baking the cake.
- Microwave-Safe Bowl – For melting the chocolate coating.
- Lollipop Sticks – To hold the cake pops securely.
- Styrofoam Block or Cake Pop Stand – To let the cake pops set without smudging the coating.
Cake Pop Preparation
Making the perfect cake pop requires a few simple steps. By following the instructions below, you’ll have perfectly moist cake balls ready for decorating in no time!

Preparing the Cake
Start by preheating your oven to 350°F (175°C) and greasing a 9×13-inch baking dish to prevent the cake from sticking. In a large mixing bowl, combine the cake mix, water, vegetable oil, and eggs. Use an electric mixer on low speed for 30 seconds, then increase the speed to medium and continue beating for 2 minutes. This ensures your cake batter is smooth and well-mixed.
Next, pour the batter into the prepared baking dish and smooth the top for an even bake. Place the dish in the preheated oven and bake for 28-33 minutes, or until a toothpick inserted into the center of the cake comes out clean. Once done, remove from the oven and set the cake aside to cool completely. Allow at least 1 hour for the cake to cool before proceeding.
Crumbling the Cake
Once the cake has cooled, it’s time to crumble it into tiny pieces. Using your hands or a fork, gently break the cake into a large bowl. Aim for small, crumbly pieces, as this helps the frosting bind everything together. You want the texture to be like coarse crumbs.
Adding the Frosting
Now, stir the frosting into the crumbled cake. Use your hands or a spoon to mix it until the mixture becomes sticky but not overly smooth. The frosting should bind the cake crumbs together, but it should still retain a slightly crumbly texture. Once mixed, refrigerate the cake mixture for at least 30 minutes to help it firm up and make it easier to roll into balls.
Shaping and Coating the Cake Pops
Now that the cake mixture is chilled and ready, let’s dive into shaping the cake pops and adding that delicious chocolate coating!
Shaping the Cake Pops
After the cake mixture has chilled, it’s time to form the cake balls. Take about 1 ½ tablespoons of the cake mixture and roll it into a ball about 1 ½ inches in diameter. Place the balls on a baking sheet lined with parchment paper, ensuring they’re not touching each other.
Inserting the Lollipop Stick
Before coating the cake pops, it’s important to secure the lollipop sticks. Start by melting a small amount of the chocolate candy melts. Take about ¼ cup of candy melts and microwave it for 20 seconds or until it’s completely melted. Dip the tip of each lollipop stick into the melted chocolate, then gently push the stick halfway into the center of each cake ball. This will help keep the stick in place once the pops are coated.
Coating the Cake Pops
Once the sticks are inserted, it’s time to coat the cake balls in chocolate. Melt the rest of the candy melts according to the instructions on the package (usually by microwaving in 20-second intervals until fully melted and smooth).
Carefully dip each cake ball into the melted chocolate, ensuring it is completely coated. Gently tap the stick to remove any excess chocolate, then place the coated cake pop upright in a block of styrofoam or a cake pop stand to set.
Decorating the Cake Pops
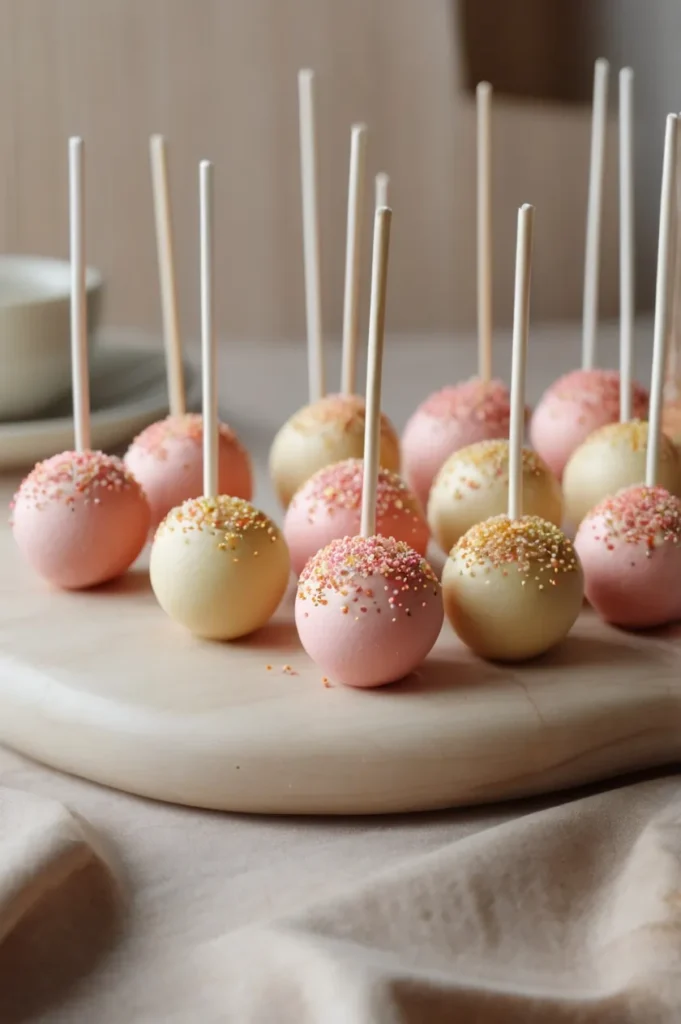
While the chocolate coating is still wet, decorate the cake pops with your choice of toppings. You can add multicolored sprinkles for a fun, festive touch, or even drizzle additional chocolate icing or candy melts for a more personalized decoration. If you’d like, use a tube of decorating icing to create fun designs or messages on the cake pops.
Repeat this process with the remaining cake balls, melting more candy melts as necessary.
Serving and Storing Cake Pops
Now that your cake pops are beautifully decorated and fully set, it’s time to serve them and learn how to store them for future enjoyment!
Serving the Cake Pops
Cake pops are perfect for a variety of occasions, from birthday parties to casual gatherings. They’re easy to grab and enjoy, making them a hit with both kids and adults. To serve, simply place them on a decorative platter or stand to showcase their colorful toppings and beautiful chocolate coating. They can also be wrapped individually in clear treat bags for a cute, giftable option.
Storage Instructions
To keep your cake pops fresh, store them in an airtight container at room temperature for up to 3 days. Avoid placing them in the refrigerator, as the moisture can cause the coating to become sticky. If you live in a warmer climate, it’s best to store them in a cool, dry place.
Freezing Cake Pops
If you’d like to enjoy your cake pops at a later time, they can be frozen! Simply place the cake pops in a single layer on a baking sheet and freeze for about 2 hours to firm up the chocolate coating. Once frozen, transfer them into an airtight container or freezer-safe bag, and store for up to 1 month. When ready to enjoy, allow them to thaw at room temperature.

Simple Cake Pops
Ingredients
- 1 (15.25 ounce) package package
- 1 cup water
- 3 large eggs
- ½ cup vegetable oil
- 1 (16 ounce) container prepared chocolate frosting
- 18 lollipop sticks
- 1 (14 ounce) bag chocolate candy melts
- 1 (.75 ounce) tube decorating icing
- 1 tablespoon multicolored candy sprinkles, or as needed (Optional)
Instructions
- Preheat the oven to 350 degrees F (175 degrees C). Grease a 9×13-inch baking dish.
- Beat cake mix, water, oil, and eggs in a bowl using an electric mixer on low speed for 30 seconds. Increase speed to medium and beat for 2 minutes more.
- Pour batter into the prepared baking dish.
- Bake in the preheated oven until a toothpick inserted in the center comes out clean, 28 to 33 minutes. Remove from the oven and cool completely, at least 1 hour.
- Crumble cooled cake into a large bowl.
- Stir frosting into the crumbled cake until the mixture is sticky and starts to come together but is not too smooth. Refrigerate until chilled, for at least 30 minutes.
- Roll cake mixture into eighteen 1 1/2-inch balls and place on a baking sheet.
- Place about 1/4 cup candy melts in a microwave-safe bowl. Microwave on high until melted, about 20 seconds.
- Push a lollipop stick halfway into each ball of cake mixture.
- Gently dip balls into the melted chocolate to coat, then place upright in a block of styrofoam.
- Decorate with candy sprinkles while the chocolate coating is wet. Repeat to make remaining cake pops, melting more candy melts as needed.
Conclusion
Cake pops are a fun, customizable, and delicious treat that’s sure to be loved by all. Whether you’re making them for a special occasion or just because, these cake pops are a great way to enjoy your favorite cake flavors in bite-sized form. With the easy-to-follow steps and tips provided, you’ll be able to create perfect cake pops every time.
Plus, with storage and freezing options, you can enjoy these treats whenever you crave a sweet snack. So, grab your ingredients, get creative, and start making your own batch of irresistible cake pops!
