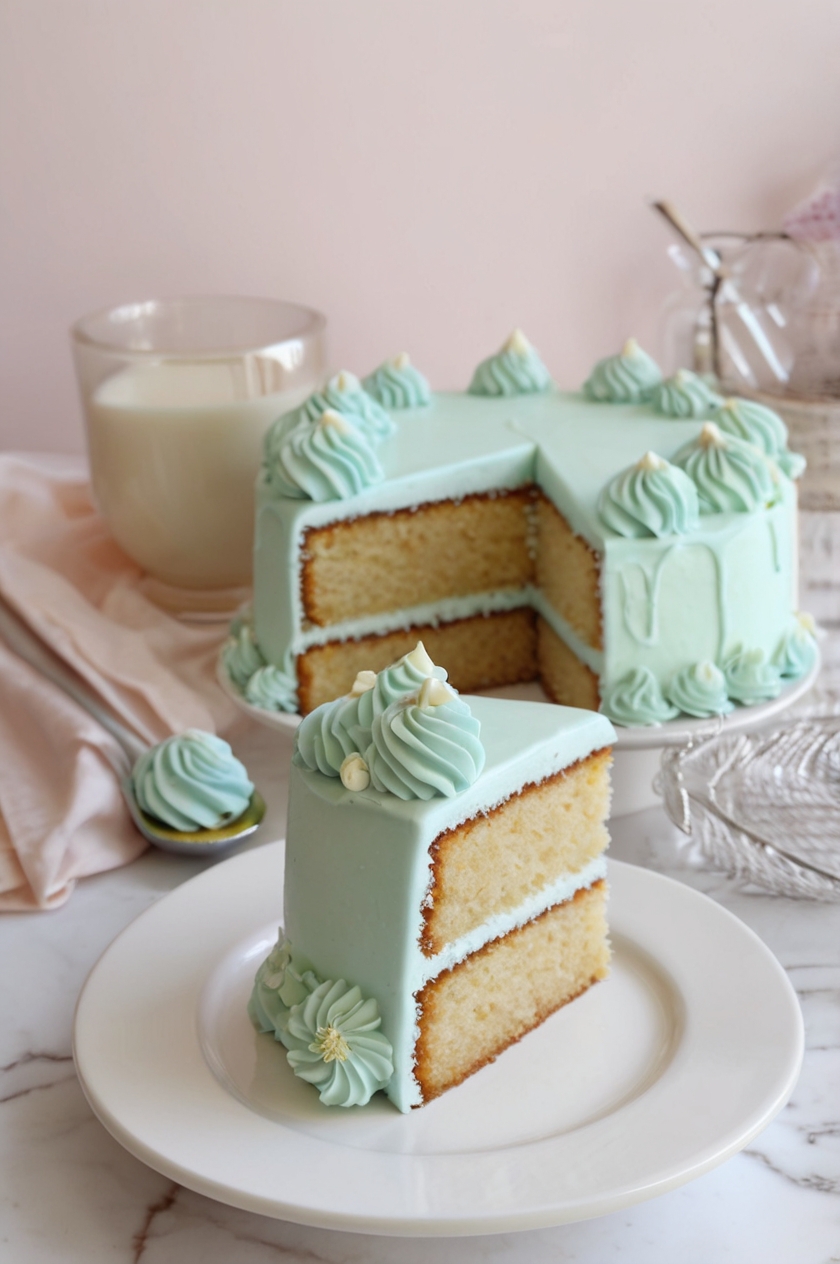
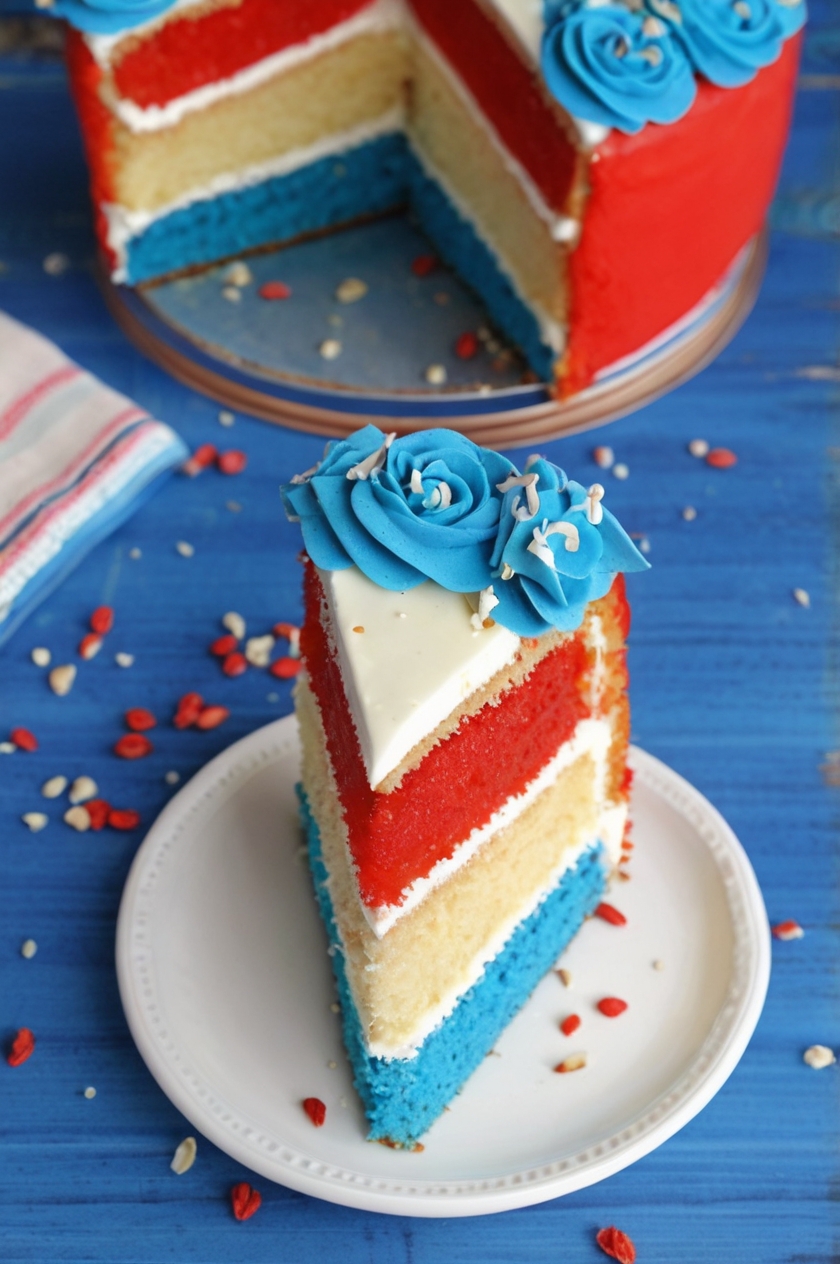
Craving a rich, aromatic vanilla-flavored cake that’s moist and perfectly paired with a smooth, creamy buttercream? Look no further! This Vanilla Bean Cake combines the deep, earthy notes of vanilla bean paste with the fluffiness of a soft, tender cake.

Topped with a light and fluffy buttercream frosting, this cake is perfect for celebrations, special occasions, or simply treating yourself to something sweet.
In this recipe, I’ll guide you through each step, from baking the cake layers to frosting and decorating them with a beautiful finish. Get ready to wow your friends and family with this homemade vanilla cake that’s as delicious as it is beautiful.
Ingredients List
For the Cake:
- 2 ¼ cups Bob’s Red Mill 1:1 gluten-free flour (plus 1 tablespoon extra for the flouring process)
- 3 tablespoons cornstarch
- ½ teaspoon salt
- ½ teaspoon baking soda
- 2 ¼ teaspoons baking powder
- ½ cup butter, room temperature
- 4 eggs
- 1 ¾ cups sugar
- ⅓ cup vegetable oil
- 1 cup almond milk, room temperature
- 1 tablespoon apple cider vinegar
- 1 tablespoon Singing Dog vanilla bean paste
For the Buttercream Frosting:
- 2 sticks butter, softened
- 3 ½ cups powdered sugar
- 2 teaspoons vanilla extract
- 3 tablespoons heavy cream
- Food coloring (optional, for decoration)
- A sprinkle of salt to balance the sweetness
For Garnishes (Optional):
- Ground cinnamon
- Fresh strawberries (or any seasonal fruit)
Required Kitchen Tools
When preparing your Vanilla Bean Cake, having the right tools makes the process a breeze. Here’s a list of essential kitchen equipment you’ll need:
- Mixing Bowls: A few large mixing bowls to combine the dry ingredients and wet ingredients.
- Hand or Stand Mixer: A stand mixer will help you beat the cake batter and buttercream frosting quickly and evenly. Alternatively, a hand mixer works just as well.
- Measuring Cups and Spoons: Accurate measurements are essential for achieving the perfect texture and flavor.
- Spatula and Whisk: For mixing the batter and scraping down the sides of the bowls.
- Cake Pans: I recommend two 9-inch round cake pans, greased and lined with parchment paper for easy removal of the cakes.
- Cooling Rack: A wire rack will allow your cakes to cool evenly and prevent them from becoming soggy.
- Piping Bags (Optional): If you want to add intricate designs to your frosting, a piping bag is perfect.
Having these tools will ensure that your Vanilla Bean Cake is both easy to prepare and beautifully executed.
Preparing the Cake
Now that we’ve gathered the ingredients and kitchen tools, it’s time to dive into preparing this delicious Vanilla Bean Cake! The process is simple and straightforward, but it’s essential to follow the steps carefully for a perfect result.
Cake Preparation
Making the perfect Vanilla Bean Cake starts with the right technique. Whether you’re a seasoned baker or a beginner, I’ll walk you through the steps to ensure your cake turns out soft, moist, and full of flavor. Let’s get started!
Step 1: Preheat the Oven and Prepare the Pans
Before you begin mixing the ingredients, preheat your oven to 350°F (175°C). While the oven heats up, grease your two 9-inch round cake pans with butter or non-stick cooking spray. Line the bottoms of the pans with parchment paper to ensure easy removal of the cakes after they bake.
Step 2: Mix the Dry Ingredients
In a medium-sized bowl, sift together the Bob’s Red Mill gluten-free flour, cornstarch, salt, baking soda, and baking powder. Sifting helps to eliminate any lumps and ensures your dry ingredients are well combined. Set this bowl aside for now.
Step 3: Cream the Butter and Sugar
In a large bowl, use your hand or stand mixer to beat together the butter and sugar on medium speed until the mixture is light, fluffy, and pale in color. This step usually takes about 4-5 minutes. The air incorporated into the butter and sugar will help your cake rise beautifully in the oven.
Step 4: Add the Eggs
Once the butter and sugar are well combined, add the eggs one at a time, beating well after each addition. This ensures the eggs are fully incorporated and the batter has a smooth consistency. Don’t forget to scrape the sides of the bowl occasionally.
Step 5: Mix in the Wet Ingredients
Next, mix the vegetable oil, almond milk, apple cider vinegar, and vanilla bean paste into the wet ingredients. I love using Singing Dog vanilla bean paste because it adds that beautiful, authentic vanilla flavor, with little specks of vanilla beans throughout the cake. Mix everything until smooth and fully combined.
Step 6: Combine the Wet and Dry Ingredients
Now it’s time to bring everything together! Gradually add the dry ingredients to the wet mixture in batches. Alternate adding the dry ingredients and the wet mixture to avoid overworking the batter. Start with a portion of the dry ingredients, then add some of the wet, and continue this process until everything is incorporated. Mix until just combined—overmixing could result in a dense cake.
Step 7: Bake the Cake
Divide the batter evenly between the two prepared cake pans. Use a spatula to smooth the tops. Place the pans in the preheated oven and bake for about 25-30 minutes, or until a toothpick inserted into the center of the cakes comes out clean. Keep an eye on the cakes towards the end of baking to ensure they don’t overbake.
Step 8: Cool the Cakes
Once your cakes are done, remove them from the oven and let them cool in the pans for about 10 minutes. Then, transfer the cakes to a wire cooling rack to cool completely. This is an important step as it allows the cake to set and prevents it from being too crumbly when frosting.

Buttercream Frosting and Decorating
Now that your cakes are perfectly baked and cooled, it’s time to create the luscious buttercream frosting and decorate your cake. The rich, creamy frosting complements the vanilla bean flavor of the cake perfectly, making each bite melt in your mouth. Let’s dive in!
Step 1: Prepare the Buttercream Frosting
To start, beat the butter in a large mixing bowl with a hand or stand mixer on medium speed until it’s smooth, creamy, and light in texture—this typically takes about 3-4 minutes. Gradually add in the powdered sugar, 1 cup at a time, ensuring it’s fully incorporated before adding the next batch. This process can be a little messy, so you may want to cover the bowl with a kitchen towel to prevent sugar from flying everywhere.
Once all the powdered sugar is mixed in, add the vanilla extract, heavy cream, and a pinch of salt. Continue to beat the frosting until it’s light, fluffy, and spreadable, about 5-6 minutes. If you prefer a thicker frosting, simply add a little more powdered sugar. For a softer consistency, add a little more cream until you reach your desired texture.
Step 2: Optional: Add Food Coloring
If you want to add some color to your frosting, divide the buttercream into separate bowls and mix in a few drops of food coloring to each. You can choose a single color or multiple shades for a fun, festive design. If you’re going for a simple, elegant look, a soft pastel color or even plain white works beautifully.
Step 3: Frost the Cake
Once your cakes are completely cooled, it’s time to frost them. Start by placing one of the cake layers onto a serving plate or cake stand. Spread a generous amount of buttercream on top, smoothing it out with an offset spatula. Place the second cake layer on top and apply a thin layer of frosting all over the cake. This is called the crumb coat—it helps to seal in any crumbs before you apply the final layer of frosting.
After the crumb coat has set (about 15-20 minutes in the fridge), apply the remaining frosting to the top and sides of the cake. Smooth it out with your spatula or a bench scraper for a sleek, professional finish.
Step 4: Decorate the Cake
Now comes the fun part—decorating! You can choose to keep it simple with a dusting of ground cinnamon for a warm, cozy touch or top it with fresh strawberries (or any seasonal fruit you prefer) for a burst of color and flavor. If you’re feeling extra creative, you could pipe decorative borders or rosettes on the cake using any leftover frosting.
Feel free to get as creative as you like—this cake can be as simple or as elaborate as you wish!
Serving and Storage Instructions
Now that your Vanilla Bean Cake is beautifully decorated, it’s time to enjoy it! But first, let’s go over some helpful serving and storage tips so you can enjoy your cake at its freshest.
Serving the Cake
This cake is perfect for any occasion—whether it’s a birthday, celebration, or a special treat for yourself. Here’s how I suggest serving it:
- Slice Generously: With its light and moist texture, this cake is best served in generous slices. Use a sharp knife to cut clean pieces.
- Pair with Coffee or Tea: A slice of this delicious Vanilla Bean Cake pairs wonderfully with a hot cup of coffee or a fragrant tea. It’s a comforting dessert perfect for any time of the day.
- Add a Scoop of Ice Cream: For an extra indulgence, serve a slice of cake with a scoop of vanilla or strawberry ice cream on the side. This combo is sure to elevate the dessert to the next level!
How to Keep Vanilla Bean Cake Fresh
To keep your Vanilla Bean Cake fresh and tasty for longer, follow these storage tips:
- Room Temperature Storage: If you plan to enjoy the cake within a few days, store it at room temperature in an airtight container. It should stay fresh for up to 3-4 days.
- Refrigeration: If you have leftovers or need to keep the cake for longer, you can refrigerate it. Simply wrap the cake tightly in plastic wrap or store it in an airtight container to prevent it from drying out. It will stay fresh in the fridge for about 5-7 days.Pro Tip: If you’re storing the cake in the fridge, allow it to come to room temperature before serving for the best flavor and texture.
Freezing Vanilla Bean Cake
If you’d like to store the cake for an even longer period, freezing is a great option:
- Wrap the Cake: To freeze, wrap the entire cake (or individual slices) tightly in plastic wrap, followed by a layer of aluminum foil to prevent freezer burn.
- Label and Date: Always label and date the cake so you know when it was frozen. It’s best enjoyed within 1-2 months.
- Thawing: When you’re ready to enjoy the cake again, simply thaw it at room temperature for a few hours. The cake will taste just as fresh as when you first made it!
Conclusion
This Vanilla Bean Cake recipe is a true showstopper, combining the rich, aromatic flavors of vanilla with a light and fluffy texture. Whether you’re preparing it for a special celebration or a sweet treat, this cake will impress everyone at the table. The easy-to-make buttercream frosting adds the perfect creamy finish, and with the option to garnish with fresh fruit or a sprinkle of cinnamon, you can customize it to fit any occasion.
By following the steps carefully, you’ll end up with a cake that’s both beautiful and delicious. And with proper storage techniques, you can enjoy a slice of this delightful dessert for days (or even weeks) to come.
So, gather your ingredients, preheat your oven, and get ready to bake up the perfect Vanilla Bean Cake that’s sure to delight every time you serve it!
