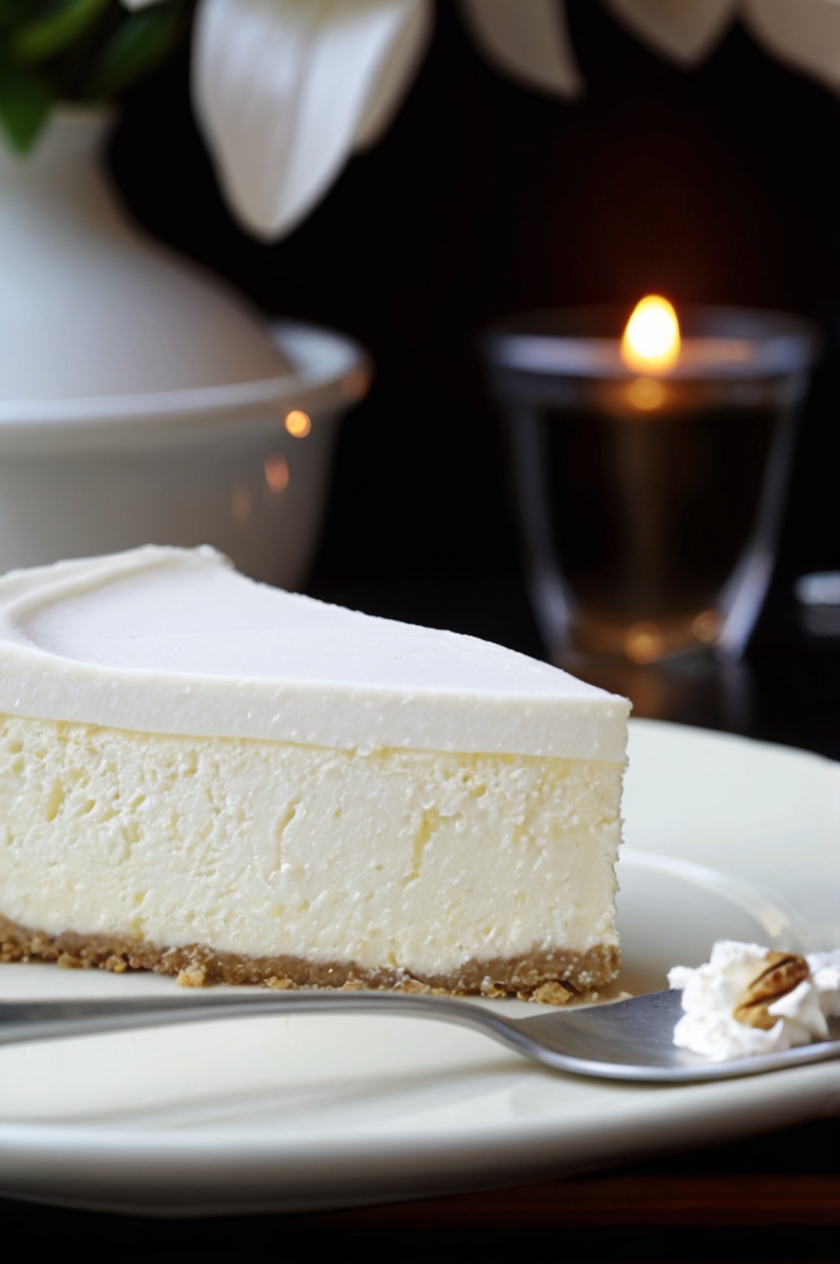
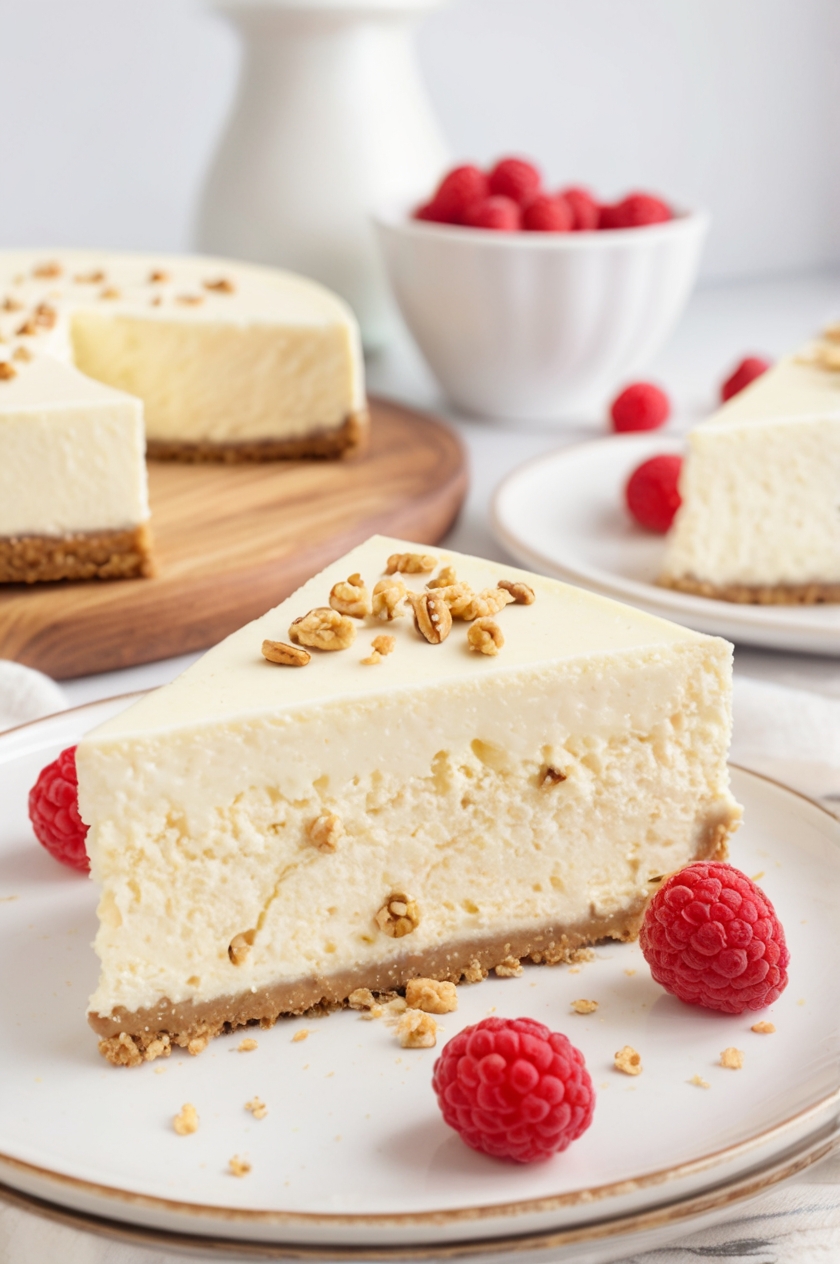
If you’re looking to indulge in a rich and creamy dessert that feels both luxurious and comforting, this Vanilla Bean Cheesecake with Walnut Crust is the answer.

The crunchy walnut crust pairs perfectly with the smooth, velvety filling, which is infused with real vanilla bean for an authentic flavor. Whether you’re preparing for a special occasion or just want to treat yourself to something indulgent, this cheesecake is guaranteed to impress.
What makes this cheesecake stand out is the use of a vanilla bean—an ingredient that brings a warm, aromatic depth to the creamy filling. Paired with the nutty crunch of walnuts and the richness of sour cream, this dessert is an unforgettable experience with every bite.
Let’s dive into how to make this incredible dessert from scratch. You’ll be amazed at how simple it is to achieve a restaurant-quality cheesecake right at home.
Ingredients List
Walnut Crust Ingredients
- 1 1/2 cups walnut pieces
- 1 3/4 cups sugar
- 4 tablespoons unsalted butter, melted
Cheesecake Filling Ingredients
- 2 cups sour cream
- 1 tablespoon pure vanilla extract
- 2 pounds cream cheese, softened
- 1 vanilla bean, split lengthwise and seeds scraped
- 4 large eggs, at room temperature
- 1/4 teaspoon pure almond extract
- 1/2 cup heavy cream
Garnishes
- Ground cinnamon (optional)
- Fresh strawberries (optional)
Required Kitchen Tools
Before diving into the recipe, make sure you have the following kitchen tools on hand. These tools will ensure that your cheesecake turns out perfectly every time:
- Springform Pan (9-inch): The springform pan is essential for creating a smooth, beautiful cheesecake. Its removable sides allow you to easily lift the cheesecake out after it’s set.
- Hand Mixer or Stand Mixer: For smoothly blending the cream cheese, sour cream, and other ingredients together, a hand or stand mixer is a must.
- Rubber Spatula: A rubber spatula will help you scrape down the sides of the mixing bowl and ensure no ingredients are left behind.
- Double Boiler or Heatproof Bowl: You’ll need this to gently melt butter for the crust without burning it.
- Sharp Knife: A sharp knife is essential for splitting and scraping the vanilla bean.
- Whisk: A whisk is helpful for incorporating the eggs and heavy cream into the cheesecake filling.
- Cooling Rack: Once the cheesecake is done baking, place it on a cooling rack to allow it to cool evenly before refrigerating.
Having these tools will streamline your process, ensuring that your Vanilla Bean Cheesecake with Walnut Crust comes out beautifully every time!
Preparing the Walnut Crust
The crust is one of the highlights of this Vanilla Bean Cheesecake. It adds a nutty, slightly sweet crunch that contrasts perfectly with the creamy cheesecake filling.

The best part? It’s super easy to make!
Step 1: Preparing the Walnut Crust
Start by preheating your oven to 350°F (175°C). This ensures that the crust will bake evenly and crisp up perfectly.
- Toast the Walnuts: First, spread the walnut pieces on a baking sheet in an even layer. Toast the walnuts in the oven for 8-10 minutes, stirring halfway through, until they’re golden brown and fragrant. Keep an eye on them, as they can burn quickly.
- Blend the Walnuts: Once the walnuts have cooled slightly, place them in a food processor and pulse until they are finely chopped. You want small, crumbly pieces—don’t go too fine.
- Combine with Sugar and Butter: In a mixing bowl, combine the finely chopped walnuts with sugar and melted butter. Stir until everything is well-coated.
Step 2: Pressing the Crust Into the Pan
Next, take your springform pan and lightly grease the bottom and sides with butter or cooking spray. Then, press the walnut mixture into the bottom of the pan, creating an even layer. Use the back of a spoon or your fingers to firmly pack it down so the crust holds together once baked.
Step 3: Baking the Crust
Place the crust in the preheated oven and bake for about 10 minutes, or until the crust is golden brown and slightly crisped. Once done, remove it from the oven and set it aside to cool while you prepare the cheesecake filling.
Making the Vanilla Bean Cheesecake Filling
Now for the star of the show: the creamy, luxurious cheesecake filling. The vanilla bean really shines here, giving the filling a rich, aromatic flavor that’s both comforting and indulgent.
Step 1: Creaming the Cheese
In a large mixing bowl, use a hand mixer or stand mixer to beat the softened cream cheese until it’s smooth and free of lumps. This is an important step to get a velvety-smooth filling, so take your time.
- Tip: Make sure the cream cheese is softened to room temperature before starting. Cold cream cheese can result in a lumpy batter that’s hard to smooth out.
Step 2: Adding the Vanilla and Almond Extract
To the cream cheese, add the vanilla extract, almond extract, and the scraped seeds from the vanilla bean. Stir until fully incorporated. The vanilla bean seeds will give your cheesecake a beautiful speckled appearance, adding to the visual appeal of your dessert.
Step 3: Incorporating the Eggs
Add the eggs, one at a time, beating well after each addition. This ensures the eggs are fully incorporated into the mixture without overmixing, which could lead to cracks during baking.
Step 4: Adding Sour Cream and Heavy Cream
Next, add the sour cream and heavy cream to the mixture. The sour cream will add a tangy richness that balances the sweetness of the cheesecake, while the heavy cream makes the filling extra smooth and luscious. Mix until the batter is completely smooth.
Assembling and Baking the Cheesecake
Now that your walnut crust and vanilla bean cheesecake filling are ready, it’s time to assemble the two and bake the cheesecake to perfection. This part is crucial, as the baking process will set the filling and give the cheesecake its smooth, rich texture.
Step 1: Assembling the Cheesecake
- Pour the Filling Over the Crust: Carefully pour the cheesecake filling into the prepared walnut crust. Use a rubber spatula to gently spread the filling into an even layer, ensuring it reaches all the edges of the pan. This helps avoid any air pockets, which could cause cracks during baking.
Step 2: Baking the Cheesecake
Now it’s time to bake the cheesecake. Place the springform pan on the middle rack of the preheated oven at 325°F (160°C). Bake the cheesecake for 55-65 minutes, or until the edges are set and the center is slightly wobbly when you gently shake the pan. The center should not be fully firm, as this is what gives the cheesecake its creamy texture.
- Tip: To prevent cracking, you can place a pan of water on the rack below the cheesecake to create a humid environment in the oven. This helps prevent the cheesecake from drying out or cracking during baking.
Step 3: Cooling the Cheesecake
Once your cheesecake is done baking, turn off the oven and let it cool inside with the door slightly ajar for 1 hour. This helps to prevent sudden temperature changes that can cause the cheesecake to crack. After the hour is up, remove the cheesecake from the oven and allow it to cool completely on a cooling rack.
Step 4: Chilling the Cheesecake
Once cooled to room temperature, cover the cheesecake with plastic wrap or foil and refrigerate it for at least 4 hours, but preferably overnight. Chilling the cheesecake allows the flavors to meld together and gives it a firm, sliceable texture.
Serving and Decoration
Once your cheesecake is perfectly chilled and ready to serve, it’s time to add some final touches to make it extra special.
Step 1: Garnishing with Cinnamon and Strawberries
Before serving, you can garnish your cheesecake with a light dusting of ground cinnamon for a subtle spice that complements the vanilla flavor. Fresh strawberries add a burst of color and freshness, balancing the richness of the cheesecake with a slight tartness. Arrange the strawberries on top or around the edges of the cheesecake for a beautiful presentation.
Step 2: Slicing and Serving
To slice the cheesecake, run a sharp knife around the edge of the springform pan to loosen it from the sides. Carefully remove the sides of the pan, revealing the perfectly baked cheesecake. Use a sharp knife to cut the cheesecake into wedges, wiping the knife clean between cuts to ensure smooth, clean slices.
Storage Instructions
How to Keep Your Vanilla Bean Cheesecake Fresh
To keep your cheesecake fresh, store it in an airtight container in the refrigerator. It will stay fresh for up to 5 days. For best results, keep the cheesecake in its original springform pan and cover it tightly with plastic wrap or foil to prevent any odors from other foods in the fridge from affecting its flavor.
Freezing Vanilla Bean Cheesecake
If you want to keep your cheesecake for longer, you can freeze it! To freeze, wrap the entire cheesecake (or individual slices) tightly in plastic wrap, followed by a layer of aluminum foil to prevent freezer burn. This will keep the cheesecake fresh for up to 1 month. When you’re ready to enjoy it, let it thaw in the refrigerator for several hours or overnight before serving.
Conclusion
This Vanilla Bean Cheesecake with Walnut Crust is the perfect dessert to impress your guests or simply enjoy a delicious treat at home. From the nutty, crunchy crust to the smooth and creamy filling, every bite is a taste of pure indulgence. With its combination of real vanilla bean flavor and a hint of almond extract, this cheesecake is truly a showstopper.
Whether you’re celebrating a special occasion or just treating yourself to something sweet, this cheesecake will never disappoint. By following these detailed instructions, you’ll be able to create a flawless cheesecake with ease. And with the tips for storage and freezing, you can enjoy the rich flavors of this dessert even after it’s made.
So, what are you waiting for? Gather your ingredients, head to the kitchen, and make this Vanilla Bean Cheesecake with Walnut Crust today. Trust me—you won’t regret it!
