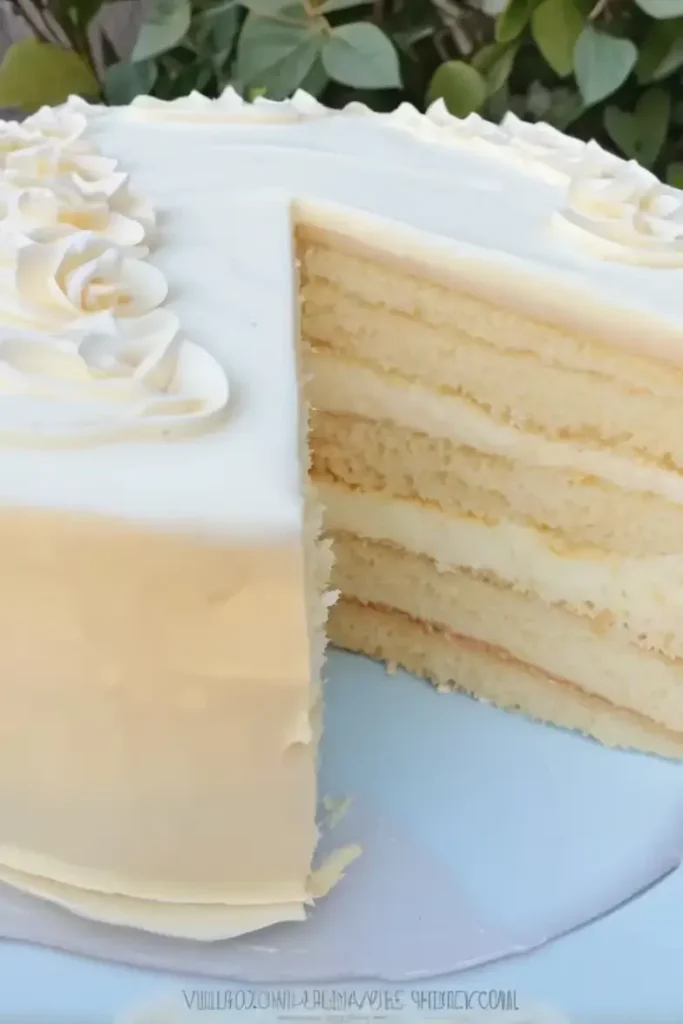
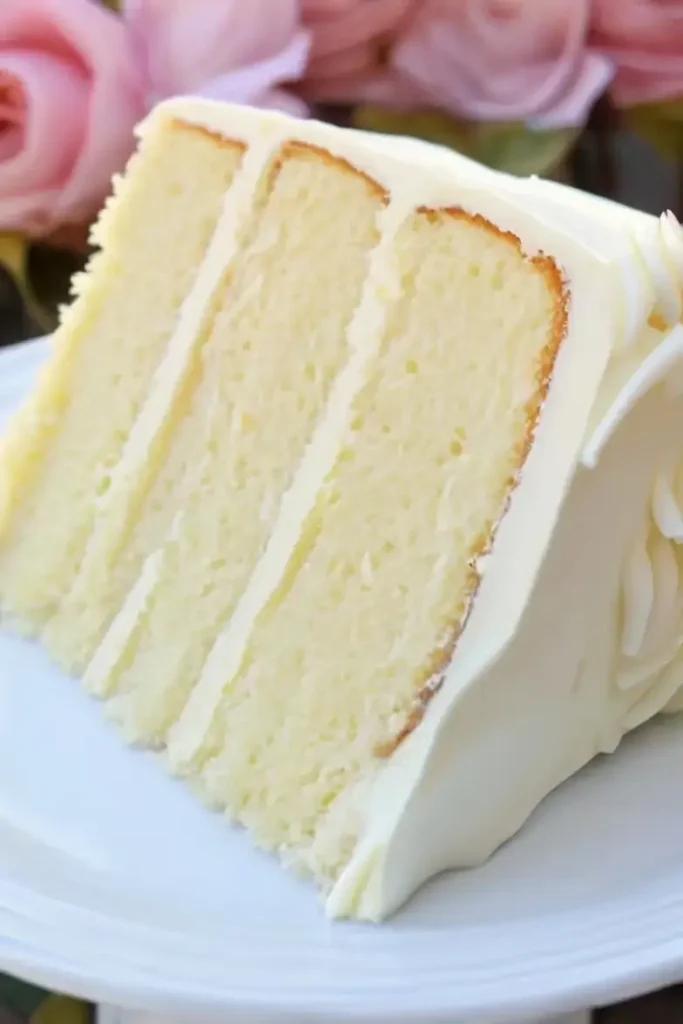
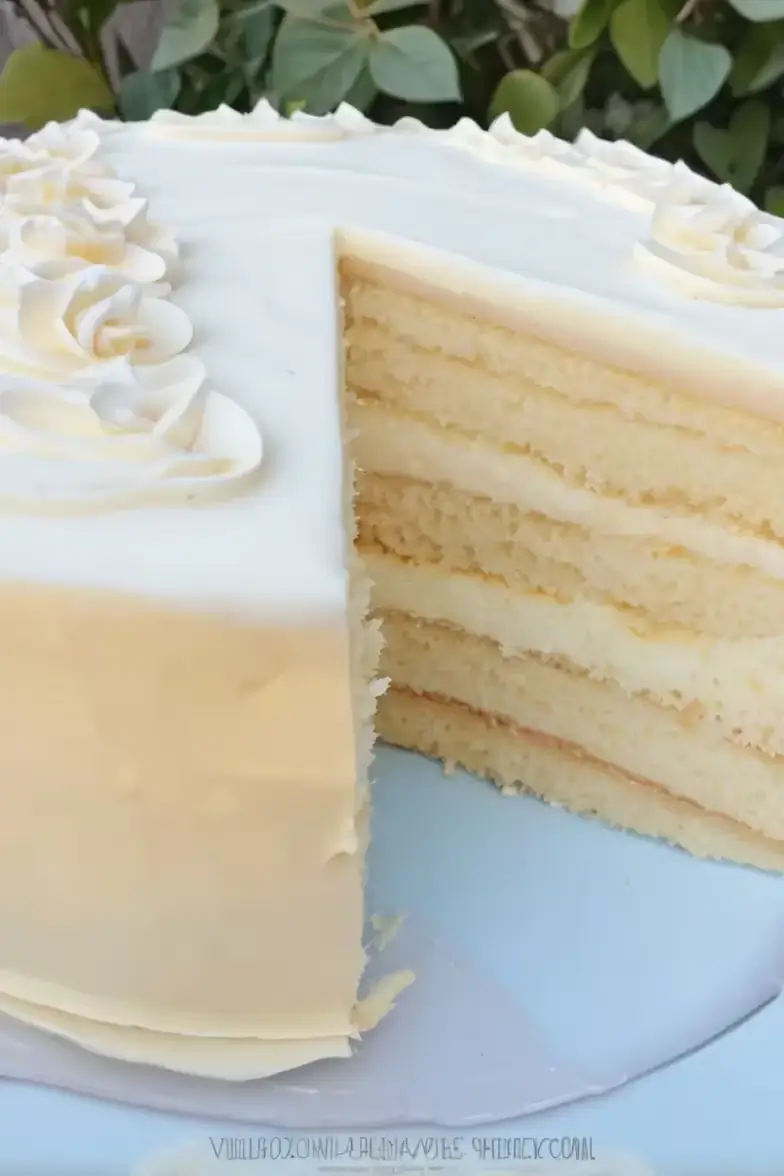
Craving a cake that’s both rich and light? This Vanilla Velvet Cake is exactly what you’re looking for.
With its silky texture and delicate flavor, it’s perfect for any occasion—whether it’s a birthday, a family gathering, or just a treat to indulge in.
This easy-to-follow recipe will show you how to make a deliciously soft, melt-in-your-mouth cake, paired with creamy vanilla buttercream.

Ingredients List
Cake Ingredients
- 8 oz (226g) cream cheese, softened
- 1 ½ sticks (168g) unsalted butter, softened (equivalent to ¾ cup)
- 2 cups (400g) sugar
- 4 large eggs, room temperature (in a rush? Place them in a bowl of warm water for 5 minutes)
- 3 cups (342g) cake flour (see Notes for substitutions)
- 2 teaspoons (8g) baking powder
- ½ teaspoon (3g) baking soda
- ½ teaspoon (3g) salt
- 1 cup (242g) buttermilk (see Notes for substitutions)
- ¼ cup (54g) vegetable oil (canola oil works great too)
- 1 tablespoon (12g) vanilla extract
Vanilla Buttercream Ingredients
- 3 sticks (339g) unsalted butter, softened
- 7 cups (690-805g) powdered sugar (adjust depending on your desired frosting consistency)
- 2 teaspoons (8g) vanilla extract (use clear imitation vanilla if you prefer a whiter frosting)
- ⅓ cup (72g) whole milk or cream (more if needed)
- ½ teaspoon (3g) salt
Required Kitchen Tools
Before diving into this delicious Vanilla Velvet Cake recipe, make sure you have these essential tools on hand:
- Stand Mixer or Hand Mixer: To make sure your butter, sugar, and eggs are creamed to perfection. A stand mixer is especially helpful for the smooth, fluffy texture we’re aiming for.
- Mixing Bowls: You’ll need a large bowl to combine your dry ingredients and a separate one for the wet ingredients.
- Cake Pans: Two 9-inch round cake pans work best for this recipe. Be sure to grease them well or line them with parchment paper to ensure easy removal after baking.
- Offset Spatula: This is a must-have for spreading the vanilla buttercream smoothly on your cake layers.
- Cooling Rack: Allow your cake layers to cool completely on a cooling rack before frosting to prevent the buttercream from melting.
By preparing with these tools, you’ll ensure a smooth and easy baking experience.
Cake Preparation
Mixing the Ingredients
Let’s start with the foundation of our Vanilla Velvet Cake: the batter! The key to a light and fluffy cake is proper mixing. Here’s how to do it:
- Cream the Butter, Cream Cheese, and Sugar:
Begin by placing the softened butter, cream cheese, and sugar into your stand mixer or large mixing bowl. Using a paddle attachment (or hand mixer), beat the ingredients together on medium speed until the mixture becomes light, fluffy, and pale in color. This will take about 4-5 minutes, so be patient. Proper creaming is crucial for a soft, velvety texture. - Add the Eggs:
Next, add the eggs one at a time, ensuring that each egg is fully incorporated before adding the next. This step is important because it helps the batter emulsify, resulting in a smooth texture. Scrape down the sides of the bowl as needed. - Combine Dry Ingredients:
In a separate bowl, whisk together the cake flour, baking powder, baking soda, and salt. Cake flour is ideal for this recipe as it provides a lighter, softer crumb. If you don’t have cake flour, you can substitute it with all-purpose flour, but the texture may not be as delicate. - Alternate Adding Dry and Wet Ingredients:
With the mixer on low speed, alternate adding the dry ingredients and buttermilk to the creamed butter and sugar mixture. Start and end with the dry ingredients. Add the vegetable oil and vanilla extract in between. Mix gently until just combined. Avoid overmixing at this stage to keep the cake light. - Check the Consistency:
The batter should be thick yet pourable. If it feels too thick, you can add a little more buttermilk—just a tablespoon at a time.
Pouring and Baking the Cake
Now that your batter is ready, it’s time to bake!
- Prepare the Cake Pans:
Grease two 9-inch round cake pans with butter or cooking spray, and line the bottoms with parchment paper. This will make removing the cakes from the pans a breeze once they’ve cooled. - Pour the Batter:
Evenly divide the batter between the two prepared pans, smoothing the tops with a spatula. - Bake the Cakes:
Place the cake pans in a preheated oven at 350°F (175°C) and bake for 30-35 minutes. You’ll know the cakes are done when a toothpick inserted into the center comes out clean, or with just a few crumbs attached. - Cool the Cakes:
Let the cakes cool in the pans for about 10 minutes, then remove them from the pans and transfer them to a wire rack to cool completely. It’s important to let the cakes cool fully before frosting to prevent the buttercream from melting.
Vanilla Buttercream Frosting
Now that your cakes are completely cooled, it’s time to prepare the frosting. This rich, creamy vanilla buttercream will complement the soft texture of the cake perfectly.
Making the Buttercream
- Cream the Butter:
In a large mixing bowl, beat the softened butter on medium speed using a stand mixer or hand mixer. Beat until the butter becomes light and fluffy, which should take about 3-4 minutes. The goal is to create a smooth base for the frosting. - Add the Powdered Sugar:
Gradually add the powdered sugar, about 1 cup at a time, while mixing on low speed. Once all the sugar is incorporated, increase the speed to medium and continue mixing until the frosting is smooth and fluffy. Be sure to scrape down the sides of the bowl as needed. - Add the Vanilla and Salt:
Add the vanilla extract and salt to the frosting. Mix on medium speed until fully incorporated. - Adjust the Consistency:
If the frosting is too thick, add a little whole milk or cream (about a tablespoon at a time) until you reach your desired consistency. If it’s too thin, add a little more powdered sugar to thicken it up. - Whip for a Smooth Finish:
Once the frosting is at the right consistency, increase the mixer speed to high and whip for an additional 2-3 minutes. This will make the frosting extra fluffy and smooth.
Assembling the Cake

Now comes the fun part—putting it all together!
- Level the Cake Layers:
If your cake layers have domed during baking, use a serrated knife to level them. This will ensure an even, professional-looking cake. - Frost the First Layer:
Place the first cake layer onto your serving plate or cake stand. Use an offset spatula to spread a generous amount of vanilla buttercream on top, smoothing it evenly. - Add the Second Layer:
Place the second cake layer on top of the frosted base. Press gently to secure it in place. - Frost the Entire Cake:
Now, cover the entire cake with a thin crumb coat (a light layer of frosting). This will lock in any loose crumbs. Chill the cake in the refrigerator for 15-20 minutes to set the crumb coat. Afterward, apply the final layer of frosting, smoothing the top and sides to create a flawless finish. - Decorate the Cake:
Once the cake is frosted, you can add your personal touch with additional decorations. Try piping some decorative borders or flowers using leftover frosting, or sprinkle some colorful sprinkles or edible glitter on top for a festive look.
Serving and Storage
Serving the Cake
Once your Vanilla Velvet Cake is beautifully frosted and decorated, it’s time to serve! The soft, fluffy layers paired with the rich vanilla buttercream will surely delight everyone. Here are a few serving tips:
- Slice with Precision: For clean, even slices, use a serrated knife. Wipe the knife clean between each cut to maintain neat slices.
- Pairing with Drinks: This cake pairs wonderfully with a hot cup of coffee, tea, or even a cold glass of milk. The sweetness of the cake complements the warmth of the beverages perfectly.
Suggested Toppings and Variations
While this Vanilla Velvet Cake is delicious on its own, you can easily customize it with different toppings and variations. Here are some ideas to get creative:
- Fresh Berries: Add a handful of fresh strawberries, raspberries, or blueberries on top of the cake for a burst of freshness and color.
- Chocolate Drizzle: For chocolate lovers, drizzle some warm chocolate ganache or melted chocolate over the top of the frosted cake for a rich contrast.
- Shredded Coconut: Sprinkle some shredded coconut on top for added texture and a tropical twist.
- Edible Flowers: For a more elegant touch, decorate the cake with edible flowers. These look beautiful and add a natural, rustic feel to your dessert.
Storing Leftovers
If you have any leftovers (which is unlikely, given how delicious this cake is!), here’s how to store them properly:
- At Room Temperature: If you plan to eat the cake within 2-3 days, you can store it in an airtight container at room temperature. This will help preserve its moisture and keep it fresh.
- In the Refrigerator: If you need to store the cake for a longer period, keep it in the refrigerator. The buttercream will firm up, but the cake will remain fresh for up to 5 days.
- Freezing for Later: Want to save some cake for a special occasion? You can freeze the cake for up to 2 months. To do so, wrap the cake tightly in plastic wrap and foil, and store it in a freezer-safe bag. When ready to enjoy, thaw the cake in the fridge overnight and bring it to room temperature before serving.
Conclusion
This Vanilla Velvet Cake recipe is the epitome of a perfect dessert—light, fluffy, and rich with flavor. With its smooth vanilla buttercream frosting, it’s guaranteed to be a hit at any celebration. Whether you enjoy it as is or customize it with toppings, this cake is a versatile and delightful treat for any occasion.
By following these detailed instructions and using the right ingredients and tools, you can create a cake that’s not only beautiful but also mouthwateringly delicious.
So grab your baking tools, follow the steps, and soon you’ll be enjoying a slice of this irresistibly soft Vanilla Velvet Cake, made fresh in your own kitchen!
