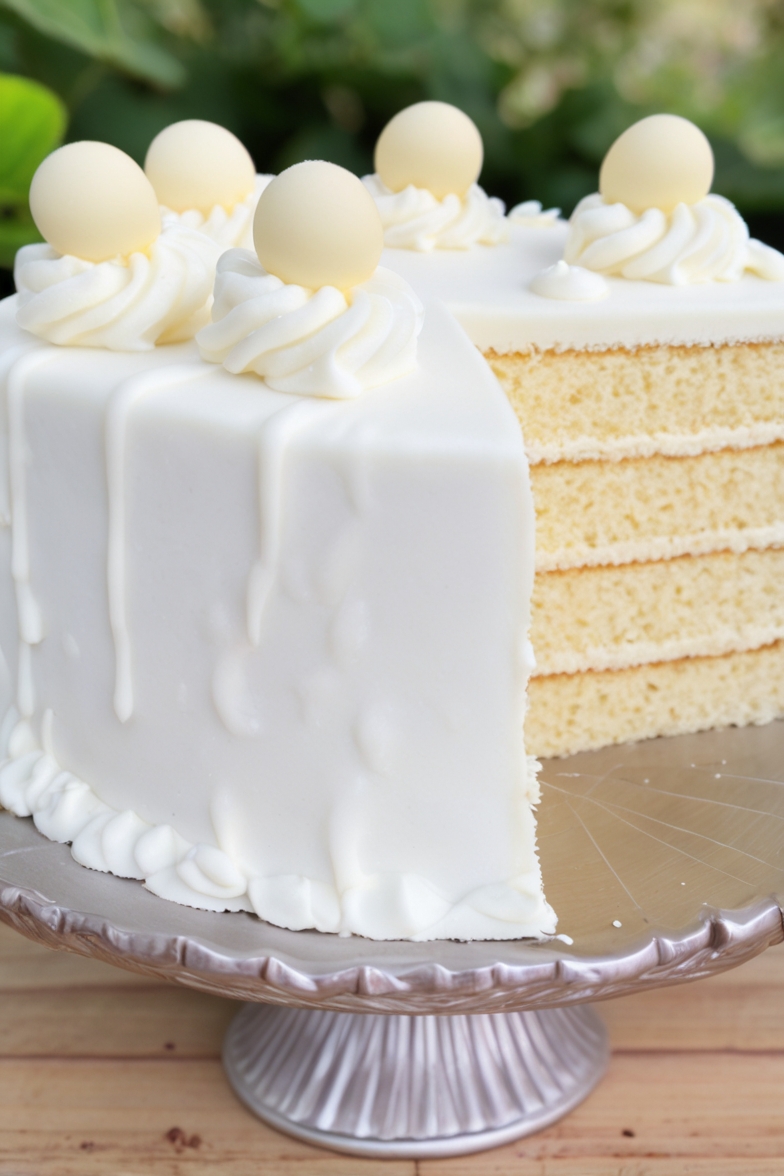
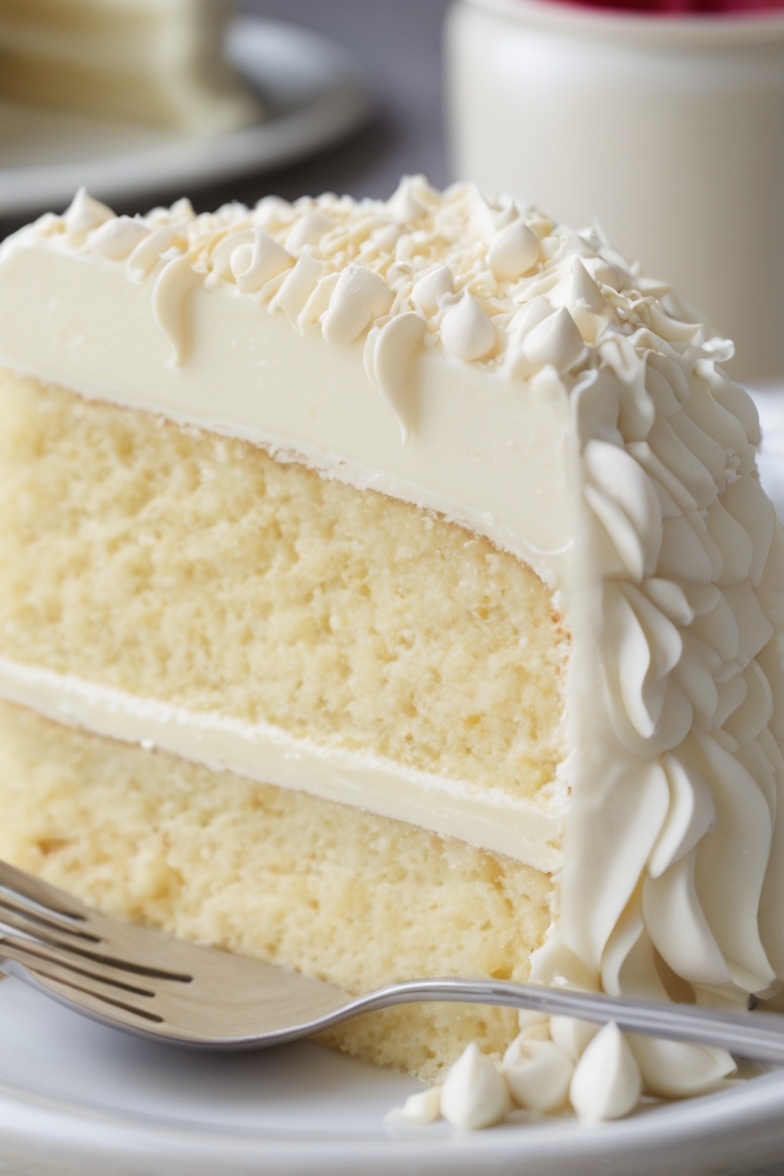
If you’re a fan of rich, decadent cakes with a silky smooth texture, then you’re in for a treat with this White Chocolate Velvet Cake.

Inspired by the classic red velvet, this cake swaps the deep red hue for the creamy elegance of white chocolate.
The result is a soft, moist, and buttery cake with a melt-in-your-mouth flavor that pairs perfectly with a luscious white chocolate buttercream and ganache filling.
Whether you’re baking for a special occasion or just treating yourself to something sweet, this cake is sure to impress with its delicate, velvety crumb and irresistible sweetness.
Ingredients List
Cake Ingredients:
- 8 oz (226g) cream cheese, softened (We used one 8 oz package, full fat)
- 1 ½ sticks (168g) unsalted butter, softened
- 2 cups (400g) sugar
- 4 large eggs, room temperature (If in a hurry, place in a bowl of warm water for 5 minutes)
- 3 cups (342g) cake flour (See notes for substitution)
- 2 teaspoons (8g) baking powder
- ½ teaspoon (3g) baking soda
- ½ teaspoon (3g) salt
- 1 cup (242g) milk (I used 2% milk for the best texture)
- 5 oz white chocolate (We used Ghirardelli chips. If using white chocolate bars, break them into small pieces for easier melting)
- ¼ cup (54g) vegetable oil (I used canola oil)
- 2 teaspoons (8g) vanilla extract
Whipped White Chocolate Ganache Filling:
- 12 oz white chocolate (We used an 11 oz bag of Ghirardelli White Chocolate Chips)
- 6 oz heavy cream
White Chocolate Buttercream:
- 3 sticks (339g) unsalted butter, softened
- 8 oz (227g) white chocolate chips or baking bars (We used Ghirardelli white chocolate chips)
- 5 cups (575g) powdered sugar
- 1 teaspoon (4g) vanilla extract
- 4 tablespoons (42g) milk or cream
- ½ teaspoon (3g) salt
Cake Preparation
Melting the White Chocolate
To start, let’s melt the white chocolate. White chocolate can be a bit tricky because it burns easily, so it’s important to melt it gently. You can either use a double boiler or a microwave. For the microwave method, place the white chocolate chips (or chopped bars) in a microwave-safe bowl. Heat it in 30-second intervals, stirring after each, until completely melted and smooth. Set the melted white chocolate aside to cool slightly while you prepare the rest of the cake ingredients.
Creaming Butter, Cream Cheese, and Sugar
In a large mixing bowl, use a stand or hand mixer to cream together the softened butter, cream cheese, and sugar. Beat them on medium speed until the mixture becomes light and fluffy. This usually takes about 3-5 minutes. Properly creamed butter and sugar create air pockets in the cake batter, ensuring that the cake will rise beautifully and have a tender crumb.
Adding Eggs and Wet Ingredients
Once the butter, cream cheese, and sugar mixture is light and fluffy, add the eggs one at a time, beating well after each addition. Make sure each egg is fully incorporated before adding the next. Then, mix in the vanilla extract and vegetable oil. The oil helps keep the cake moist while the cream cheese adds richness.
Incorporating Dry Ingredients
In a separate bowl, whisk together the cake flour, baking powder, baking soda, and salt. Gradually add the dry ingredients into the wet mixture, alternating with the milk. Start and end with the dry ingredients, adding a bit at a time and mixing on low speed. Be careful not to overmix, as this can lead to a denser cake. Scrape down the sides of the bowl as needed to ensure everything is well combined.
Adding Melted White Chocolate
Finally, pour the cooled melted white chocolate into the batter and mix it in until just combined. This will give the cake its signature white chocolate flavor and ensure a smooth, velvety texture.
Baking the Cake Layers
Preparing the Pans
Preheat your oven to 350°F (175°C) and grease and flour two 9-inch round cake pans. You can also line the bottom of the pans with parchment paper to ensure the cakes come out smoothly after baking. Greasing the sides of the pans will help the cake layers rise evenly.
Pouring the Batter and Baking
Once your cake pans are ready, divide the batter evenly between the two pans. Smooth the tops with a spatula for an even bake. Place the pans in the preheated oven and bake for 25-30 minutes, or until a toothpick inserted into the center of the cakes comes out clean. The cakes should be golden brown on top and spring back lightly when touched.
Cooling the Cakes
Once baked, remove the cakes from the oven and allow them to cool in the pans for about 10 minutes. After that, turn the cakes out onto a wire rack to cool completely. Cooling the cakes completely before frosting is crucial to prevent the frosting from melting and becoming runny.
Preparing the White Chocolate Ganache Filling

While your cakes are cooling, it’s time to prepare the white chocolate ganache filling. This filling is rich and creamy, providing a luscious contrast to the light cake layers.
Melting the White Chocolate for Ganache
In a heatproof bowl, place the 12 oz white chocolate and 6 oz heavy cream. Use the microwave or a double boiler to melt the chocolate and cream together. If using the microwave, heat in 30-second intervals, stirring after each, until the ganache is smooth and fully combined. Set it aside to cool to room temperature. The ganache will firm up as it cools, making it perfect for spreading between the cake layers.
Assembling the White Chocolate Velvet Cake
Layering the Cake
Once your cake layers are completely cooled, it’s time to assemble your cake. Place the first layer of cake on a serving plate or cake stand. Spread a generous amount of the white chocolate ganache filling on top of the first cake layer, smoothing it out evenly with a spatula. The ganache will add a rich, creamy texture to each bite, making the cake extra indulgent.
Adding the Second Layer
Place the second layer of cake on top of the ganache-filled first layer. Gently press down to ensure the layers are secure. If you’d like, you can use a serrated knife to trim the top of the cakes to create a flat surface, but this step is optional.
Decorating with White Chocolate Buttercream
Preparing the White Chocolate Buttercream
Now it’s time for the finishing touch: the white chocolate buttercream. Start by melting the 8 oz white chocolate in the microwave or using a double boiler, just like we did for the ganache. Allow it to cool slightly while you prepare the buttercream base.
In a large mixing bowl, beat the unsalted butter on medium speed until creamy and smooth. Gradually add the powdered sugar, mixing on low speed until it starts to incorporate. Add the melted white chocolate, vanilla extract, milk or cream, and salt to the mixture, and beat on medium-high speed until the buttercream is smooth and fluffy. If the buttercream is too thick, add a little more milk or cream to reach your desired consistency.
Frosting the Cake
Spread the white chocolate buttercream evenly over the top and sides of the cake, using an offset spatula to smooth it out. You can pipe decorative swirls or patterns on the top of the cake if desired for a professional finish. If you like, you can also garnish the cake with some extra white chocolate shavings or small white chocolate chips for added texture and a beautiful visual effect.
Serving and Storage
Serving the Cake
Once the cake is decorated, it’s ready to serve! Slice and enjoy the creamy, velvety texture of the cake with the rich flavor of white chocolate. This cake is perfect for birthdays, weddings, or any occasion where you want to indulge in something extra special.
How to Keep White Chocolate Velvet Cake Fresh
To keep your White Chocolate Velvet Cake fresh, store it in an airtight container at room temperature for up to 3 days. If your home is particularly warm, it’s best to refrigerate the cake to keep the buttercream from melting, though it’s still fine to enjoy at room temperature.
Freezing the Cake
If you have leftovers or want to prepare the cake in advance, you can freeze it. Slice the cake into individual servings and wrap them tightly in plastic wrap. Then place the wrapped slices in a freezer-safe bag or container. The cake will keep in the freezer for up to 1 month. To thaw, simply let the cake sit at room temperature for a few hours before serving.
Conclusion
With its delicate white chocolate flavor, creamy ganache filling, and velvety buttercream, this White Chocolate Velvet Cake is a showstopper that’s sure to impress your guests and satisfy your sweet cravings. By following these detailed steps, you’ll create a moist, flavorful cake with a melt-in-your-mouth texture. Whether you’re serving it for a special event or simply enjoying a slice with a cup of coffee, this cake is a treat that’s both luxurious and comforting. So, roll up your sleeves, gather your ingredients, and enjoy the process of making this decadent white chocolate masterpiece!
