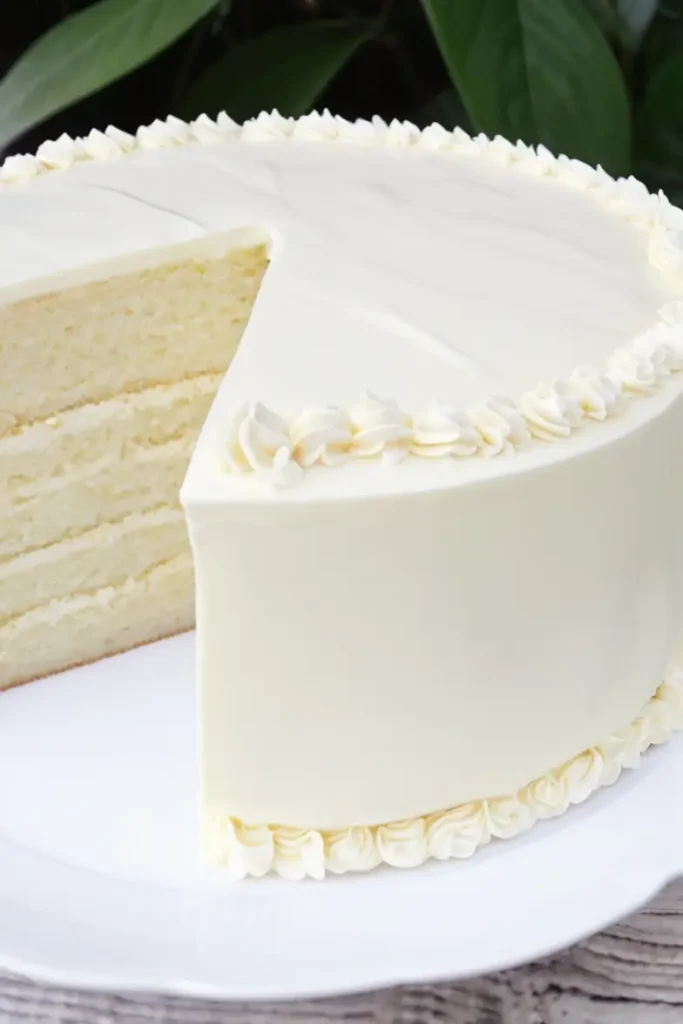
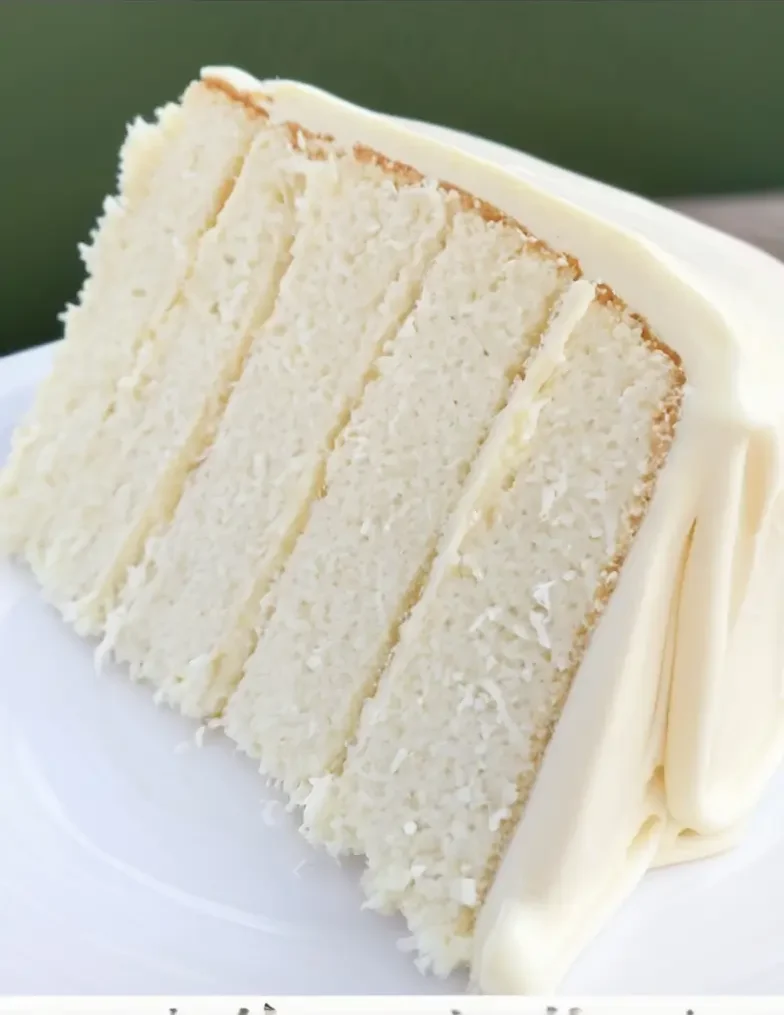
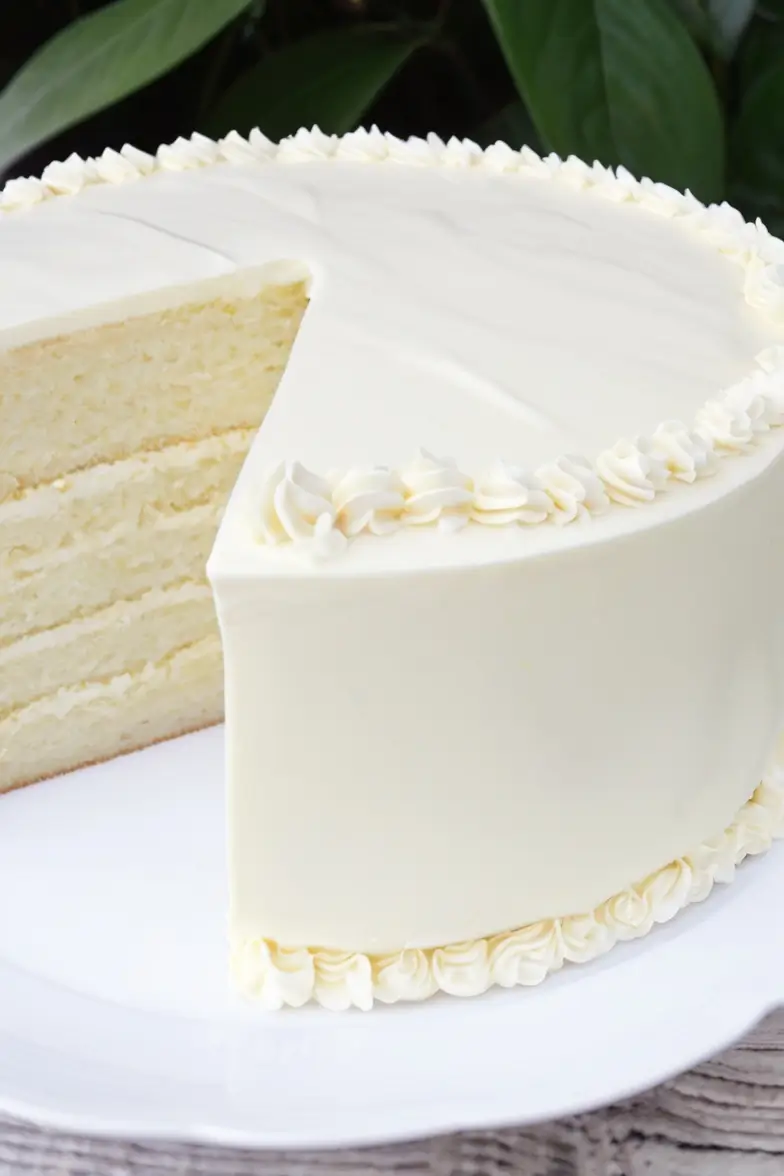
Looking for the perfect cake that’s soft, fluffy, and melt-in-your-mouth? Look no further than this White Velvet Cake.
With a delicate crumb and a rich, smooth flavor, it’s perfect for any occasion, from birthdays to weddings or even a simple family dessert.
The combination of buttermilk, egg whites, and unsalted butter creates a cake that is both light and flavorful, while the Ermine Frosting adds a silky, vanilla-sweet finish that’s irresistible.
In this recipe, I’m going to take you step-by-step through the process of creating this perfect White Velvet Cake.
Whether you’re a beginner or an experienced baker, you’ll find that it’s an easy cake to make with results that will wow your friends and family. Let’s dive into the ingredients first!

Ingredients List
For the Cake
- 14 oz cake flour – Cake flour ensures a fine, soft texture for this cake.
- 13 oz granulated sugar – A key ingredient to balance the flavor and sweetness of the cake.
- 1 teaspoon salt – Enhances all the flavors of the cake.
- 1 tablespoon baking powder – Gives the cake its perfect rise.
- ½ teaspoon baking soda – Works with the buttermilk to create the perfect lift.
- 5 oz egg whites (room temperature) – Egg whites give the cake its airy, light texture.
- 4 oz vegetable oil – Adds moisture to the cake.
- 10 oz buttermilk (room temperature or slightly warm) – Buttermilk gives the cake its signature tang and tenderness.
- 6 oz butter (unsalted and softened) – Butter adds richness to the cake.
- 2 teaspoon vanilla – The fragrant touch of vanilla enhances the flavor.
For the Ermine Frosting
- 14 oz granulated sugar – Provides sweetness for the frosting.
- 3 oz flour – The base of the frosting to give it structure.
- 16 oz whole milk – Helps to make the frosting smooth and creamy.
- 16 oz unsalted butter (room temperature) – Creates a rich, velvety texture for the frosting.
- 2 teaspoon vanilla extract – Adds a warm vanilla flavor.
- ¼ teaspoon salt – Balances out the sweetness in the frosting.
Required Kitchen Tools
Before we get into the preparation, make sure you have the following kitchen tools to make the process easier and more efficient:
- Mixing Bowls: To mix the dry and wet ingredients separately.
- Electric Mixer or Stand Mixer: This will help you cream the butter and sugar together and ensure the batter is smooth and fluffy.
- Cake Pans: Two 8-inch round cake pans (greased and lined with parchment paper) will work best for this recipe.
- Spatula: For mixing and folding ingredients.
- Cooling Rack: To let your cakes cool evenly once they’re out of the oven.
- Saucepan: For preparing the ermine frosting, as it requires cooking the milk and sugar.
Cake Preparation
The key to a perfect White Velvet Cake lies in how you prepare the batter. By carefully following these steps, you’ll ensure a fluffy, tender cake with just the right texture.
Mixing the Dry Ingredients
Start by preheating your oven to 350°F (175°C) and greasing two 8-inch round cake pans. Line the bottom with parchment paper for easy removal after baking.
In a large mixing bowl, sift together the cake flour, baking powder, baking soda, and salt. Sifting helps eliminate any lumps and ensures even distribution of the dry ingredients. Set this bowl aside.
Creaming Butter and Sugar
Next, in another mixing bowl, combine unsalted butter (softened) and granulated sugar. Using a hand mixer or stand mixer, beat on medium speed for about 3-4 minutes or until the mixture is light and fluffy. This step is crucial because it incorporates air into the batter, resulting in a lighter cake. Scrape down the sides of the bowl as needed.
Adding Wet Ingredients
Once the butter and sugar are well combined, add the vegetable oil and beat until the mixture is smooth. Next, gradually add the egg whites one at a time. Make sure each egg white is fully incorporated before adding the next. The egg whites help create the cake’s light texture, so take your time during this step.
Now, stir in the vanilla extract for that subtle, aromatic flavor.
Incorporating the Dry Ingredients and Buttermilk
With your mixer on low speed, add the sifted dry ingredients in batches, alternating with the buttermilk. Start and end with the dry ingredients (so you’ll add three parts dry ingredients and two parts buttermilk). Be careful not to overmix the batter to keep it light and airy. Mix only until just combined.
Final Mixing
Once everything is combined, give the batter a final gentle fold with a spatula to ensure there are no lumps. Your cake batter should be smooth, creamy, and slightly thick.
Baking the Cake
Now it’s time to get this batter into the oven:
- Divide the batter evenly between the two prepared cake pans.
- Smooth the top of the batter with a spatula to make it even.
- Place the pans in the preheated oven and bake for 28-32 minutes or until a toothpick inserted into the center comes out clean or with just a few crumbs.
Cooling the Cakes

Once your cakes are baked, remove them from the oven and allow them to cool in the pans for about 10 minutes. After that, turn the cakes out onto a wire rack to cool completely. This prevents the cakes from getting soggy or overly moist in the pans.
Ermine Frosting Preparation
Now that your cakes are cooling, it’s time to focus on the frosting. The Ermine Frosting is smooth, velvety, and not overly sweet, making it the perfect companion to the delicate flavors of the White Velvet Cake. Let’s go step-by-step to make this amazing frosting!
Making the Flour Paste
In a medium saucepan, combine the flour and granulated sugar. Whisk them together until they are fully mixed. Slowly add the whole milk, stirring constantly to prevent any lumps from forming.
Place the saucepan over medium heat, and continue to whisk the mixture as it heats. The mixture will gradually thicken—this is the key to making a smooth, creamy frosting base. Keep stirring until the mixture reaches the consistency of thick pudding (around 5-7 minutes). Once it thickens, remove the saucepan from the heat.
Cooling the Flour Mixture
Transfer the thickened flour mixture to a clean bowl and cover it with a piece of plastic wrap, pressing it directly onto the surface to prevent a skin from forming. Allow the mixture to cool to room temperature, which usually takes about 30 minutes.
Creaming the Butter
While the flour mixture cools, beat the unsalted butter in a separate bowl using a hand mixer or stand mixer. Beat it on medium speed for about 5 minutes until the butter becomes light and fluffy. This will help give the frosting a smooth, airy texture.
Combining the Flour Mixture and Butter
Once the flour mixture has cooled completely, add it to the whipped butter in small spoonfuls. Continue mixing on medium speed until the frosting becomes smooth and creamy. You’ll notice that the texture of the frosting will transform from chunky to smooth as the butter and flour mixture incorporate.
Adding the Vanilla and Salt
Next, add the vanilla extract and salt to the frosting. Beat everything together for another minute until fully combined. The vanilla adds a lovely warmth and fragrance, while the salt helps balance out the sweetness.
Assembling the Cake
Now that both the cake and frosting are ready, it’s time to assemble this delicious White Velvet Cake!
- Level the Cakes: If your cakes have domed slightly during baking, use a serrated knife to level the tops so they’re flat. This will help them stack evenly.
- First Layer of Frosting: Place one cake layer onto a serving plate or cake stand. Using an offset spatula, spread a generous layer of Ermine Frosting over the top, smoothing it out evenly.
- Add the Second Layer: Place the second cake layer on top, gently pressing it down to secure it in place.
- Frost the Sides and Top: Use the remaining frosting to cover the top and sides of the cake. Smooth out the edges as best as you can to give the cake a beautiful finish.
Serving and Decorating the Cake
Once your White Velvet Cake is assembled, it’s time to decorate and serve this beautiful creation. With its soft, smooth texture and rich flavor, this cake is a showstopper that’s perfect for any celebration.
Simple Decoration Ideas
While the Ermine Frosting gives the cake a lovely, smooth finish, there are several ways to enhance the appearance and flavor:
- Fresh Berries: Decorate the top of the cake with fresh berries such as raspberries, strawberries, or blueberries. The burst of color and slight tartness will complement the sweet, creamy frosting.
- Edible Flowers: For a more elegant touch, you can add edible flowers like pansies or violets for a burst of color and natural beauty.
- Shredded Coconut: Lightly toast some shredded coconut and sprinkle it around the edges of the cake for added texture and flavor.
- Sprinkles: A fun option for birthdays or other festive occasions—add a sprinkle of colorful sugar or sprinkles for a playful touch.
Slicing and Serving
Once decorated, slice the cake into even portions using a serrated knife. The cake should be light and airy with a fine crumb, and the frosting should be smooth and creamy with just the right amount of sweetness. Serve the slices with a hot cup of tea or coffee to complement the cake’s flavor.
Best Time to Serve
This cake is best served on the same day it is made, especially when it’s freshly frosted. However, if you need to make it ahead of time, here’s how you can store it:
Storage Instructions
How to Keep White Velvet Cake Fresh
If you have any leftovers, store your cake in an airtight container at room temperature. It should stay fresh for up to 3 days. Make sure to keep it in a cool, dry place, away from direct sunlight or heat sources.
Freezing White Velvet Cake
If you’d like to make the cake in advance or keep it for longer, you can freeze it! Here’s how to do it:
- Freeze the Cake Layers: Before frosting, wrap each cake layer tightly in plastic wrap and then in aluminum foil. Freeze for up to 1 month.
- Thaw Before Frosting: When you’re ready to assemble, remove the layers from the freezer and let them thaw completely before frosting and serving.
Alternatively, you can freeze the frosted cake (though the frosting may not look as pristine once thawed). Simply cover the entire cake with plastic wrap and foil, and freeze for up to 1 month. Thaw at room temperature for several hours before serving.
Conclusion
The White Velvet Cake is a true showstopper that will impress anyone who tastes it. With its delicate crumb, creamy Ermine Frosting, and endless decoration possibilities, this cake is the perfect centerpiece for any celebration. Whether you’re baking it for a special event or simply enjoying it with loved ones, this cake is sure to become a favorite in your baking repertoire.
So, grab your ingredients, preheat that oven, and get ready to enjoy the light, fluffy goodness of White Velvet Cake. You won’t regret it!
