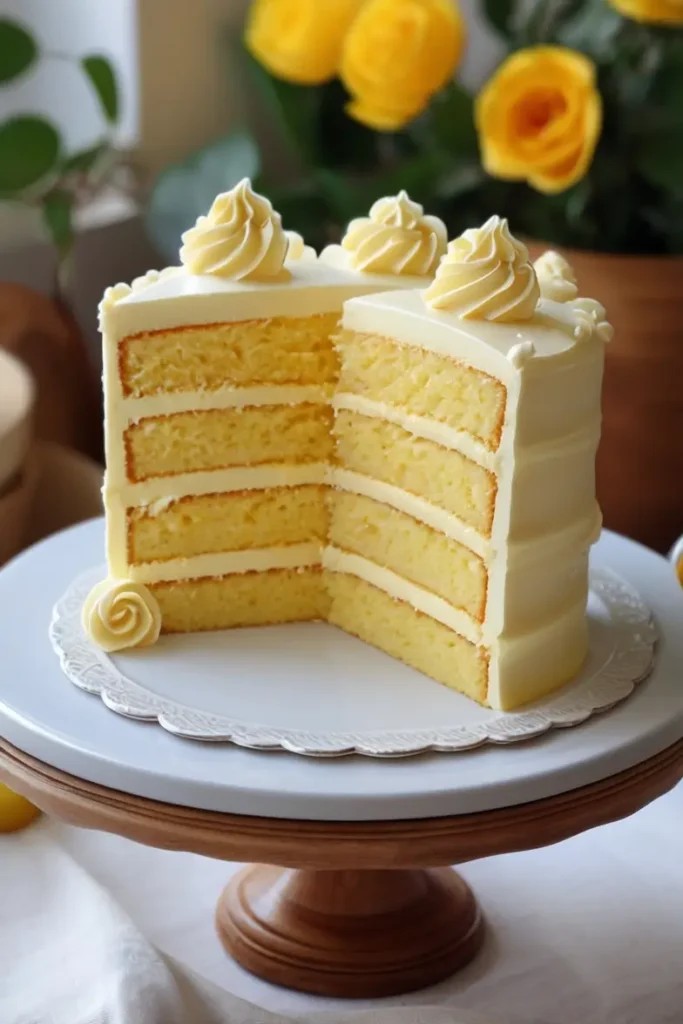
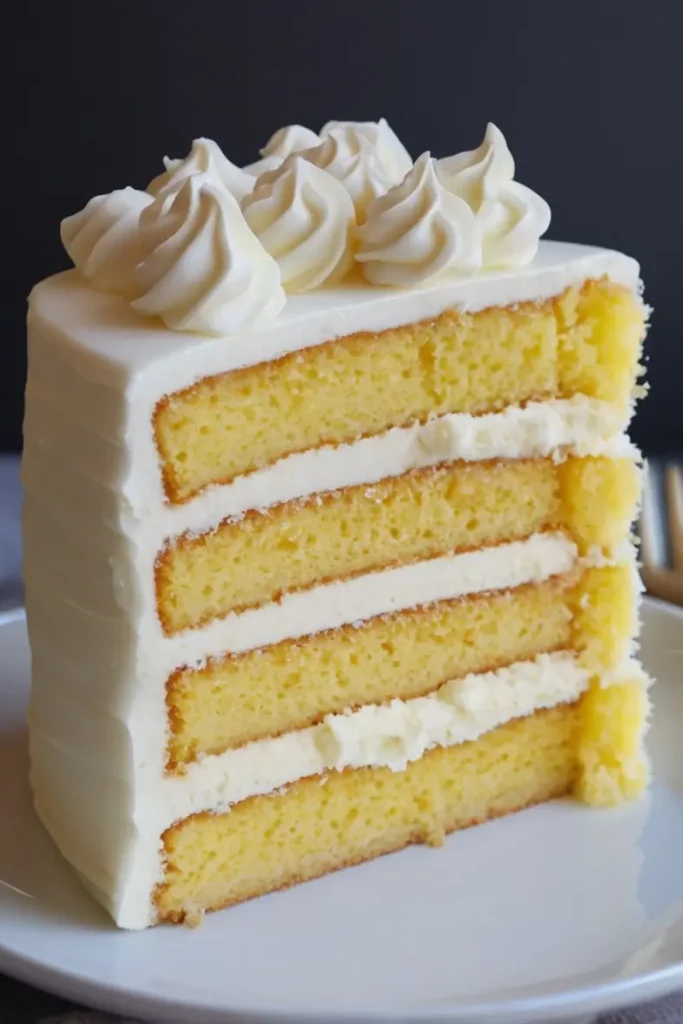
Craving a rich and decadent cake that’s soft, fluffy, and packed with flavor? This Yellow Velvet Cake is the answer!
A perfect balance of sweetness and buttery richness, this cake features a tender crumb and a vibrant golden hue. Ideal for birthdays, celebrations, or just because, this cake will surely become a favorite in your baking repertoire.
Paired with creamy chocolate cream cheese frosting, it’s the ultimate dessert to impress your family and friends.

Ingredients List
Cake Ingredients
- 8 oz (226g) cream cheese, softened
- 1 ½ sticks (168g) unsalted butter, softened
- 2 cups (400g) sugar
- 3 large eggs, room temperature (If in a hurry, place eggs in a bowl of warm water for 5 minutes.)
- 3 additional egg yolks, room temperature
- 3 cups (342g) cake flour (See Notes for substitution)
- 2 teaspoons (8g) baking powder
- ½ teaspoon (3g) baking soda
- ½ teaspoon (3g) salt
- 1 cup (242g) buttermilk (See Notes for substitution)
- ¼ cup (54g) vegetable oil (we use canola oil)
- 1 tablespoon (12g) vanilla extract
Chocolate Cream Cheese Frosting Ingredients
- 2 sticks (226g) unsalted butter, softened
- 2 teaspoons (8g) vanilla extract
- 6 to 6 ½ cups (690g to 747g) powdered sugar (Adjust amount up or down to your liking)
- ¼ cup (20g) cocoa (lightly spoon into cup and level)
- 16 oz cream cheese (total weight 452g), softened (We used two 8 oz packages, full fat)
Required Kitchen Tools
Having the right tools is crucial when making this Yellow Velvet Cake, as it ensures an even, smooth batter and flawless layers. Here’s a list of the essential kitchen tools you’ll need for this recipe:
- Hand or Stand Mixer: A stand mixer is ideal for creaming the butter, sugar, and cream cheese, while a hand mixer can be used if you prefer. The mixer ensures the ingredients are fully incorporated and helps achieve the light, airy texture you want in the cake.
- Cake Pans: You’ll need two 9-inch round cake pans to bake this cake. Make sure to grease them well or line them with parchment paper to prevent sticking.
- Measuring Cups and Spoons: For accuracy in your measurements, always use a dry measuring cup for flour and a liquid measuring cup for buttermilk and oil.
- Cooling Rack: After the cakes are baked, a cooling rack will help them cool evenly and avoid becoming soggy.
- Offset Spatula: For spreading the frosting smoothly over the layers, an offset spatula is the best tool for the job.
With these tools, you’ll be well-prepared to create a perfectly baked, deliciously frosted Yellow Velvet Cake.
Cake Preparation
Now that you’ve gathered your ingredients and tools, it’s time to dive into the cake preparation. Follow these steps carefully for a smooth batter and perfectly baked Yellow Velvet Cake that’s soft, moist, and delicious.
Mixing the Cake Ingredients
Start by preheating your oven to 350°F (175°C). Prepare your cake pans by greasing them with butter or spraying them with non-stick spray, and then dusting them lightly with flour. You can also line the bottoms with parchment paper to make removing the cakes easier.
In a large bowl, use a hand mixer or stand mixer to cream together the softened butter, cream cheese, and sugar until light and fluffy. This will take about 3-5 minutes, and it’s crucial for getting that soft, velvety texture in the cake. Once your mixture is light in color and fluffy, add the eggs and egg yolks one at a time, beating well after each addition.
Next, in a separate bowl, whisk together the dry ingredients: cake flour, baking powder, baking soda, and salt. With the mixer on low speed, gradually add the dry ingredients to the wet ingredients in three parts, alternating with the buttermilk and vegetable oil. Begin and end with the dry ingredients. Mix until just combined; do not overmix, as this can result in a dense cake. Finally, add the vanilla extract and mix it in until fully incorporated.
Pouring the Batter and Baking

Once the batter is smooth and well-combined, divide it evenly between the two prepared cake pans. Use a spatula to smooth the tops and ensure an even layer.
Bake the cakes in the preheated oven for 25-30 minutes, or until a toothpick inserted into the center comes out clean or with just a few moist crumbs. Keep a close eye on the cakes toward the end of the baking time, as ovens vary.
Once done, remove the cakes from the oven and allow them to cool in the pans for 10 minutes. Afterward, gently turn them out onto a cooling rack to cool completely. This is important to ensure the cakes don’t become soggy. While the cakes are cooling, you can begin preparing the chocolate cream cheese frosting.
Preparing the Chocolate Cream Cheese Frosting
While your Yellow Velvet Cake layers are cooling, it’s time to prepare the rich and creamy chocolate cream cheese frosting. This frosting is the perfect complement to the moist, buttery cake, with its smooth, velvety texture and deep chocolate flavor. Follow these simple steps to make the frosting that will elevate your cake to the next level.
Making the Frosting
Start by placing the softened butter and cream cheese in a large mixing bowl. Using a hand or stand mixer, beat them together on medium speed until the mixture is light and fluffy, about 3-5 minutes. This step is important to get a smooth and well-incorporated frosting.
Next, gradually add the powdered sugar, starting with about half of it. Mix on low speed to prevent a sugar cloud, then increase to medium speed once the sugar is incorporated. Once all the powdered sugar has been added, sift the cocoa powder into the mixture and continue beating until fully combined. This will ensure there are no lumps of cocoa and that the frosting is smooth and silky.
Add the vanilla extract and continue to beat until the frosting is light and fluffy. If you prefer a thicker frosting, add more powdered sugar a little at a time until you reach your desired consistency. If it’s too thick, you can add a tablespoon of milk or cream to thin it out to the right texture.
Frosting the Cake
Now that your frosting is ready, it’s time to frost your cooled Yellow Velvet Cake. Place the first cake layer on a serving platter or cake stand. Use an offset spatula to spread an even layer of frosting over the top of the cake. Be generous with the frosting, but be sure to spread it evenly.
Place the second cake layer on top of the frosted first layer. Gently press down to ensure it sticks. Then, spread a layer of frosting over the top and the sides of the cake. If you want a smooth finish, use the offset spatula to smooth the frosting out. For a more textured look, you can create swirls or a rustic finish.
Once the cake is frosted, you can add additional decorative touches like chocolate shavings, sprinkles, or a drizzle of melted chocolate for extra flair.
Serving and Decoration
Suggested Toppings and Decoration Ideas
The beauty of a Yellow Velvet Cake is that it pairs wonderfully with various decorative toppings and additions. While the rich chocolate cream cheese frosting is already a treat on its own, here are a few ideas to enhance both the flavor and presentation of your cake:
- Chocolate Shavings or Curls: For a sophisticated touch, grate some high-quality chocolate over the top of the frosted cake. It adds both texture and a burst of extra chocolate flavor.
- Fresh Berries: Adding fresh strawberries, raspberries, or blueberries around the edges of the cake can give it a fresh and vibrant appearance. The tartness of the berries also balances out the sweetness of the cake and frosting.
- Sprinkles: If you’re making this cake for a celebration or party, colorful sprinkles or edible glitter can give your cake a fun, festive feel.
- Whipped Cream: For a lighter touch, you can serve the cake with a dollop of freshly whipped cream on the side or on top, adding a creamy contrast to the dense frosting.
Let your creativity run wild! These toppings and decorations will elevate the overall look and taste of your Yellow Velvet Cake.
Serving Tips
This Yellow Velvet Cake is best served at room temperature, so make sure to remove it from the fridge for about 30 minutes before serving to bring out the full flavor and texture of the cake and frosting. Slice it into generous pieces, and enjoy with a hot cup of coffee or a cold glass of milk for the ultimate indulgence.
Storing Leftovers
If you have any leftovers (which is rare!), store them in an airtight container at room temperature for up to 3 days. The cake will stay moist and delicious, thanks to its tender crumb. If you need to store it for a longer period, you can refrigerate it. Just be sure to cover it well to keep it fresh.
Freezing the Cake
If you’d like to prepare the cake in advance or have leftover slices to enjoy later, you can freeze it! To freeze the cake, wrap the whole cake or individual slices tightly in plastic wrap, then place it in a freezer-safe bag or container. The cake can be frozen for up to 1 month. When you’re ready to enjoy it, thaw the cake in the refrigerator overnight, and bring it to room temperature before serving.
Conclusion
This Yellow Velvet Cake is truly a showstopper! With its moist and fluffy texture, buttery richness, and smooth chocolate cream cheese frosting, it’s sure to delight your taste buds and impress your guests. Whether you’re celebrating a special occasion or treating yourself to a sweet indulgence, this cake is the perfect choice. Follow these simple steps, and you’ll have a stunning, delicious cake that’s a true crowd-pleaser.
Enjoy the process of baking, decorating, and sharing this incredible cake with family and friends. And remember, the best part is always the first bite!
